Introduction
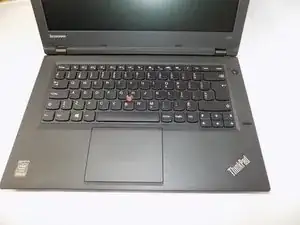
Use this guide to replace a faulty motherboard in the Lenovo Thinkpad L440.
The motherboard is responsible for total functionality of the laptop, connecting all parts (screen, keyboard, trackpad, etc.), together, allowing the user to effectively use the device.
Before using this guide, check our troubleshooting page. In some cases, sings of a faulty motherboard can be caused by outdated software or too many background applications. In this case, the motherboard will not have to be replaced.
Signs of a faulty motherboard include a scratching noise or hum, error messages, unexpected restarts, the blue screen, freezes, glitches, or a slow down in performance.
-
-
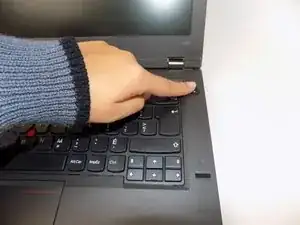
Open the laptop to access the power button.
-
Hold the power button in the top right until the computer powers off.
-
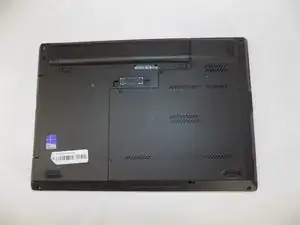
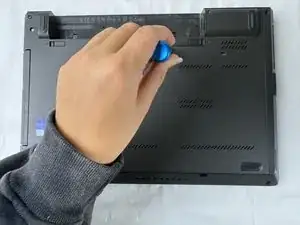
Turn the computer over so that the bottom of the computer is facing up
-
-
-
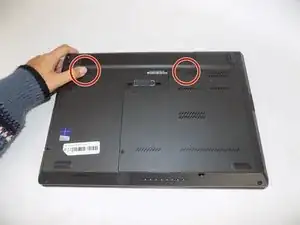
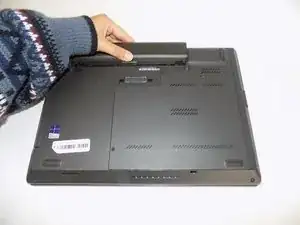
On the left side under the raised surface, move the tab to the left towards the unlocked symbol. Repeat this on the right side and move the tab to the right towards the unlocked symbol.
-
-
-
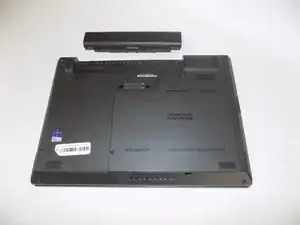
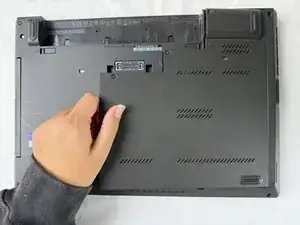
From the top of the laptop, slide the raised surface away from the rest of the laptop and out of its slot to remove the battery from the computer.
-
-
-
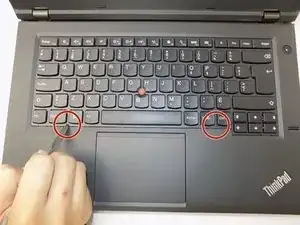
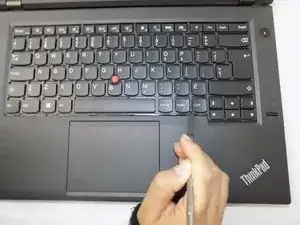
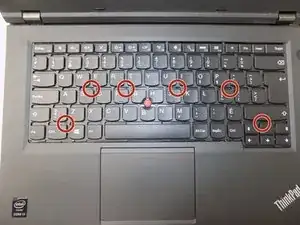
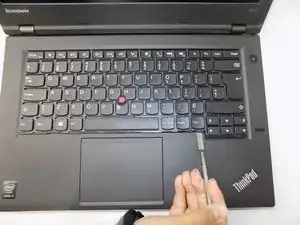
Insert the pointed end of a spudger into the notch on the left side first, and apply gentle pressure upwards until the frame around the keyboard moves up. Repeat for the other side.
-
-
-
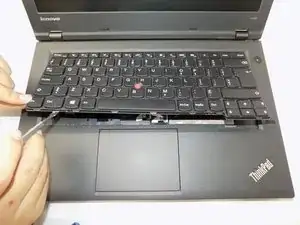
Lift the edge of the keyboard using the blunt side of the spudger, and bring it straight up and out towards you. Lay the keyboard flat on top of the trackpad.
-
-
-
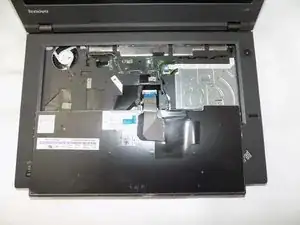
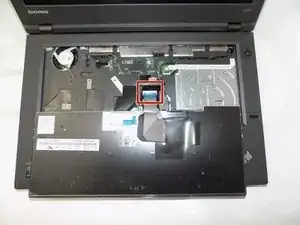
Pull the black latch over the connectors up towards the screen with your nail.
-
Grab onto the blue part and, with gentle pressure, pull straight back towards you to release the ribbon cable.
-
Repeat for the second, smaller ribbon connector.
-
-
-
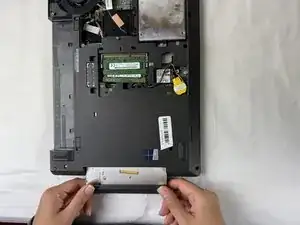
Rotate the laptop so that the CD drive is facing you.
-
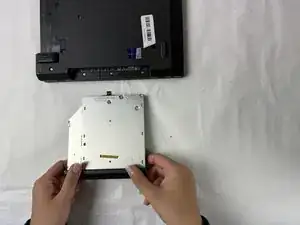
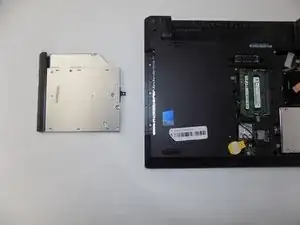
Grasp the CD drive with your fingers and pull straight outwards.
-
-
-
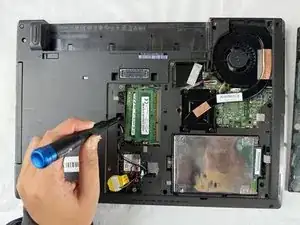
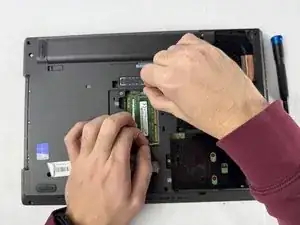
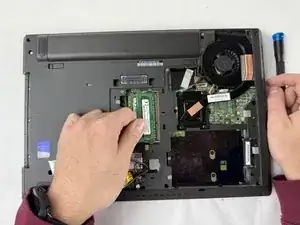
Pull the tabs on either side of the RAM in opposite directions.
-
Pull the RAM stick up and out.
-
Repeat for the second RAM stick.
-
-
-
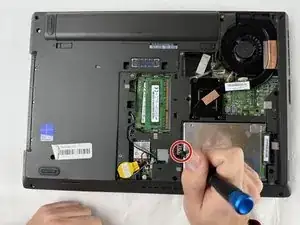
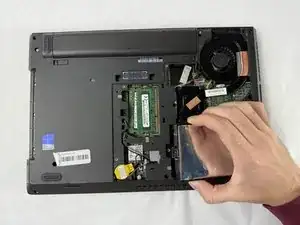
Remove the single 3.5 mm screw next to the hard drive using a Phillips #00 screwdriver.
-
Remove the hard drive from the laptop.
-
-
-
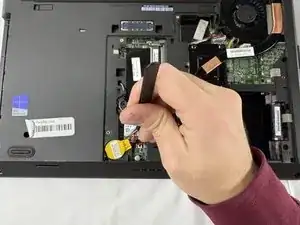
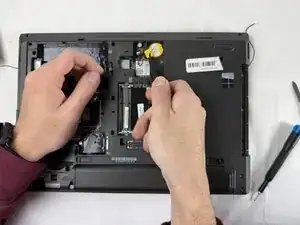
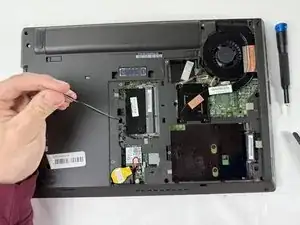
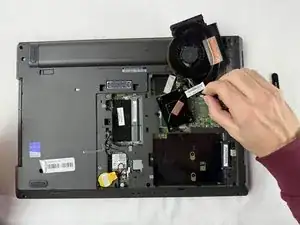
Use a pair of tweezers to detach the black and grey internet cables from the back of the computer and remove them from the coaxial connectors.
-
Remove the yellow CMOS battery from the computer.
-
-
-
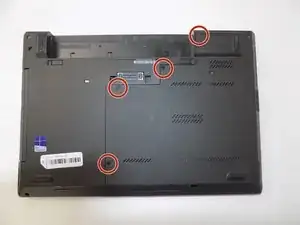
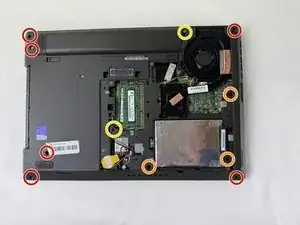
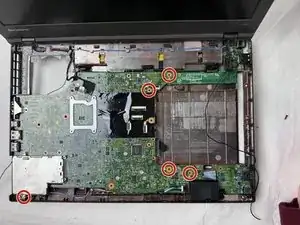
Remove six 3.5 mm silver screws using a Phillips #00 screwdriver.
-
Remove the three 6 mm black screws using a Phillips #00 screwdriver.
-
Remove the two 12 mm black screws using a Phillips #00 screwdriver.
-
-
-
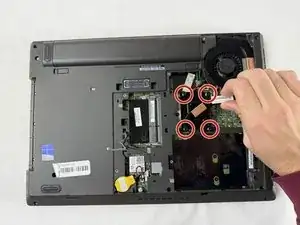
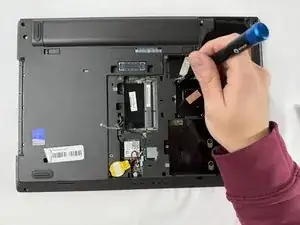
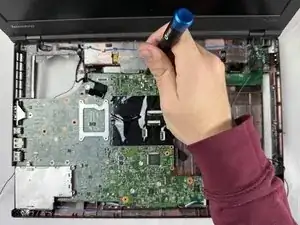
Fully loosen the four captive screws in the bottom left part of the heat sink.
-
Remove the sliding cable from the side of the heatsink.
-
Pull the heat sink out of the computer.
-
-
-
Flip the computer over to the front.
-
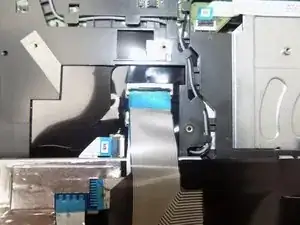
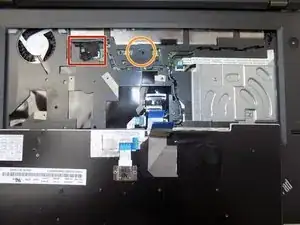
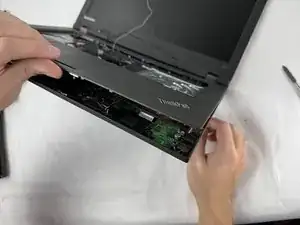
Remove the black display cable from the motherboard.
-
Remove the single 6 mm black screw in the center of the keyboard.
-
-
-
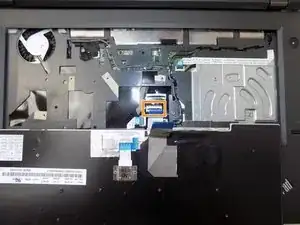
Pull up the tab on each keyboard ribbon cable to disconnect them from the motherboard.
-
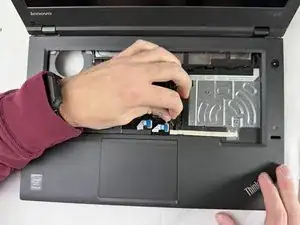
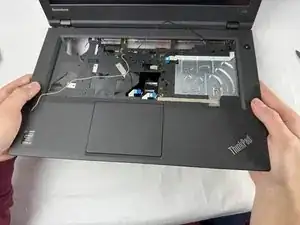
Lift the computer up and bring the internet cables from the back to the top of the computer.
-
Keep pulling on the wires following the path of the wires until they are loose from the cover for the motherboard.
-
-
-
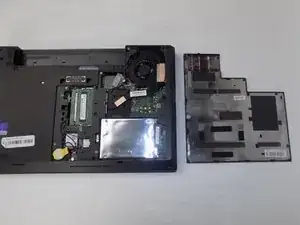
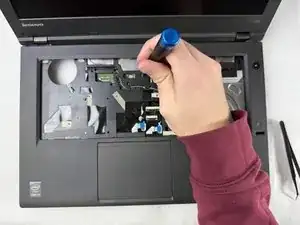
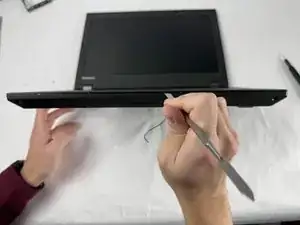
Insert a metal spudger into the gap between the casing and the rest of the laptop.
-
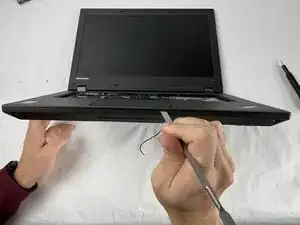
Slide the spudger around the edges of the computer.
-
Pull the casing out and away from the computer.
-
-
-
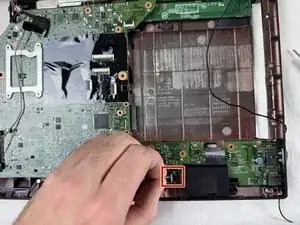
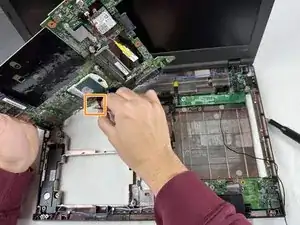
Remove the sliding speaker cable in the bottom left of the computer.
-
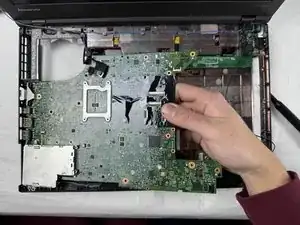
Lift the motherboard away from the computer by pulling left and outwards.
-
Remove the sliding power cable on the back of the motherboard.
-

To reassemble your device, follow these instructions in reverse order.