Introduction
This guide provides step-by-step instructions for replacing the RAM in a Lenovo ThinkPad L440. Upgrading or replacing your laptop's RAM can improve its performance, allowing for smoother multitasking and better overall system responsiveness. This guide will help you complete the process safely and efficiently. Make sure to follow the instructions carefully and take appropriate precautions to avoid damaging your laptop.
Tools
Parts
-
-
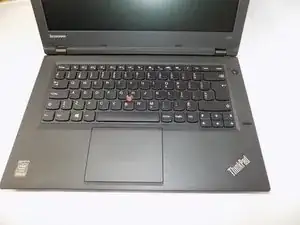
Open the laptop to access the power button.
-
Hold the power button in the top right until the computer powers off.
-
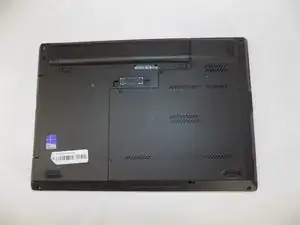
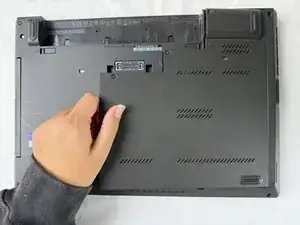
Turn the computer over so that the bottom of the computer is facing up
-
-
-
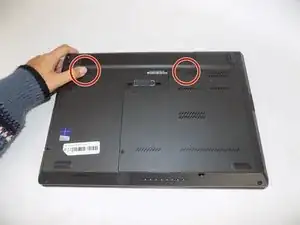
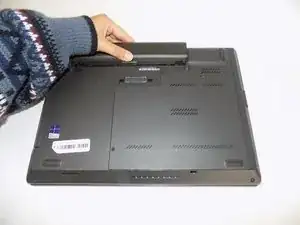
On the left side under the raised surface, move the tab to the left towards the unlocked symbol. Repeat this on the right side and move the tab to the right towards the unlocked symbol.
-
-
-
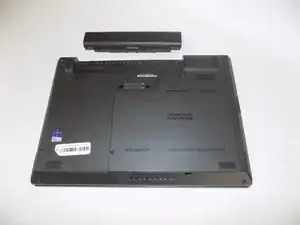
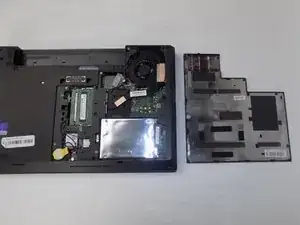
From the top of the laptop, slide the raised surface away from the rest of the laptop and out of its slot to remove the battery from the computer.
-
-
-
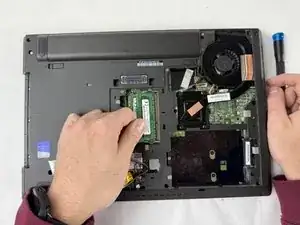
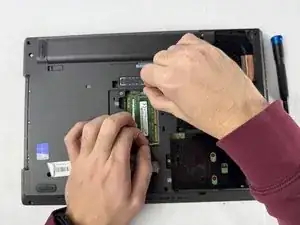
Pull the tabs on either side of the RAM in opposite directions.
-
Pull the RAM stick up and out.
-
Repeat for the second RAM stick.
-


To reassemble your device, follow these instructions in reverse order.