Introduction
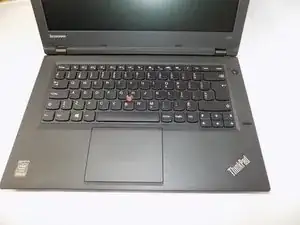
Use this guide to replace the screen on your Lenovo ThinkPad L440 laptop.
The screen is a vital component to the laptop, allowing the user to see visual representations on the computer. A failing screen will prevent you from accessing your computer. Some signs that your screen is failing are flickering, drawn out colors, a burnt display or burnt pixels. Also, if the screen has been previously cracked, this guide will fix this.
Note, if your screen is cracked from dropping the laptop, or your screen no longer works from water damage, this guide may not fix any screen related issues.
Before using this guide, consult our troubleshooting page. In some cases, what looks like a faulty screen can actually be related to outdated software, or too many background applications.
-
-
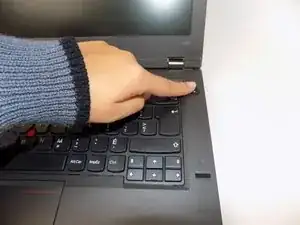
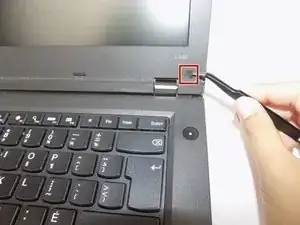
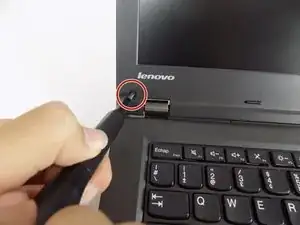
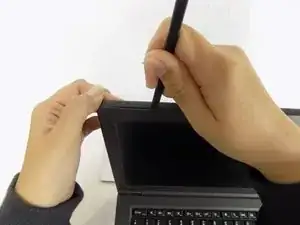
Open the laptop to access the power button.
-
Hold the power button in the top right until the computer powers off.
-
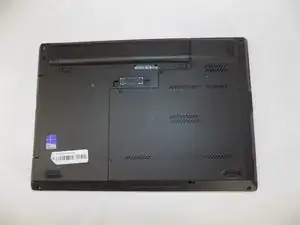
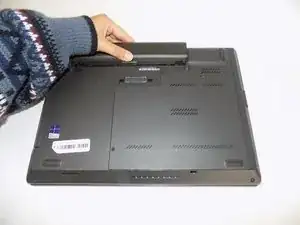
Turn the computer over so that the bottom of the computer is facing up
-
-
-
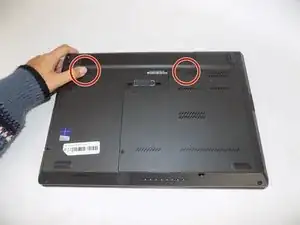
On the left side under the raised surface, move the tab to the left towards the unlocked symbol. Repeat this on the right side and move the tab to the right towards the unlocked symbol.
-
-
-
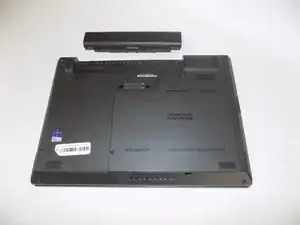
From the top of the laptop, slide the raised surface away from the rest of the laptop and out of its slot to remove the battery from the computer.
-
-
-
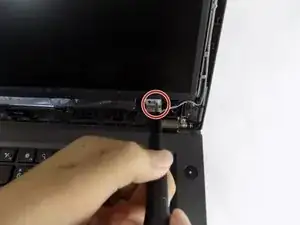
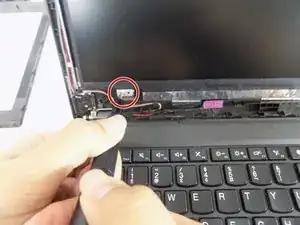
Use the pointed tweezers to remove the coverings on the bottom left and right of the laptop’s screen.
-
To reassemble, follow these steps in reverse order. Turn on the laptop and test your new screen.