Introduction
The keyboard of the laptop serves as the input device, allowing users to enter characters and functions into the laptop's system. When the keys start to not work or produce the wrong characters, you will want to replace the keyboard of your Lenovo ThinkPad L490.
This guide will walk you through the steps to replacing the keyboard of your Lenovo ThinkPad L490.
For this guide you will need the Spudger and the Phillips #0 screwdriver. This guide may have some difficult steps.
-
-
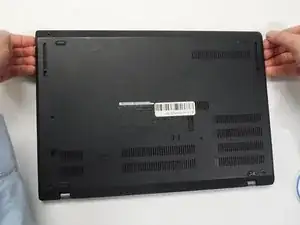
Lay the laptop down with the lower case facing up.
-
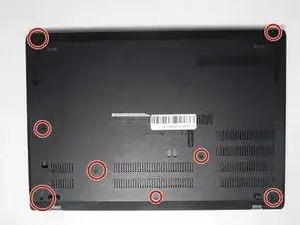
Use a Phillips #00 screwdriver to remove eight 3 mm screws that secure the lower case.
-
-
-
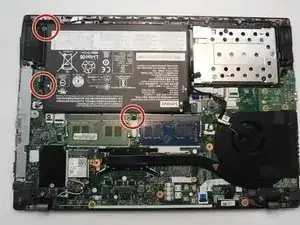
Use a Phillips #0 screwdriver to remove the three m2 x 2.5 mm screws that secure the battery.
-
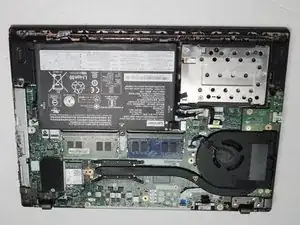
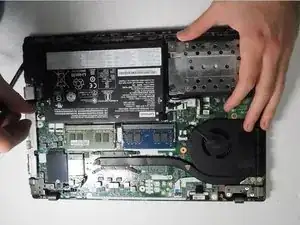
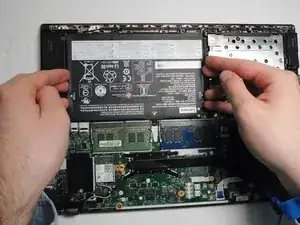
Lift the battery up and out of the chassis.
-
-
-
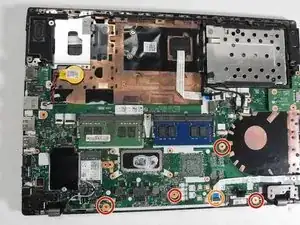
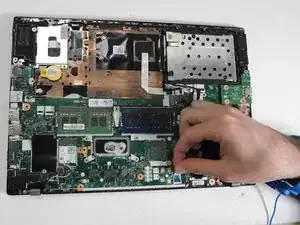
Use a Phillips screwdriver to remove the four screws that secure the keyboard.
-
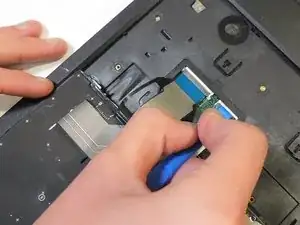
Flip up the black ZIF locking flap and disconnect the ribbon cable.
-
-
-
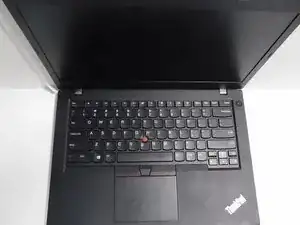
Turn the laptop over and open the lid.
-
Use a Jimmy to pry the left and right mouse buttons off.
-
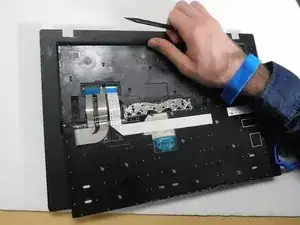
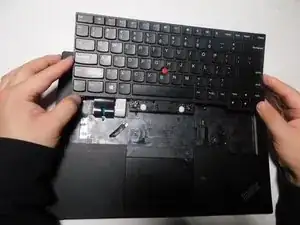
Insert a spudger under the keyboard and pry around the perimeter until it fully releases.
-
Slightly lift the keyboard and set it face down on the palm rest, with care not to strain the attached ribbon cables.
-
-
-
Flip up the two black ZIF locking flaps.
-
Gently pull the two ribbon cables out of their sockets.
-
Remove the keyboard.
-


To reassemble your device, follow the above steps in reverse order.
Take your e-waste to an R2 or e-Stewards certified recycler.