Introduction
If your Lenovo L590 laptop is overheating, making strange noises, or experiencing reduced performance due to inadequate cooling, it's time to replace the internal fan. Over time, laptop fans can accumulate dust, wear out, or fail, leading to overheating and thermal throttling of the CPU, which can affect the overall performance of your system. This step-by-step guide will walk you through replacing the fan on your Lenovo L590 laptop. The procedure requires some basic tools, such as a Phillips-head screwdriver, a plastic spudger, and a micro-fiber towel, with attention to detail, and patience, you can successfully replace the fan and restore your laptop to optimal performance.
-
-
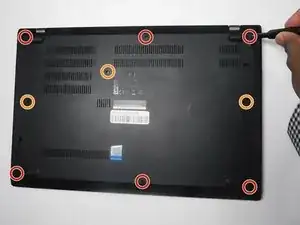
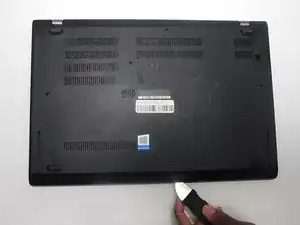
Set the computer down with the lower case facing up.
-
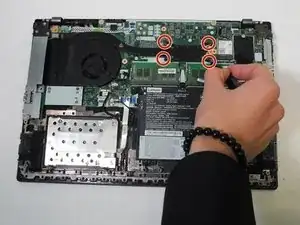
Use a Phillips screwdriver to remove the following screws securing the lower case:
-
Six 10 mm screws
-
Three 5.5 mm screws
-
-
-
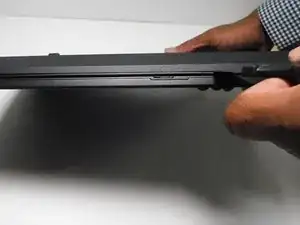
Insert an opening pick into the gap between the lower case and chassis.
-
Gently pry around the entire perimeter of the laptop until all of the retaining clips fully release.
-
-
-
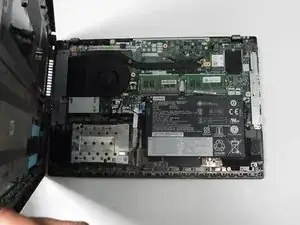
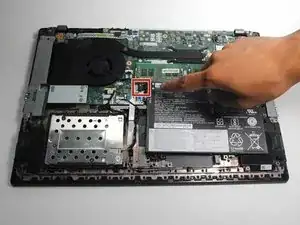
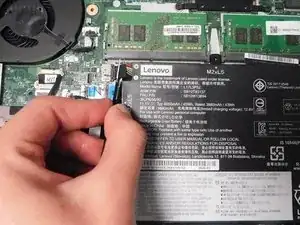
Use tweezers to grip the battery connector and pull it directly out of its motherboard socket.
-
-
-
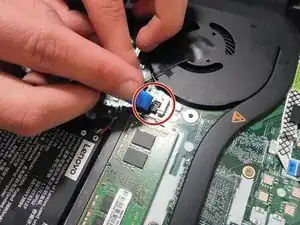
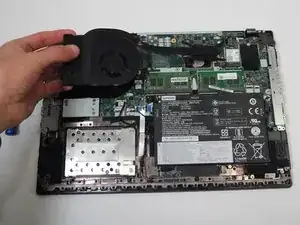
Use an opening tool or your fingernails to gently "walk" the fan connector out of its motherboard socket.
-
To reassemble your device, follow these instructions in reverse order.