Introduction
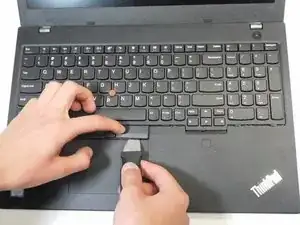
If the keyboard on your Lenovo ThinkPad L590 is not functioning properly—whether due to stuck keys, broken switches, or malfunctioning circuitry—and you have tried trouble shooting it, replacing it can restore your laptop's usability. This guide will walk you through the process of replacing the keyboard by accessing it from the top of the laptop, which is the preferred method when you need to remove the keyboard without fully disassembling the bottom of the laptop.
While this replacement is relatively straightforward, it does require careful handling of delicate components like ribbon cables and screws. Follow these steps, and you'll have your new keyboard installed in no time!
-
-
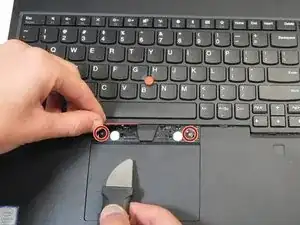
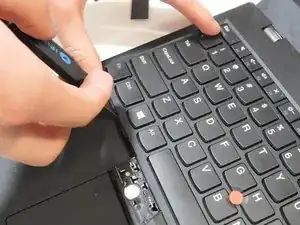
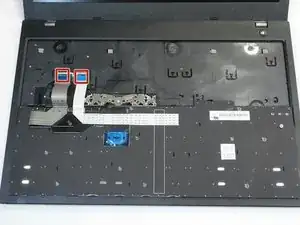
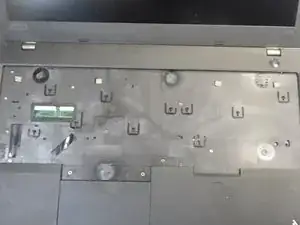
Use a Phillips screwdriver to remove the two 2.5 mm screws that were hidden under the left and right click keys.
-
-
-
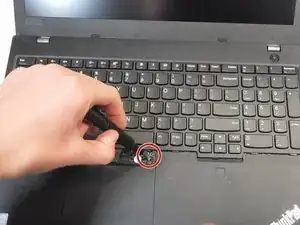
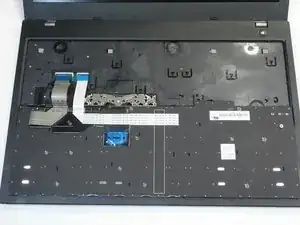
Insert an opening pick in the gap between the keyboard and chassis.
-
Slide the opening pick around the perimeter of the keyboard to release all of the retaining clips.
-
-
-
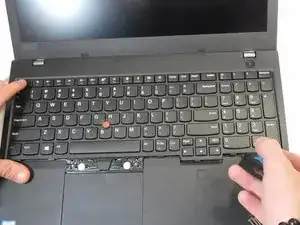
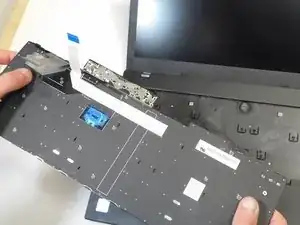
Gently lift the keyboard up at an angle, and tilt it back far enough to expose the ribbon cable that connects the keyboard to the motherboard.
-
-
-
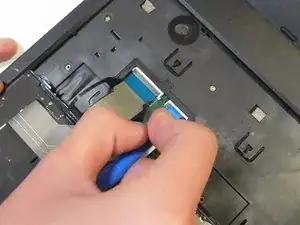
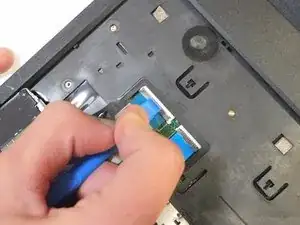
Use a plastic spudger to flip up both of the ZIF locking flaps. Once the latch is released, carefully pull the ribbon cable from the motherboard.
-
Disconnect both of the ribbon cables.
-


To reassemble your device, follow the above steps in reverse order.
Take your e-waste to an R2 or e-Stewards certified recycler.