Introduction

This guide shows how to remove and replace the battery for your Lenovo ThinkPad P1 Gen 7 laptop.

For your safety, discharge your battery below 25% before disassembling your device. This reduces the risk of a dangerous fire if the battery is accidentally damaged during the repair. If your battery is swollen, take appropriate precautions.

  1. Hky5evLi62gANjj4
    Hky5evLi62gANjj4
    nP1pAUBStqpgiQgx
    bcxtRgZYYxDDutZ1
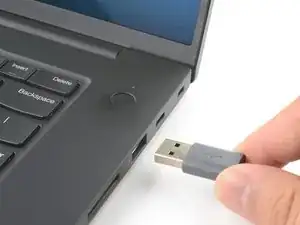
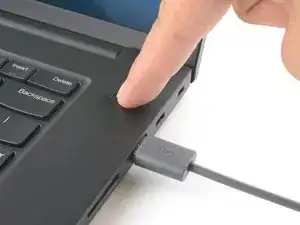
    • Shut down your laptop (don't just put it in sleep mode) and disconnect all cables.

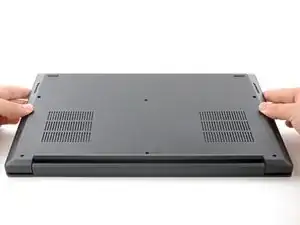
    • Flip the laptop upside-down, and rotate it so the screen hinge faces towards you.

  2. kd6nj51HIZU4CLgB
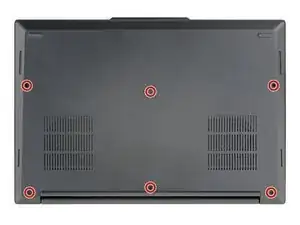
    • Use a Phillips screwdriver to loosen the six captive screws securing the base cover.

  3. TnUbDBhpm1csyjGd
    TnUbDBhpm1csyjGd
    OVDMGDSKdrWUBTqF
    D3J1wuRZFplKJS1p
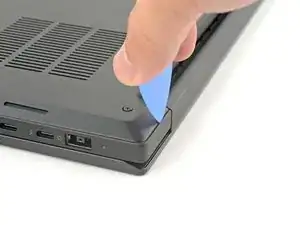
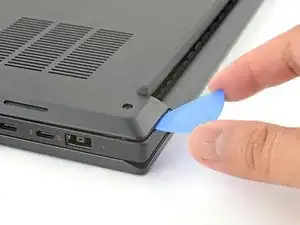
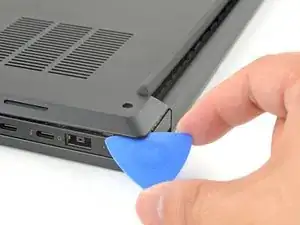
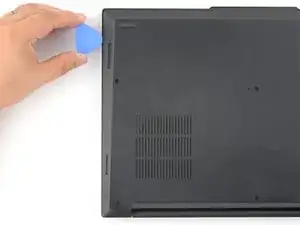
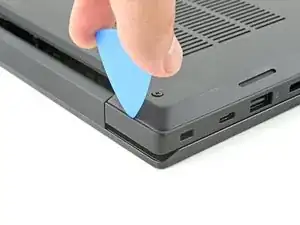
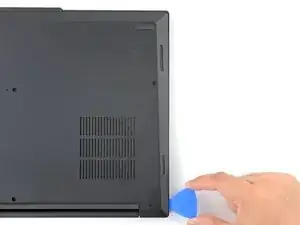
    • Press the tip of an opening pick into the seam between the base cover and the bottom-left corner of the frame (near the screen hinge).

    • It can be tricky to get the pick into the seam for the first time. Angle the pick vertically and press down with firm pressure.

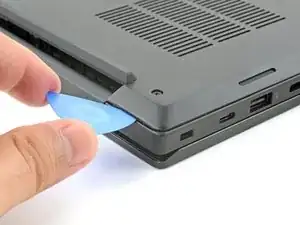
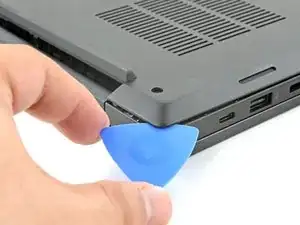
    • Pivot the pick down and slide it around the corner to release the clips.

  4. mV3tYjq5unNgXONf
    mV3tYjq5unNgXONf
    sYXJmArsjNjcMFhw
    pl4EYrPNtHj54Hiu
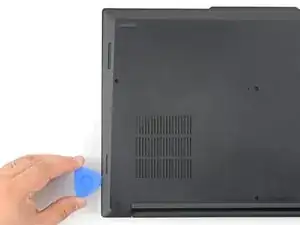
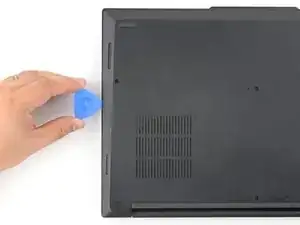
    • Slide the opening pick along the left edge to release the clips securing the cover.

  5. LPOuLZvAkHTHxnow
    LPOuLZvAkHTHxnow
    kuUGdKtBIT2aoDD6
    gX5rinlsZxTFTYvt
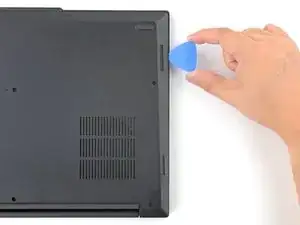
    • Press the tip of an opening pick into the seam between the base cover and the bottom-right corner of the frame (near the screen hinge).

    • Pivot the pick down and slide it around the corner to release the clips.

  6. OYCPwhZBQ3DSL6iS
    OYCPwhZBQ3DSL6iS
    ADMQ6xOaKhr3iDJQ
    • Slide the opening pick along the right edge to release the clips securing the cover.

  7. mli5uNyh5B3VvJYq
    mli5uNyh5B3VvJYq
    pi1FMEEgovLev5Va
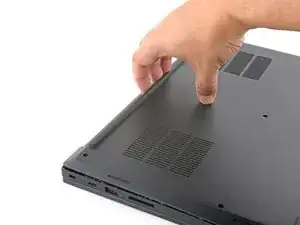
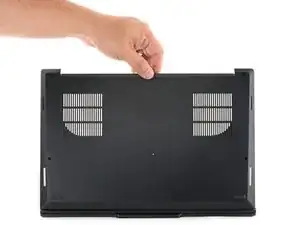
    • Grasp the base cover along the screen hinge edge and pull up to loosen the cover.

  8. eSmpovtPIckqcxqh
    eSmpovtPIckqcxqh
    SfbdhOlR4SwmZZxk
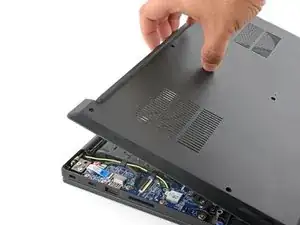
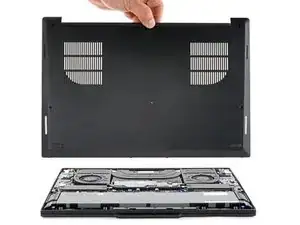
    • Lift and remove the base cover.

  9. psWPywXnS2QVFFDK
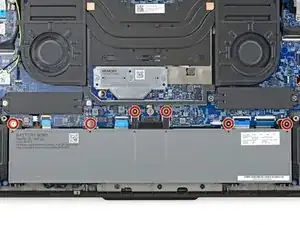
    • Because of the battery connector's design, the only way to disconnect the battery is by physically removing it.

    • Use a Phillips screwdriver to loosen the six captive screws securing the battery.

  10. GExIM6rM3PVJGFn3
    GExIM6rM3PVJGFn3
    AJBIVGkxVIR3nket
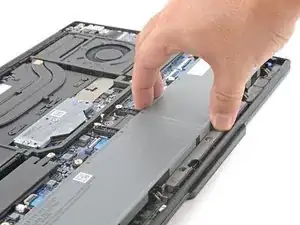
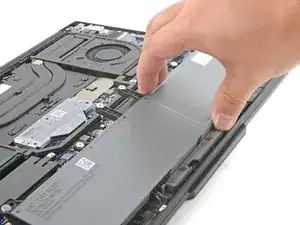
    • Grasp the top edge of the battery and lift to disconnect it.

    • You may feel a little resistance from the battery connector as it disconnects—that's normal.

  11. Xa43rTRPBmcWCIGE
    Xa43rTRPBmcWCIGE
    iQYsaIEOSaKvOX2C
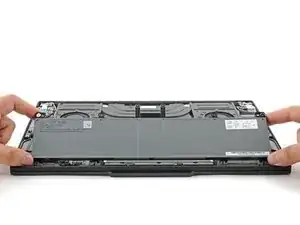
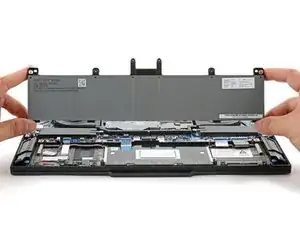
    • Lift and remove the battery.

Conclusion

To reassemble your device, follow these instructions in reverse order.

For optimal performance, after completing this guide, calibrate your newly installed battery.

Take your e-waste to an R2 or e-Stewards certified recycler.

Repair didn’t go as planned? Try some basic troubleshooting, or ask our Answers community for help.
Arthur Shi

Member since: 03/01/18

282916 Reputation

0 comments