Introduction
Follow this guide to replace the fans and heatsink assembly in your Lenovo ThinkPad P1 Gen 7 laptop. You can also use this guide to reapply thermal paste.
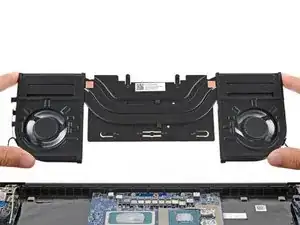
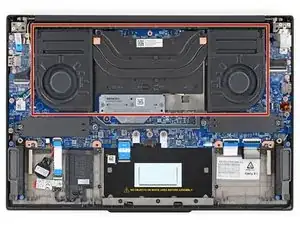
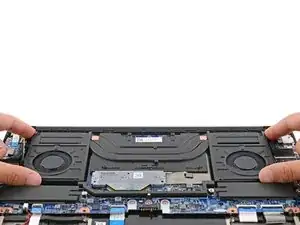
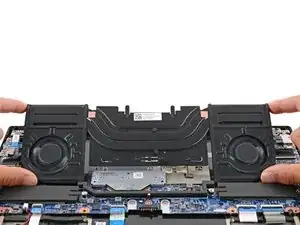
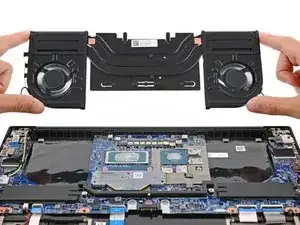
Both the laptop's fans are attached to the heatsink as one assembly. To replace either fan or the heatsink, you must replace the entire assembly.
If your laptop's fans aren't spinning or your laptop is overheating, you may need to replace the fans and heatsink assembly.
You'll need new thermal paste (regular and viscous) to complete this repair.
For your safety, discharge your battery below 25% before disassembling your device. This reduces the risk of a dangerous fire if the battery is accidentally damaged during the repair. If your battery is swollen, take appropriate precautions.
-
-
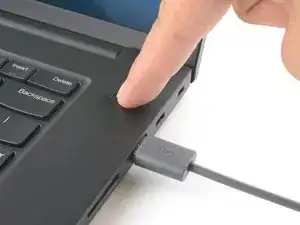
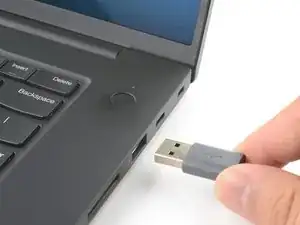
Shut down your laptop (don't just put it in sleep mode) and disconnect all cables.
-
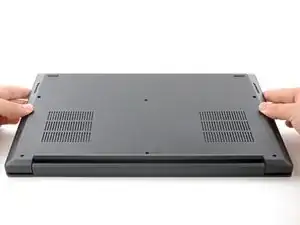
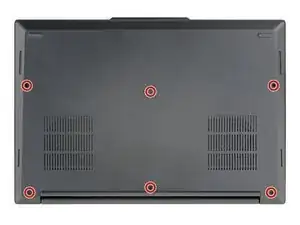
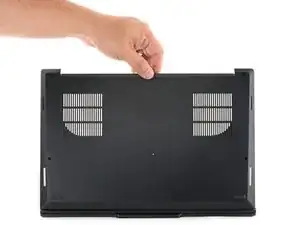
Flip the laptop upside-down, and rotate it so the screen hinge faces towards you.
-
-
-
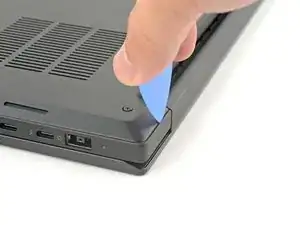
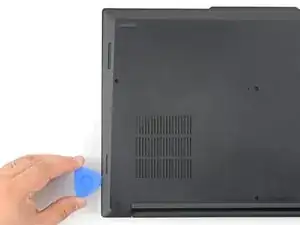
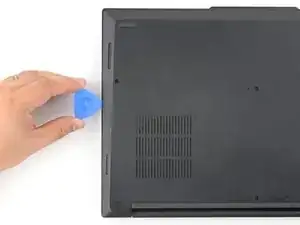
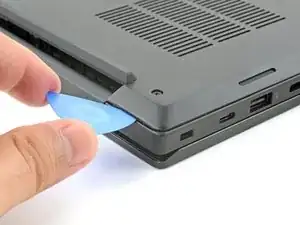
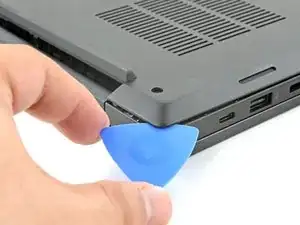
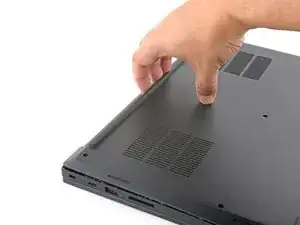
Press the tip of an opening pick into the seam between the base cover and the bottom-left corner of the frame (near the screen hinge).
-
Pivot the pick down and slide it around the corner to release the clips.
-
-
-
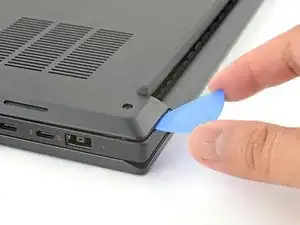
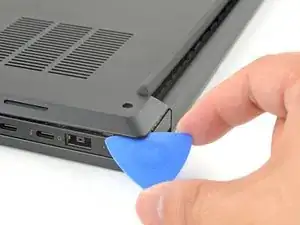
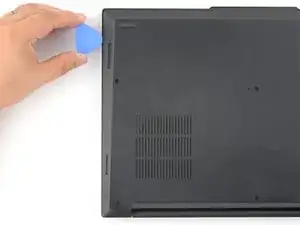
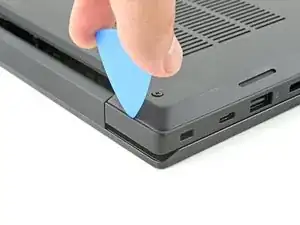
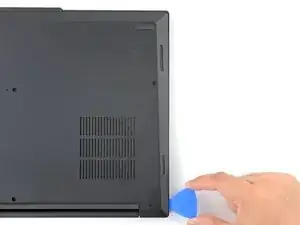
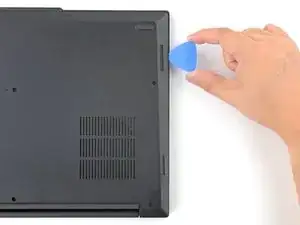
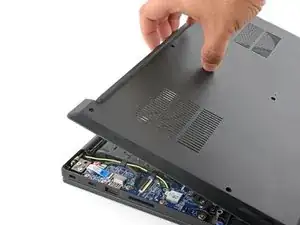
Press the tip of an opening pick into the seam between the base cover and the bottom-right corner of the frame (near the screen hinge).
-
Pivot the pick down and slide it around the corner to release the clips.
-
-
-
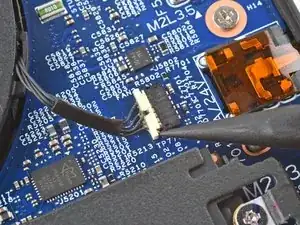
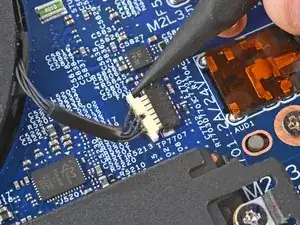
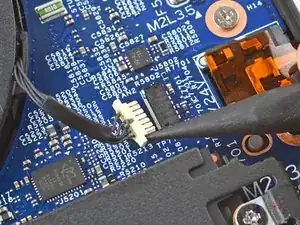
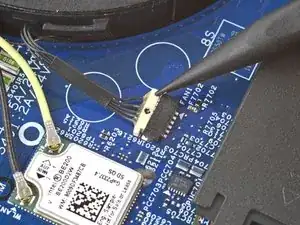
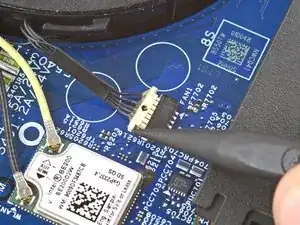
Use the point of a spudger to push on alternating sides of the fan connector near the right edge and "walk" it out of its socket.
-
-
-
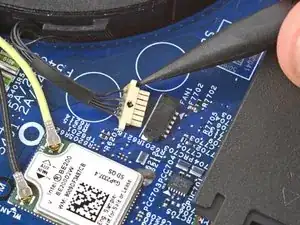
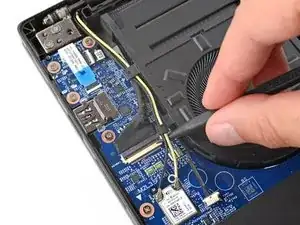
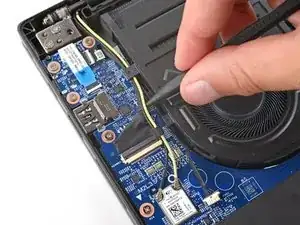
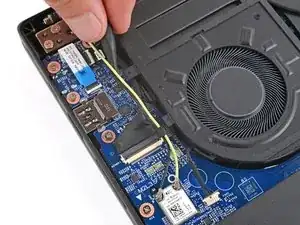
Use a spudger or your fingers to gently guide the two thinner cables (black and yellow) out of their clips on the edge of the left fan.
-
-
-
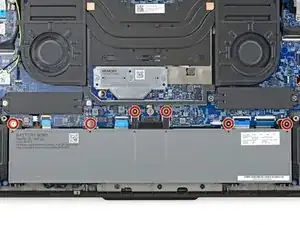
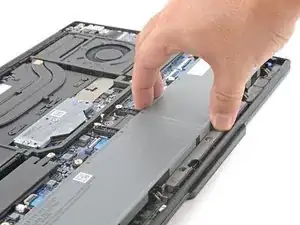
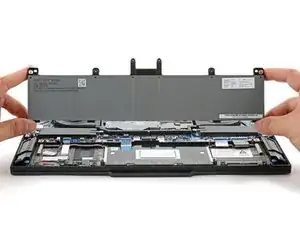
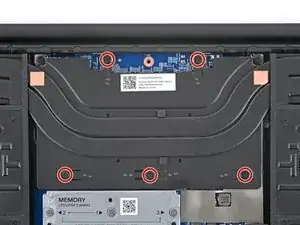
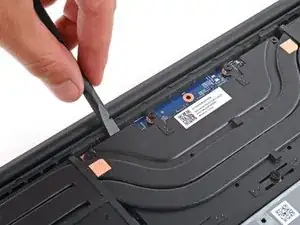
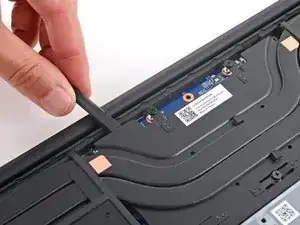
Insert the flat end of a spudger under the top edge of the heatsink and pry up to separate it.
-
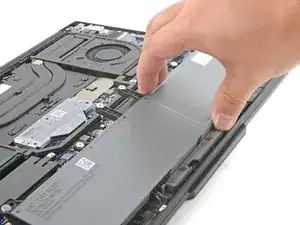
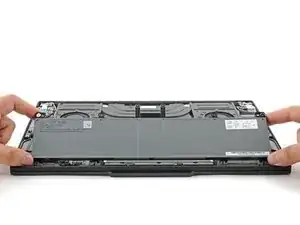
Continue prying up along the top edge to fully separate the heatsink.
-
-
-
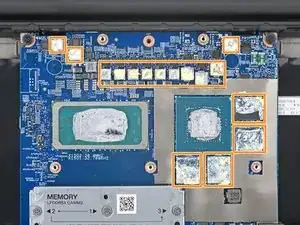
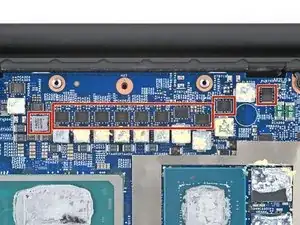
Remove all the old thermal paste and its residue from the motherboard:
-
The CPU and GPU have gray thermal paste on them.
-
The components around the CPU and GPU have a yellow, viscous thermal compound.
-
If you're reusing the heatsink and fan assembly, remove all the old thermal paste and compound from the corresponding spots on its underside.
-
-
-
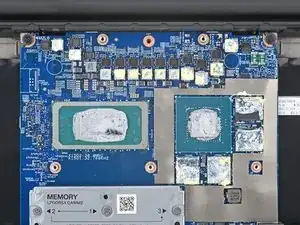
Apply new thermal paste to the CPU and GPU.
-
Apply a viscous thermal compound to the components around the CPU and GPU.
-
-
-
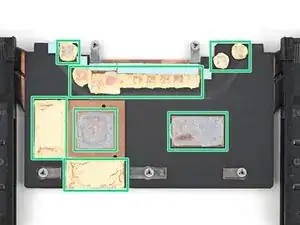
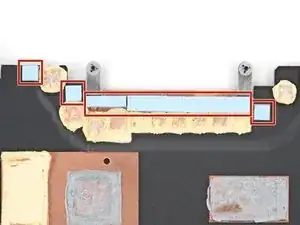
If any of the small blue thermal pads stuck to the top edge of the heatsink, carefully remove and transfer them to their corresponding spots on the motherboard.
-


To reassemble your device, follow these instructions in reverse order.
Take your e-waste to an R2 or e-Stewards certified recycler.
Repair didn’t go as planned? Try some basic troubleshooting, or ask our Answers community for help.