Introduction
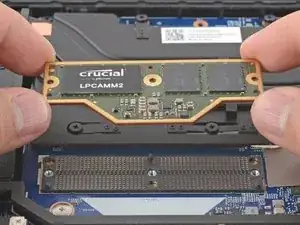
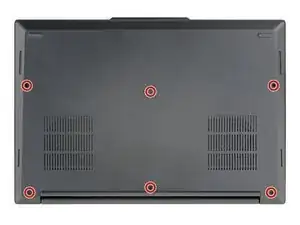
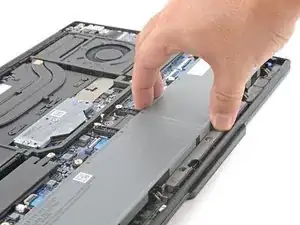
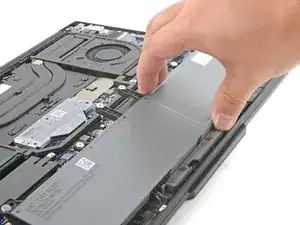
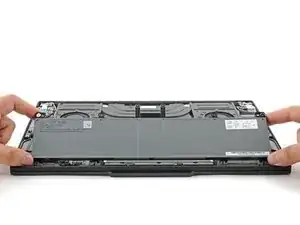
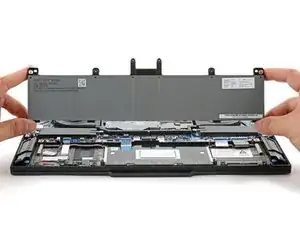
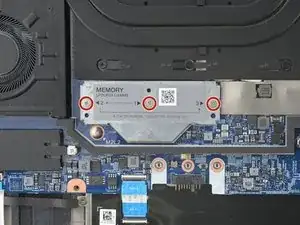
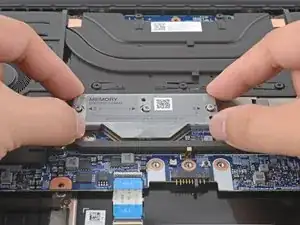
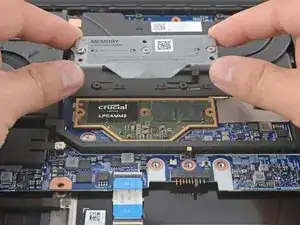
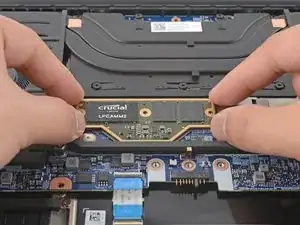
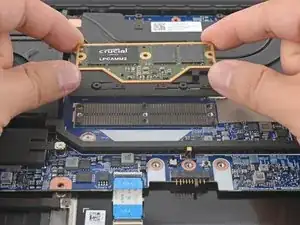
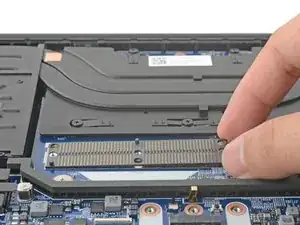
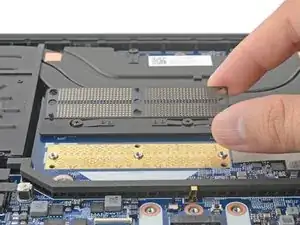
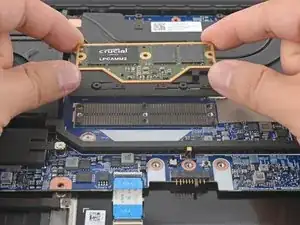
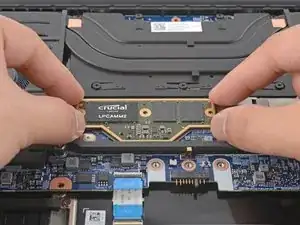
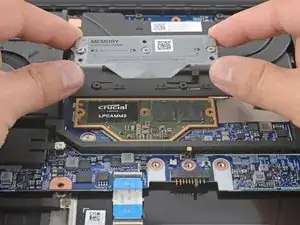
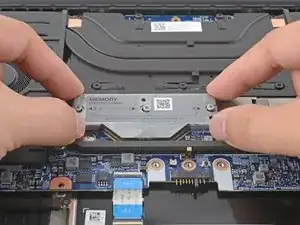
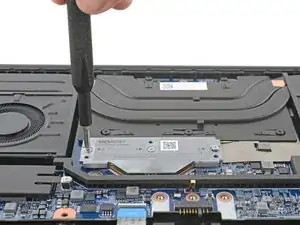
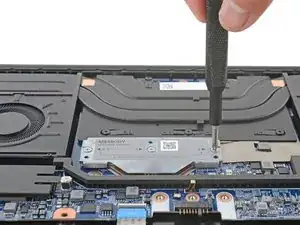
Follow this guide to remove, replace, or upgrade the LPCAMM2 (Low Power Compression-Attached Memory Module) in your Lenovo ThinkPad P1 Gen 7 laptop.
The ThinkPad P1 Gen 7 uses LPDDR5X memory in its LPCAMM2.
For your safety, discharge your battery below 25% before disassembling your device. This reduces the risk of a dangerous fire if the battery is accidentally damaged during the repair. If your battery is swollen, take appropriate precautions.
Tools
Parts
-
-
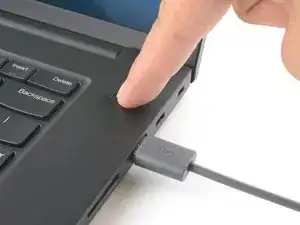
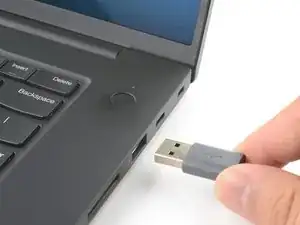
Shut down your laptop (don't just put it in sleep mode) and disconnect all cables.
-
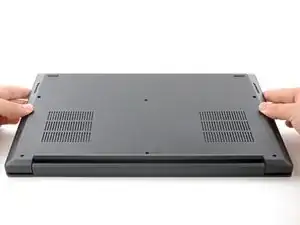
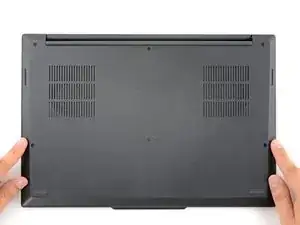
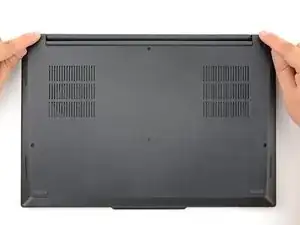
Flip the laptop upside-down, and rotate it so the screen hinge faces towards you.
-
-
-
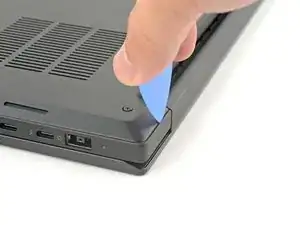
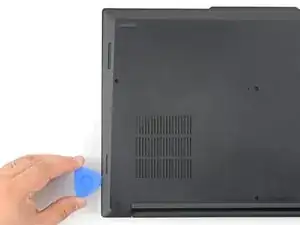
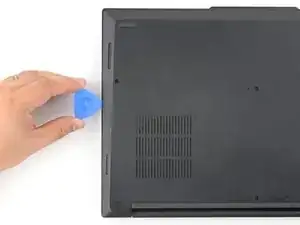
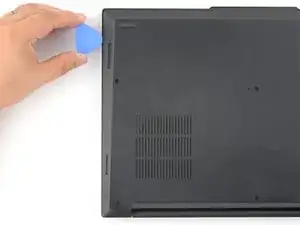
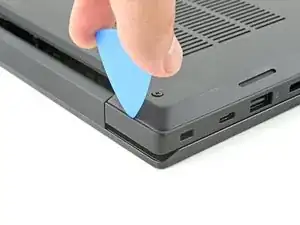
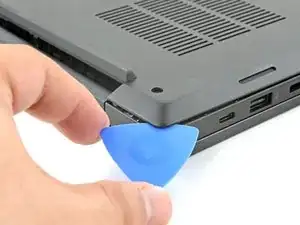
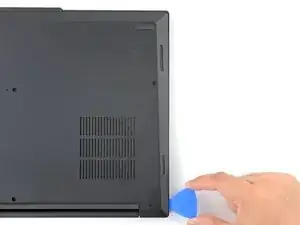
Press the tip of an opening pick into the seam between the base cover and the bottom-left corner of the frame (near the screen hinge).
-
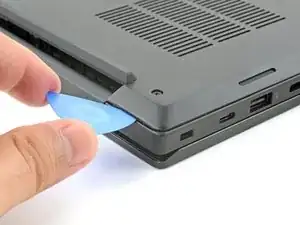
Pivot the pick down and slide it around the corner to release the clips.
-
-
-
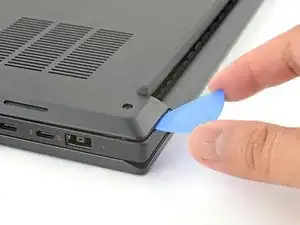
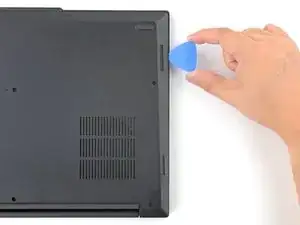
Press the tip of an opening pick into the seam between the base cover and the bottom-right corner of the frame (near the screen hinge).
-
Pivot the pick down and slide it around the corner to release the clips.
-
-
-
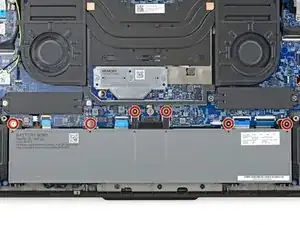
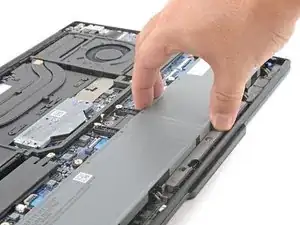
Align the bottom edge of the battery to its recess.
-
Lay the battery into its recess and press down gently.
-
-
-
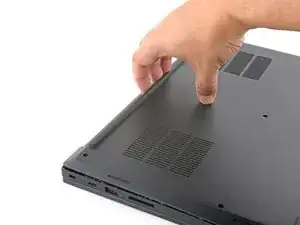
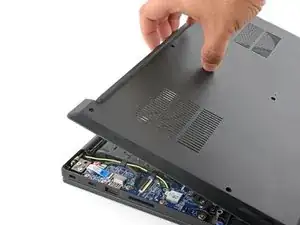
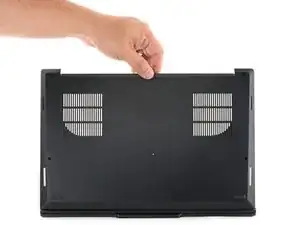
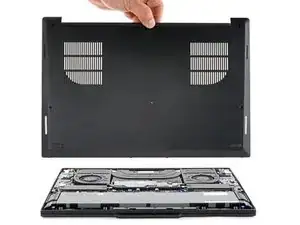
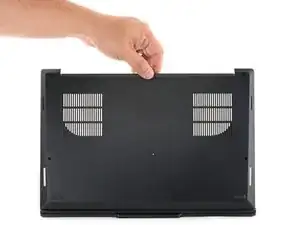
Align the base cover to the chassis and lay it in place.
-
Press firmly along the sides and corners of the base cover to reengage the clips.
-
Take your e-waste to an R2 or e-Stewards certified recycler.
Repair didn’t go as planned? Try some basic troubleshooting, or ask our Answers community for help.
One comment
Thank you, iFixit, for the detailed, easy-to-understand repair guide on the new, revolutionary LPCAMM2 memory on the ThinkPad P1 Gen 7.
