Introduction

The internal battery allows you to use your Lenovo ThinkPad P50s laptop while not being plugged into an outlet. When the battery begins to drain quickly or has physical damage, you should replace it. This guide demonstrates how to replace the battery pack or internal battery. Some versions of the Lenovo ThinkPad P50s don't have an internal battery, there is just a "dummy battery."

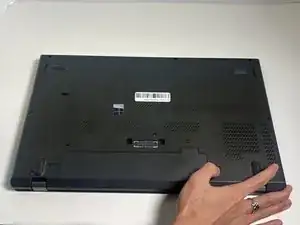
Before you begin, disable the battery and remove the micro SIM card if your device has one. Make sure the laptop is off and disconnect the AC power adapter.

Safety measures should be taken before replacing the battery if it is swollen.

  1. xEEWgOBDeaREkqxp
    xEEWgOBDeaREkqxp
    Z22intp1KCeSE4KJ
    • Flip the device over so the bottom is facing you.

  2. ErGwlN1qruB6p2AW
    ErGwlN1qruB6p2AW
    FhkoiaxMaVbkTRsX
    • Use your thumb to slide the right lock switch button outward.

    How to slide the lock switch button outward--be more descriptive

    Alex Watkins -

  3. TteUBLmkCMytrLwe
    TteUBLmkCMytrLwe
    TLMJqGXH3yPFQNGW
    1Doj1aPZ4LEGMsH3
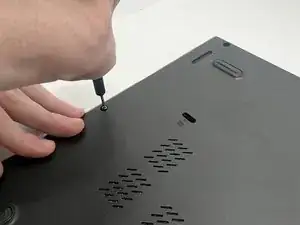
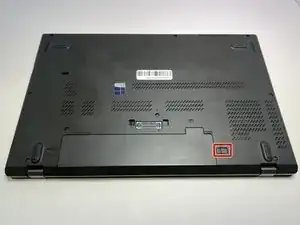
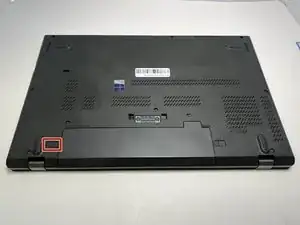
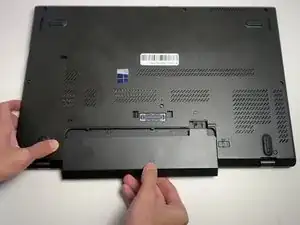
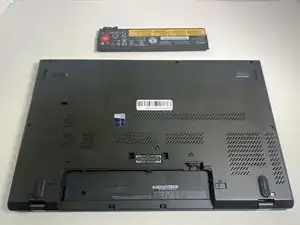
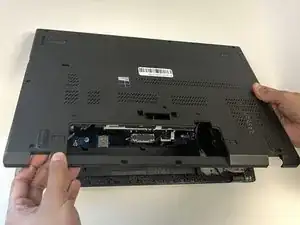
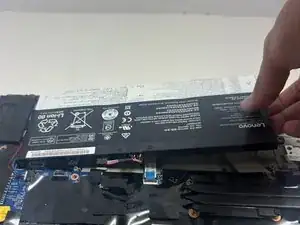
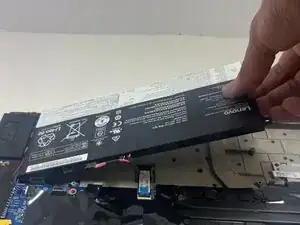
    • With your thumb slide the left lock switch button outward while sliding the battery out with your other hand.

    • When replacing the battery, make sure that the connectors are aligned properly.

    • You may hear a click when the battery is fully seated and the lock engages.

  4. KhBDyi2vjeupnAkN
    KhBDyi2vjeupnAkN
    KAFUsd2QBqWmv2mu
    • Use a Phillips #00 screwdriver to unscrew the eight 2 mm captive screws.

    • These screws should not be removed entirely; you will be able to take off the base cover once they are loosened.

  5. BP5iBYJqyAgYLLMP
    BP5iBYJqyAgYLLMP
    aNpIAmwSZMA42UhK
    rdmvngnJmiaK1JVX
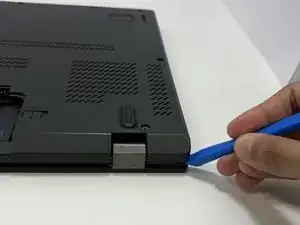
    • With the plastic opening tool, pry up the base cover.

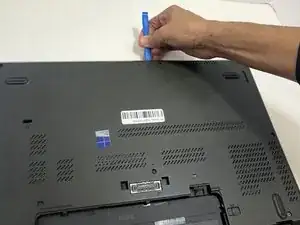
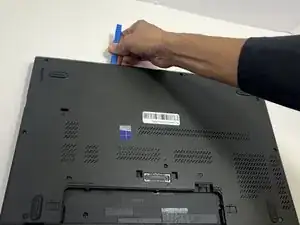
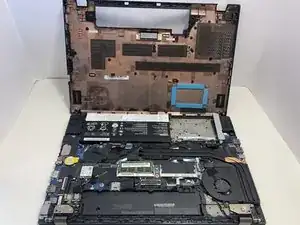
    • Slide the opening tool around the edge of the laptop to release the snap tabs.

    • You may need to use opening picks to hold the tabs apart, as the base is securely attached and tends to snap back into place.

  6. OrVPTLiQEVUIZUln
    OrVPTLiQEVUIZUln
    SDT3LuDxmdj5YsPv
    • Lift the base cover off the laptop.

  7. LCdUinglgDHD5WE1
    LCdUinglgDHD5WE1
    5WmmjPjIBx1H1qeq
    wPvJEDVL3oNwvoGj
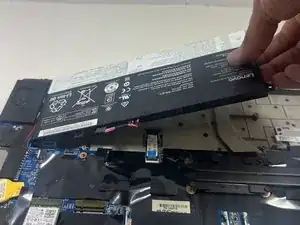
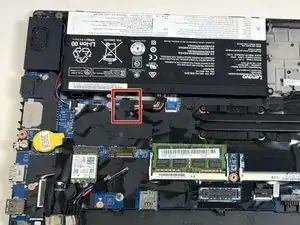
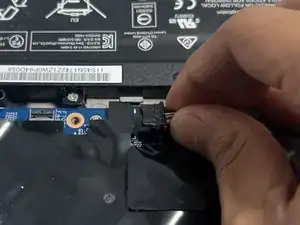
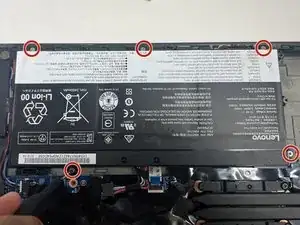
    • With your fingers or a spudger, disconnect the battery cable from the motherboard.

    • Use the point of a spudger to push on alternating sides of the connector to "walk" it out of its socket.

    • It may take a lot of alternating before the connector comes out. Be patient, and don't pull on the cables.

    • To reconnect the cable, align the connector and use a spudger or clean fingernail to push it fully into the socket.

    • Don't push or pull on the cables themselves, or you may damage the connector.

  8. qjUwL1PMAj5n5WWh
    • Use a Phillips #00 screwdriver to remove the five 2.5 mm retaining screws.

  9. ZV3BihKa5RPnDUOK
    ZV3BihKa5RPnDUOK
    qv5iM4qHOKEJFR2A
    • Lift the battery away from the device to remove it.

Conclusion

To reassemble your device, follow these instructions in reverse order.

Jaylan

Member since: 09/09/24

645 Reputation

0 comments