Introduction

Is your Lenovo ThinkPad P50s keyboard not performing as expected? If you're dealing with a worn-out key or a complete keyboard malfunction, try out these solutions on the keyboard troubleshooting page. If those don't seem to work, follow this guide which walks you through the process step-by-step on how to replace your keyboard. With a minimal amount of tools, easy-to-follow instructions, and helpful tips, you'll be able to replace your keyboard with ease.

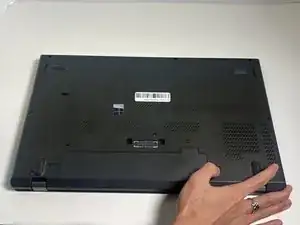
Before you begin this guide, you should disable the built-in battery. Here is a link with instructions on how to do so on page 123. You should also disconnect the AC power adapter and turn off the laptop.

  1. xEEWgOBDeaREkqxp
    xEEWgOBDeaREkqxp
    Z22intp1KCeSE4KJ
    • Flip the device over so the bottom is facing you.

  2. ErGwlN1qruB6p2AW
    ErGwlN1qruB6p2AW
    FhkoiaxMaVbkTRsX
    • Use your thumb to slide the right lock switch button outward.

    How to slide the lock switch button outward--be more descriptive

    Alex Watkins -

  3. TteUBLmkCMytrLwe
    TteUBLmkCMytrLwe
    TLMJqGXH3yPFQNGW
    1Doj1aPZ4LEGMsH3
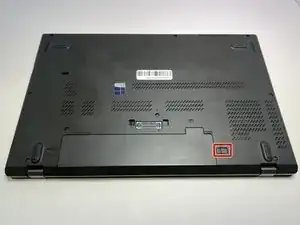
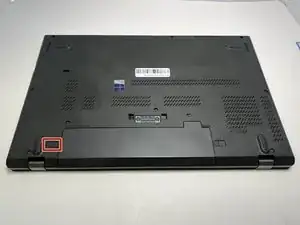
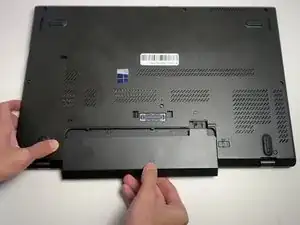
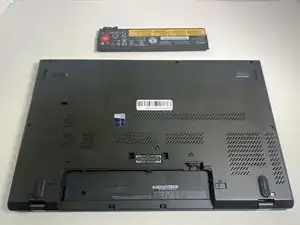
    • With your thumb slide the left lock switch button outward while sliding the battery out with your other hand.

    • When replacing the battery, make sure that the connectors are aligned properly.

    • You may hear a click when the battery is fully seated and the lock engages.

  4. BPT4I4vCab41FVIR
    BPT4I4vCab41FVIR
    rWkRofnvSfh1wygv
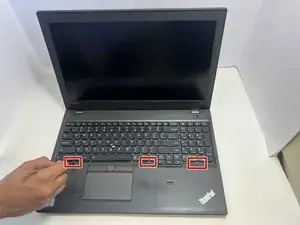
    • Use a spudger to push on the indents in the keyboard approximately 2.5 mm forward to reveal the 1.7 mm screws.

    • While the images show a metal spudger, you should avoid using one as it could damage the electronics of the device.

  5. qJIWQXXyD25Rkrgm
    qJIWQXXyD25Rkrgm
    qqhU3HugWZWTkvSc
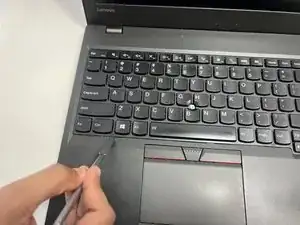
    • Use a Phillips #00 screwdriver to remove the six 2.5 mm screws on the keyboard

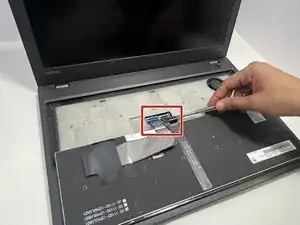
    • Flip the keyboard forward to lie flat on the keys, exposing the two ribbons.

    • Be careful not to rip the ribbons when you flip the keyboard over.

  6. PqIRdlGh64QLnXOw
    PqIRdlGh64QLnXOw
    ACtsy2BWh1XExJCC
    O3QwUGxuH4sFf1lN
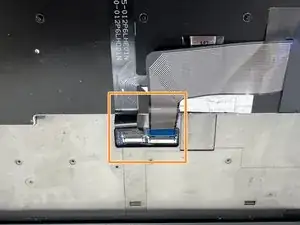
    • Use a spudger or a clean fingernail to flip up the locking flap—this is the unlocked position.

    • Use the widest tool possible to avoid damaging the delicate hinge pins.

    • Use tweezers or your fingers to gently pull the cables out of their sockets.

    • If the cable has a pull tab, use it to grip the cable. You may damage the cable by gripping it directly.

    • To reconnect, make sure the locking flap is flipped up and gently reinsert the cable. Then, flip the locking flap down to secure the cable. The cable should slide into the socket with little to no force. If you're having trouble, remove it, check that the flap is fully unlocked, and try again.

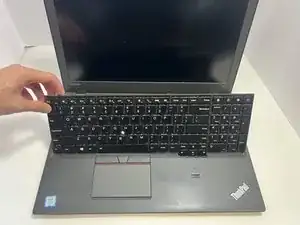
    • Remove the keyboard from the laptop.

Conclusion

To reassemble your device, follow these instructions in reverse order. Take your e-waste to an R2 or e-Stewards certified recycler.

Don Pangottil

Member since: 09/09/24

197 Reputation

0 comments