Introduction

The following guide will show you how to remove your random-access memory (RAM) stick from a Lenovo ThinkPad P50s, and replace it with a new one. The RAM stores the data your computer processor needs to run your applications and open files on your laptop. It keeps the data easily available so your processor can quickly retrieve it to complete immediate processing tasks.

When you need to replace the RAM, your laptop will usually tell you with a notification saying, “low memory” or “out of memory.” If you are experiencing poor performance in everyday tasks, programs are taking longer than usual to load, or programs don’t respond, this could also mean it’s time for a new one.

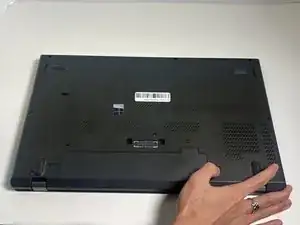
Before you begin this guide, you should disable the built-in battery. Here is a link with instructions on how to do so on page 123. Also, turn off the laptop and disconnect it from the AC charger.

  1. xEEWgOBDeaREkqxp
    xEEWgOBDeaREkqxp
    Z22intp1KCeSE4KJ
    • Flip the device over so the bottom is facing you.

  2. ErGwlN1qruB6p2AW
    ErGwlN1qruB6p2AW
    FhkoiaxMaVbkTRsX
    • Use your thumb to slide the right lock switch button outward.

    How to slide the lock switch button outward--be more descriptive

    Alex Watkins -

  3. TteUBLmkCMytrLwe
    TteUBLmkCMytrLwe
    TLMJqGXH3yPFQNGW
    1Doj1aPZ4LEGMsH3
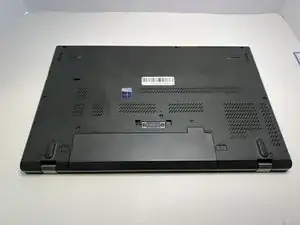
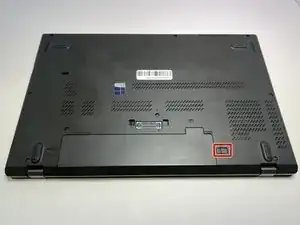
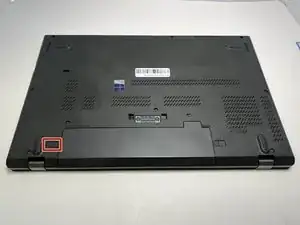
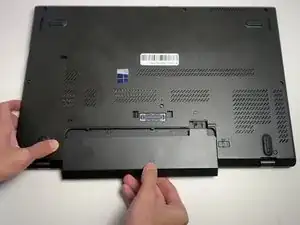
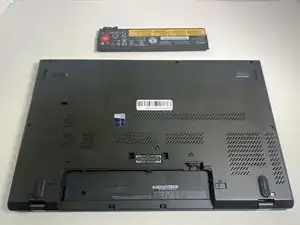
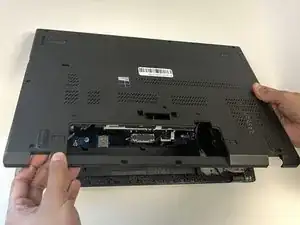
    • With your thumb slide the left lock switch button outward while sliding the battery out with your other hand.

    • When replacing the battery, make sure that the connectors are aligned properly.

    • You may hear a click when the battery is fully seated and the lock engages.

  4. KhBDyi2vjeupnAkN
    KhBDyi2vjeupnAkN
    KAFUsd2QBqWmv2mu
    • Use a Phillips #00 screwdriver to unscrew the eight 2 mm captive screws.

    • These screws should not be removed entirely; you will be able to take off the base cover once they are loosened.

  5. BP5iBYJqyAgYLLMP
    BP5iBYJqyAgYLLMP
    aNpIAmwSZMA42UhK
    rdmvngnJmiaK1JVX
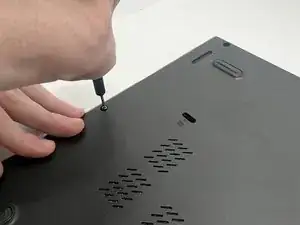
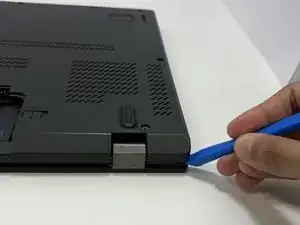
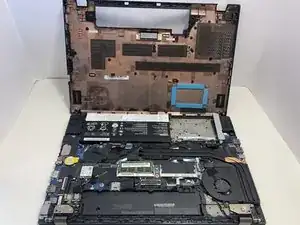
    • With the plastic opening tool, pry up the base cover.

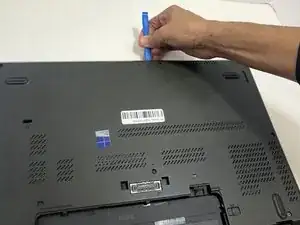
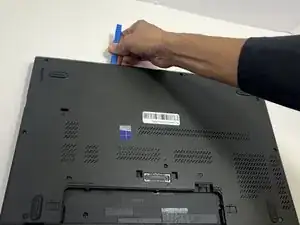
    • Slide the opening tool around the edge of the laptop to release the snap tabs.

    • You may need to use opening picks to hold the tabs apart, as the base is securely attached and tends to snap back into place.

  6. OrVPTLiQEVUIZUln
    OrVPTLiQEVUIZUln
    SDT3LuDxmdj5YsPv
    • Lift the base cover off the laptop.

  7. tXpQKMv6qPV5B6bb
    tXpQKMv6qPV5B6bb
    XmyOtwCaKLpPAvK2
    XLAO4fWjmrsGbZxx
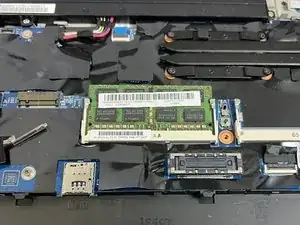
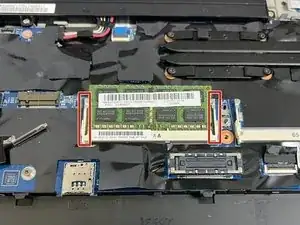
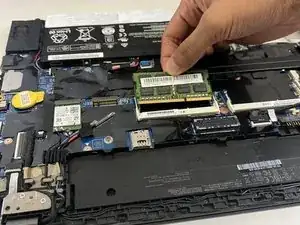
    • With your thumbs, press outward on the two white retaining arms to release the RAM stick.

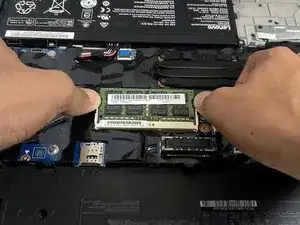
    • Slide the RAM out of the socket at the same angle it was released to avoid bending the connecting pins.

    • When sliding the RAM stick into the socket, carefully align the connecting pins to avoid damaging the connector or the RAM stick. Push down on the RAM until the white arms click into place.

Conclusion

To reassemble your device, follow these instructions in reverse order. Take your e-waste to an R2 or e-Stewards certified recycler.

Evan G

Member since: 09/09/24

193 Reputation

0 comments