Introduction

  1. go3KMfnuBMmogdmW
    • Set the screen assembly down so the display is facing up.

  2. OpL52sbww1loeBs2
    OpL52sbww1loeBs2
    yo3EGlB5IyFqc2Da
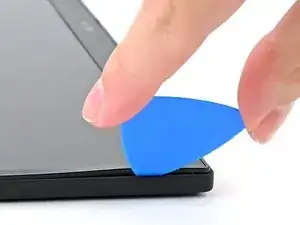
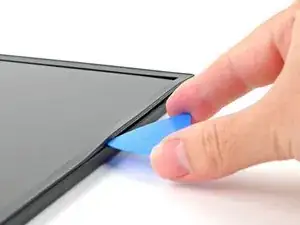
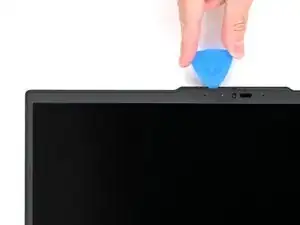
    • Insert the tip of an opening pick at a downward angle between the bezel and screen assembly, near the top right corner.

    • Lower the pick so it's flat with the screen and the tip is under the screen bezel.

  3. QoAp21dypU1DBMQw
    QoAp21dypU1DBMQw
    JnYPcUkOIQkp3Ua2
    YQtYyIGKQXMWurUt
    • Don’t insert your pick further than the tip, as you might damage the display

    • Slide your opening pick down the right edge to unfasten the bezel clips.

  4. jKITLFwyFqXgS6wA
    jKITLFwyFqXgS6wA
    rsO3XlTnRlE2Lqwq
    2XsVfPZYWBH3IoZL
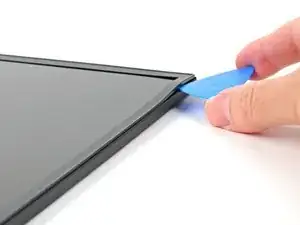
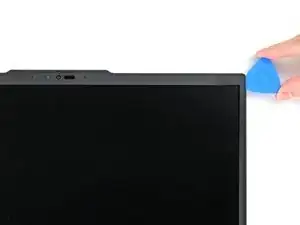
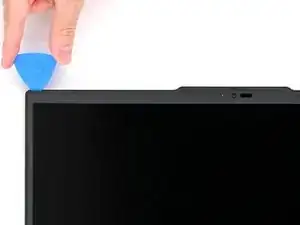
    • Re-insert your opening pick near the top right corner.

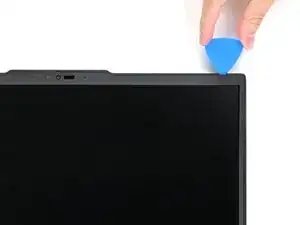
    • Slide your opening pick around the top right corner to unfasten the frame clips, stopping before you hit the webcam.

    • Remove the opening pick.

  5. ISEFPlbOvIcWLEwM
    ISEFPlbOvIcWLEwM
    eMRkTIfZetjhHlcB
    BsCdYwNbbedSlSwH
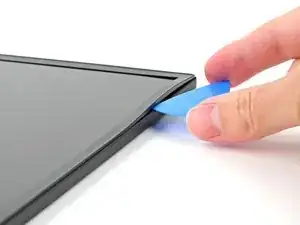
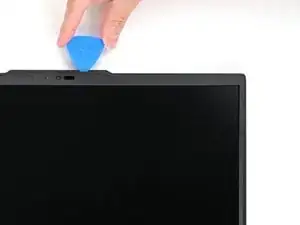
    • Re-insert your pick to the left of the webcam and slide it towards the top left corner and down the left edge to unfasten the remaining clips.

  6. 62etxPSBEKZdxaJ6
    62etxPSBEKZdxaJ6
    HDu6eVuNRTaERQS2
    o2AwpyfZ3noLe3CP
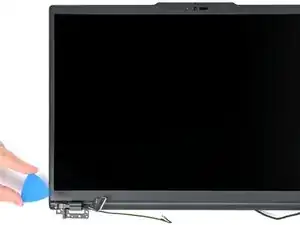
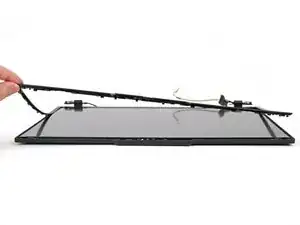
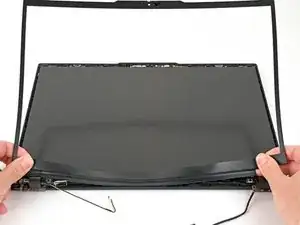
    • Gently lift the bezel on the right, top, and left edge to ensure all the clips are fully unfastened.

  7. WXylJWYhSKASoNTQ
    WXylJWYhSKASoNTQ
    QPgT1tE5uANGEZy1
    • The bottom edge of the bezel is held in place with strong adhesive and clips.

    • Ensure you're separating the bottom edge of the bezel from the protective film and not the protective film from the screen. If the film starts to peel up, gently press it back into place before you continue peeling up the bezel.

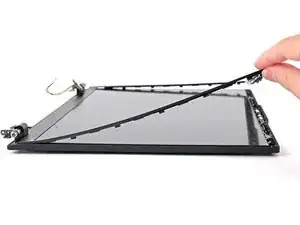
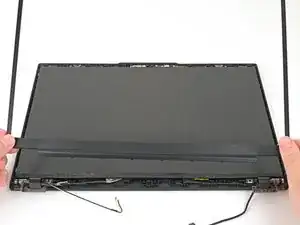
    • Use your fingers to slowly peel the bottom edge of the bezel from the protective film on the display.

    • If you're having a hard time separating the adhesive, use your opening pick to slice through the adhesive, being very careful not to cut the film. If it is still difficult, use an iOpener or hair dryer to lightly heat the bottom edge of the bezel.

  8. TNTy46ANtClD1pGy
    TNTy46ANtClD1pGy
    QgUxkCfnRWN1ot2d
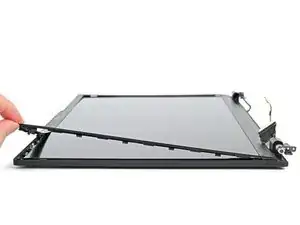
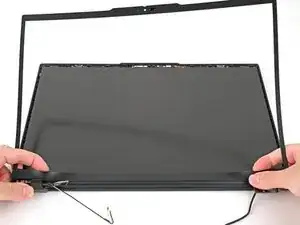
    • Once the adhesive is completely separated, lift the bottom edge of the bezel straight up to unfasten its clips.
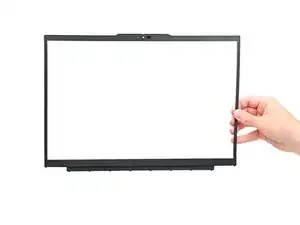
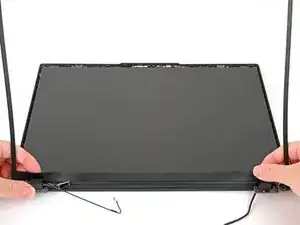
    • Remove the bezel.

    • To re-install this bezel or install a new one, you may need to replace the adhesive if the bezel isn't sticking correctly. If your replacement part does not include adhesive, use thin, double-sided tape. Use the 5mm strips for the bottom and the 1mm strips around the top and sides. Remove all residue from the original adhesive before replacing.

Conclusion

To reassemble your device, follow these instructions in reverse order.

Nick Schultz

Member since: 24/03/24

19090 Reputation

0 comments