Introduction
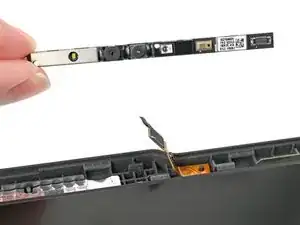
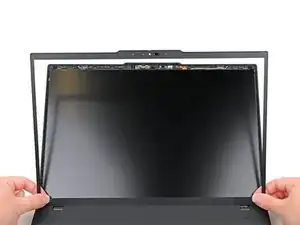
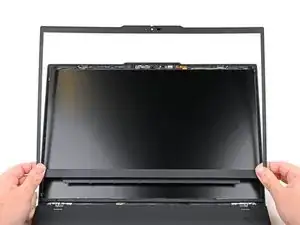
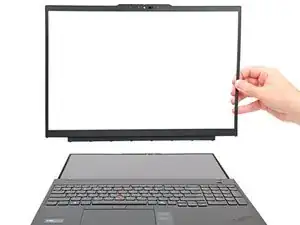
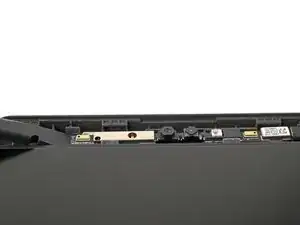
Follow this guide to replace the webcam and microphone module in your Lenovo ThinkPad T16 Gen 3 laptop.
Some signs of a faulty webcam and microphone include error messages that the camera/mic is not enabled or cannot be found, or the camera light is on but the camera/mic itself is unresponsive. If you are running Windows 10 or 11, your camera issues may be resolved using this troubleshooting guide.
This laptop has an optional IR camera in addition to the standard webcam. This guide features the former, but the process is equivalent for the latter. If you want to upgrade your standard camera to one with IR, you will need to replace the bezel and cable, which are not covered in this guide.
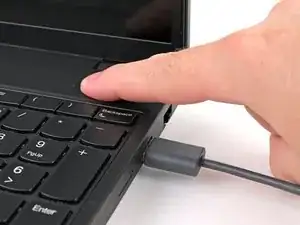
Disable the internal battery before you begin this repair.
Tools
Parts
-
-
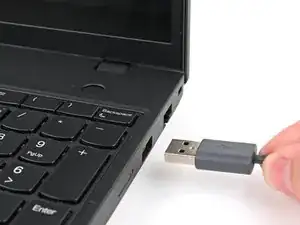
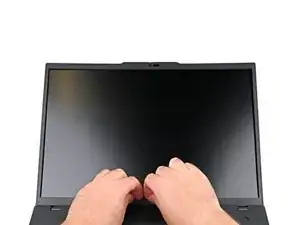
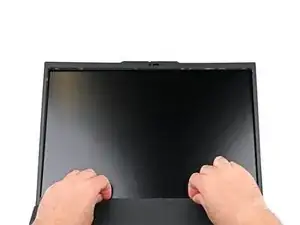
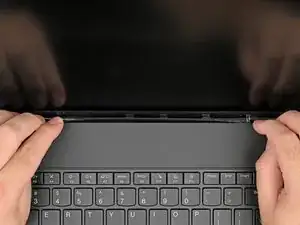
Completely shut down your laptop (don't just put it in sleep mode) and disconnect all cables.
-
-
-
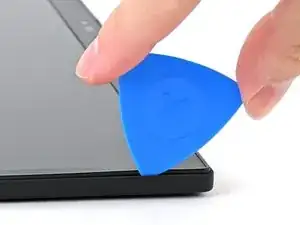
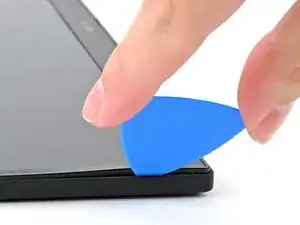
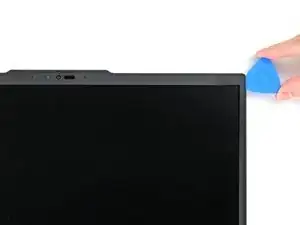
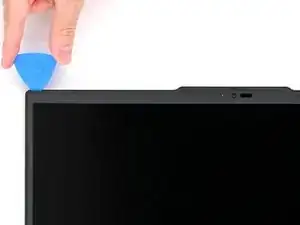
Insert the tip of an opening pick at a downward angle between the bezel and screen assembly, near the top right corner.
-
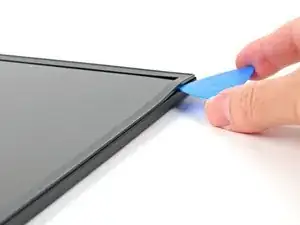
Lower the pick so it's flat with the screen and the tip is under the screen bezel.
-
-
-
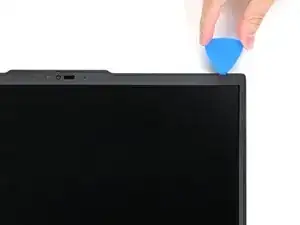
Re-insert your opening pick near the top right corner.
-
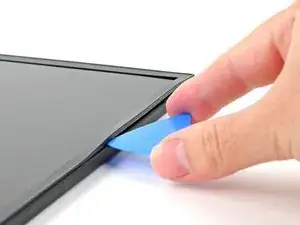
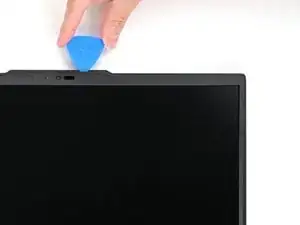
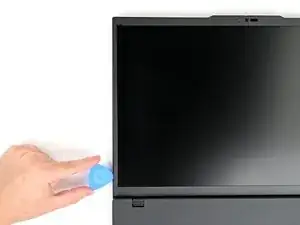
Slide your opening pick around the top right corner to unfasten the frame clips, stopping before you hit the webcam.
-
Remove the opening pick.
-
-
-
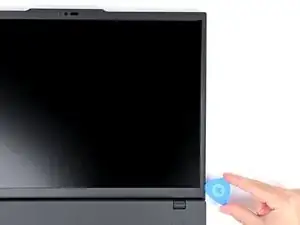
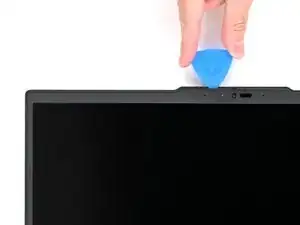
Re-insert your pick to the left of the webcam and slide it towards the top left corner and down the left edge to unfasten the remaining clips.
-
-
-
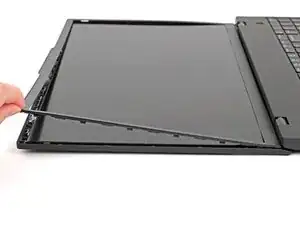
Gently lift the bezel on the right, top, and left sides to ensure all the clips are fully unfastened.
-
-
-
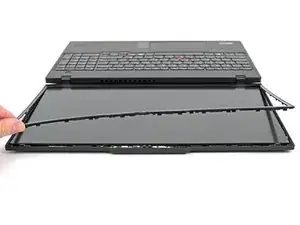
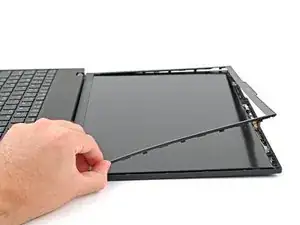
Use your fingers to slowly peel the bottom edge of the bezel from the protective film on the display.
-
-
-
Once the adhesive is completely separated, lift the bottom edge of the bezel straight up to unfasten its clips.
-
-
-
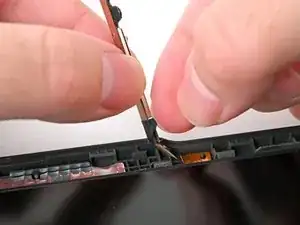
Insert a flat end of a spudger or a clean fingernail underneath the left side of the camera module.
-
Pry the module up enough to hold it with your fingers.
-
-
-
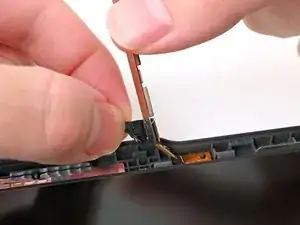
Use your fingernail or the point of a spudger to peel up the edge of the black tape holding the camera connector in place.
-
Completely unravel the tape.
-
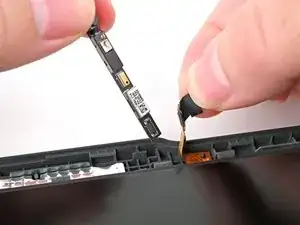
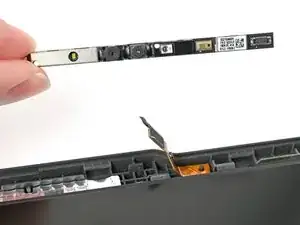
Insert your fingernail or the flat end of a spudger beneath the camera module press connector and lift up to disconnect it from the board.
-
Compare your new replacement part to the original part—you may need to transfer remaining components or remove adhesive backings from the new part before you install it.
To reassemble your device, follow these instructions in reverse order.
Take your e-waste to an R2 or e-Stewards certified recycler.
Repair didn’t go as planned? Try some basic troubleshooting, or ask our Answers community for help.
