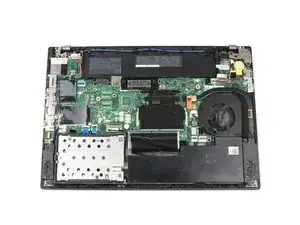
Introduction
Prerequisite Only
-
-
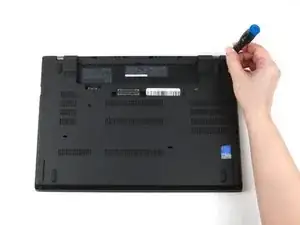
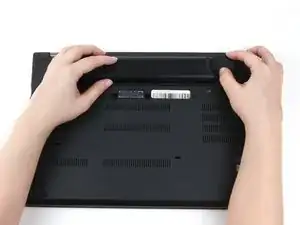
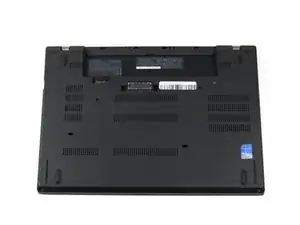
Place the laptop so that the bottom is facing upwards.
-
Slide the latch on the left side of the battery to the left until it clicks in place.
-
-
-
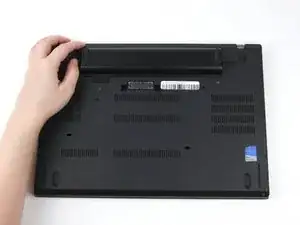
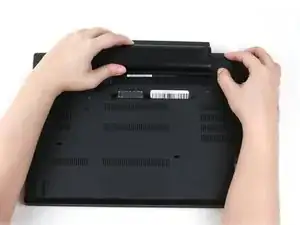
Slide the latch on the right side of the battery to the right and hold it in place with your thumb.
-
Use your other hand to slide the battery towards the back of the laptop.
-
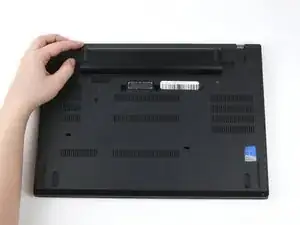
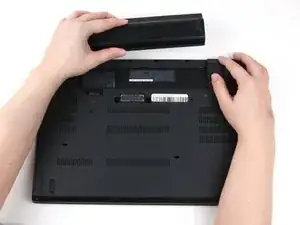
Lift the battery up and away from the laptop.
-
-
-
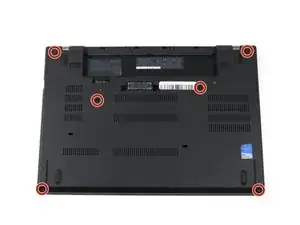
Use a Phillips #1 screwdriver to loosen the six captive screws on the bottom cover of the laptop.
-
-
-
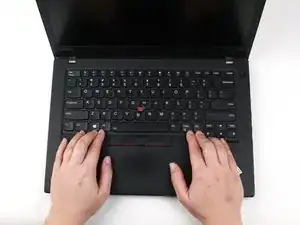
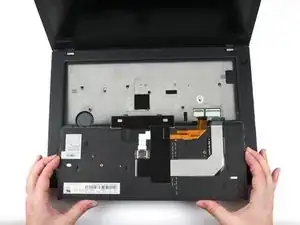
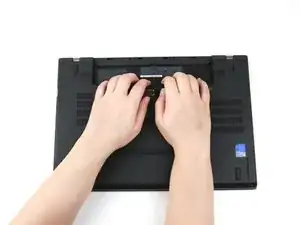
Place your fingers on the bottom edge of the keyboard.
-
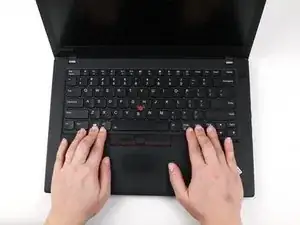
Use a small amount of pressure to push the keyboard towards the screen.
-
-
-
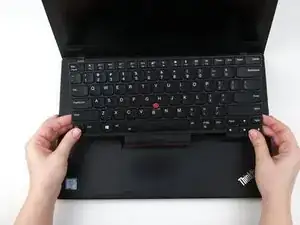
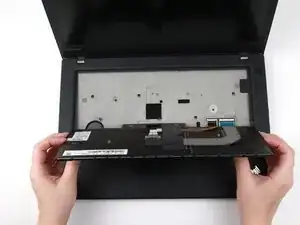
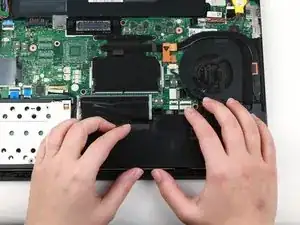
Grab the bottom edge of the keyboard with your hands, and flip the keyboard upside-down, so it rests on the bottom of the laptop.
-
-
-
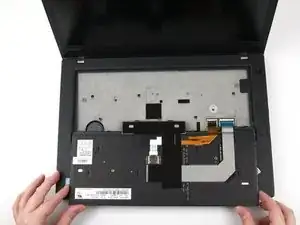
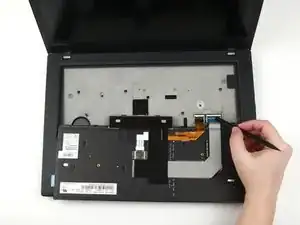
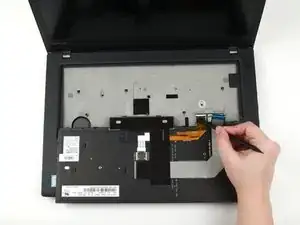
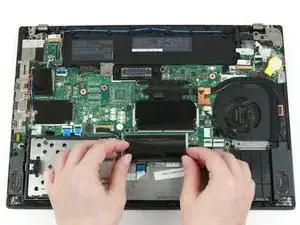
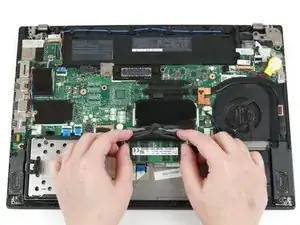
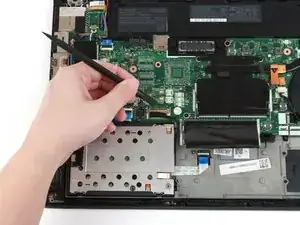
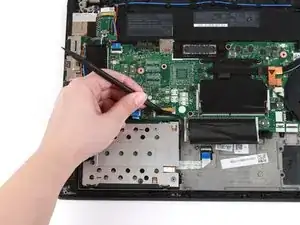
Use the flat end of a spudger to flip up the locking flaps securing each of the two ribbon cables.
-
-
-
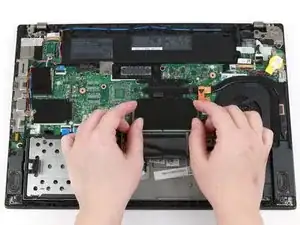
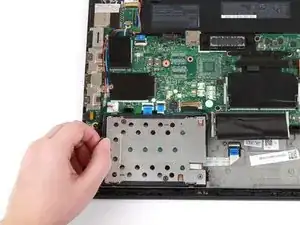
Use your hands to pull up on the back cover and release the plastic clips starting on the bottom side of the battery compartment.
-
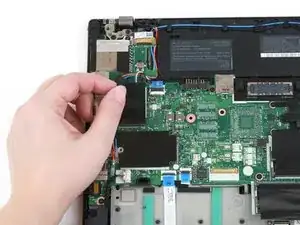
Use your hands to pull up on the right side of the bottom cover to release the plastic clips.
-
Use your hands to pull up on the left side of the bottom cover to release the plastic clips.
-
-
-
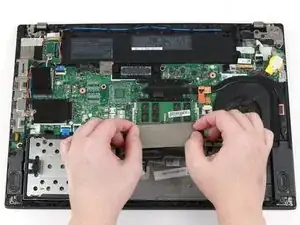
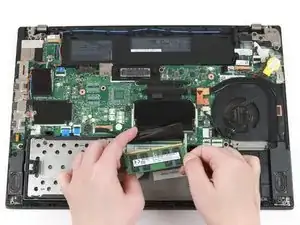
Use your fingers to flip the black flap covering the bottom stick of RAM up.
-
Use your thumbs to push the metal clips on either end of the RAM outwards.
-
-
-
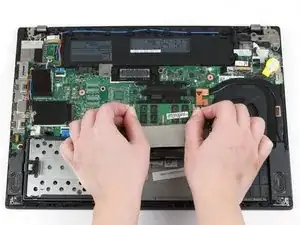
Use the flat end of a spudger to flip up the metal clip securing the SSD connector to the motherboard.
-
-
-
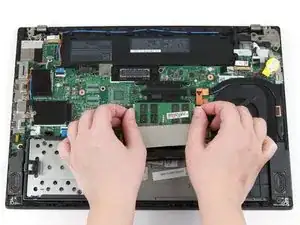
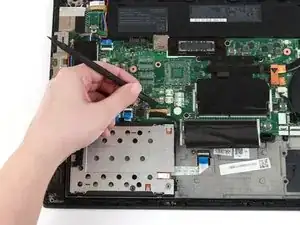
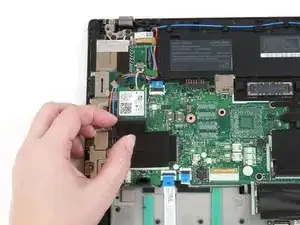
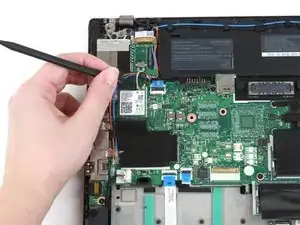
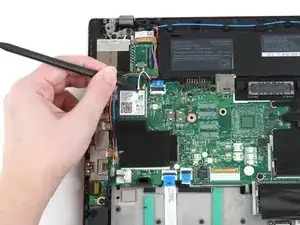
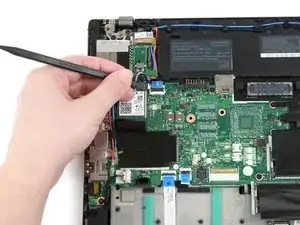
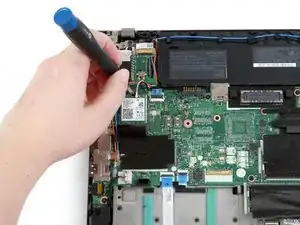
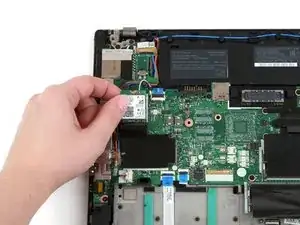
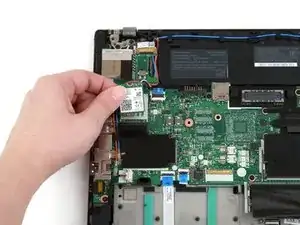
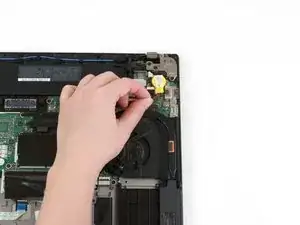
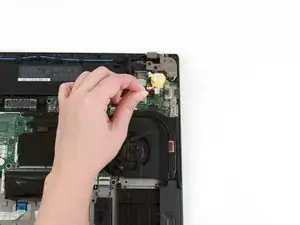
Use your fingers to lift the Wi-Fi card up and out of its slot.
-
This laptop does not include a WWAN card, but if yours does, follow the same procedure as Steps 9-12 to remove it.
-
-
-
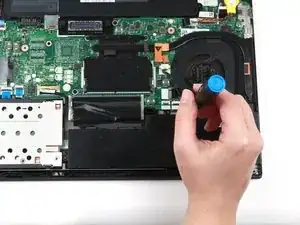
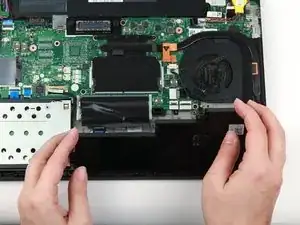
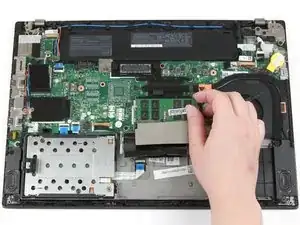
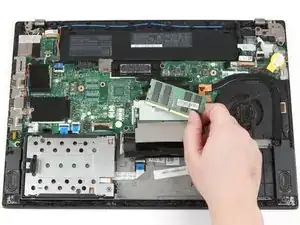
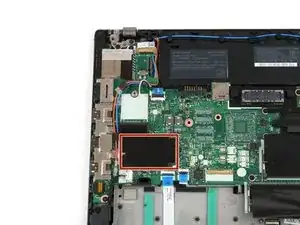
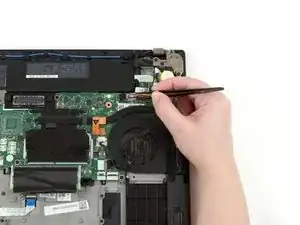
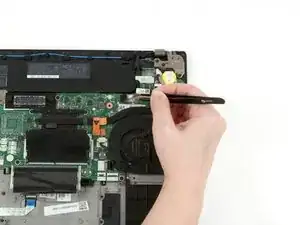
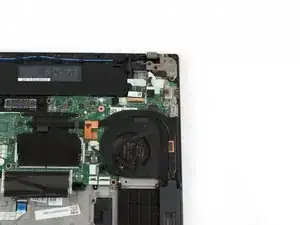
Use a pair of blunt nose tweezers to pull the white fan connector out of its socket on the motherboard.
-
-
-
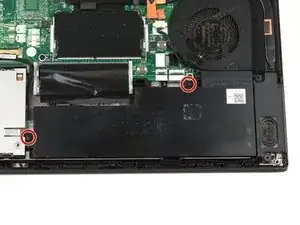
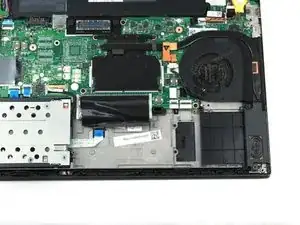
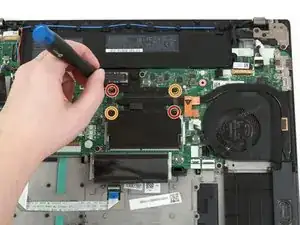
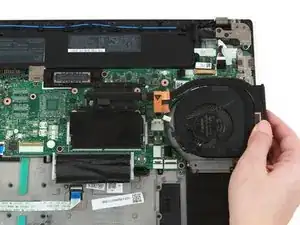
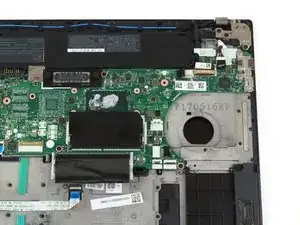
Use a Phillips #1 screwdriver to loosen the first pair of captive screws on the fan and heat sink assembly in a crosswise pattern.
-
Use a Phillips #1 screwdriver to loosen the second pair of captive screws on the fan and heat sink assembly in a crosswise pattern.
-


To reassemble your device, follow these instructions in reverse order.

To remove the trackpad/touchpad, you can skip a lot of steps here:
4, 5, 6, 7, 8 are for removing the keyboard, which isn't required to swap the touchpad.
14, 15, 16 are for removing the top RAM stick.
22 to 41 are not required (so continue with step 42)
44, 45, 46, 47 are not required either.
So to replace the touchpad, do these steps:
1, 2, 3, 9, 10, 11, 12, 13, 17, 18, 19, 20, 21, 42, 43, 48, 49, 50, 51
tobi -