Introduction
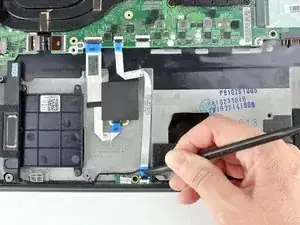
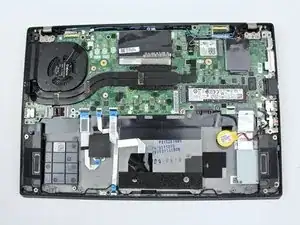
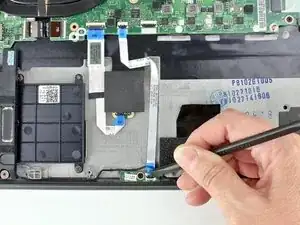
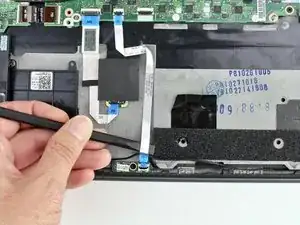
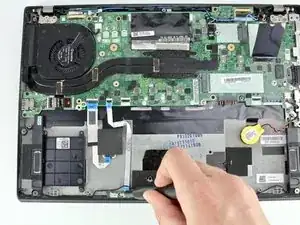
Use this guide to replace the Hall sensor in a Lenovo ThinkPad T480s laptop.
The Hall sensor is used in laptops that don’t have a mechanical latch. It can tell if your laptop is closed or not. If the Hall sensor is not working, it may not tell the system to turn off when the screen is closed. If your Hall sensor fails due to corrosion, cracks, or breakage, you may need to replace it. Prior to beginning the repair, check out the Lenovo Troubleshooting page.
Make sure to disable the internal battery, power down your device, and disconnect from any external power sources before you begin.
Tools
Parts
-
-
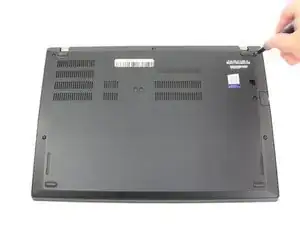
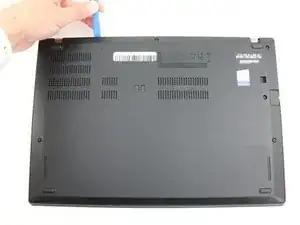
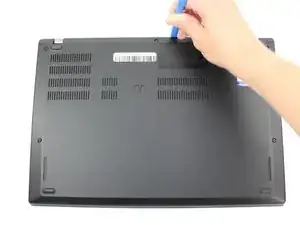
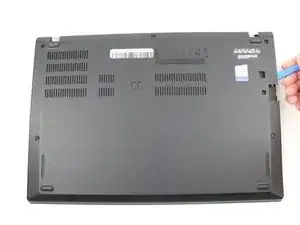
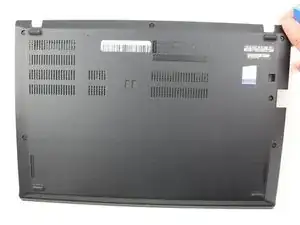
Remove the bottom cover with an opening tool.
-
Start from the top edge near the hinge and work your way along the edge until all of the clips are unsnapped.
-
-
-
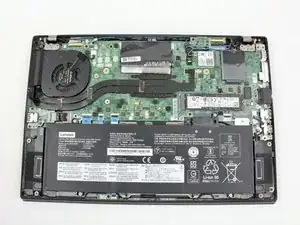
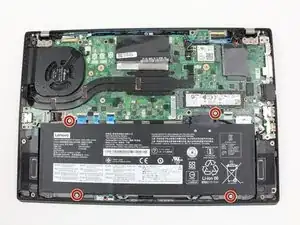
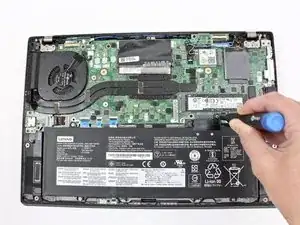
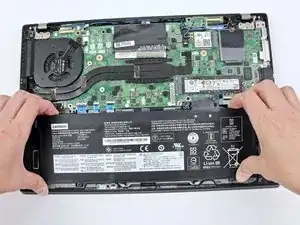
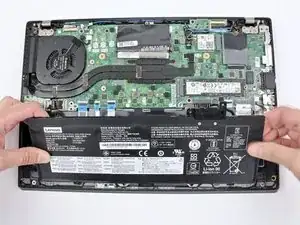
Use the Phillips #1 screwdriver to remove four 4.5mm screws that hold the battery down to the mid frame.
-
To reassemble your device, follow these instructions in reverse order.
Take your e-waste to an R2 or e-Stewards certified recycler.
Repair didn’t go as planned? Try some basic troubleshooting, or ask our Answers community for help.
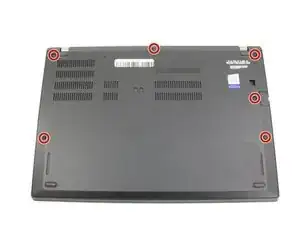


Somehow I find the screws for the T480s bottom cover to be slightly more prone to stripping, compared to the ThinkPad T480 and X1 Carbon Gen 6. However, the #1 Phillips screws on the T480s have drives that are cut in a way that also let you use a #3 flathead.
Tai Lam -