Introduction
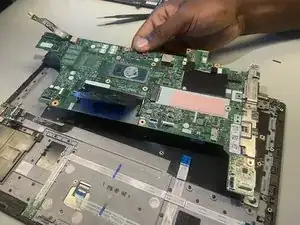
There are multiple reasons why you would need to replace the motherboard of the Thinkpad, mostly major hardware failures like, the computer frequently crashing, no power in the computer at all, overheating problems, liquid damage, etc. That being said, the motherboard is one of the easiest parts of the Lenovo Thinkpad to remove. All it takes is four simple steps to remove and the same four steps in reverse order to place a new one in.
-
-
Loosen the screws from the base plate.
-
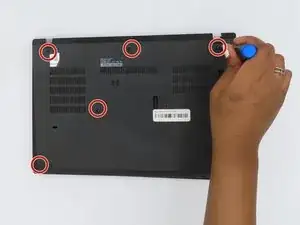
Using a Philips #1 screwdriver fully loosen the six screws on the back cover.
-
-
-
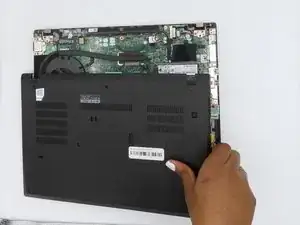
Once the screws have been loosened, start to remove the base plate.
-
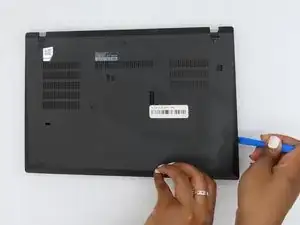
Insert the iFixit opening tool into the space between the base plate and the chassis.
-
Glide the tool along the perimeter of the case in order to release the clips holding the case and chassis together.
-
-
-
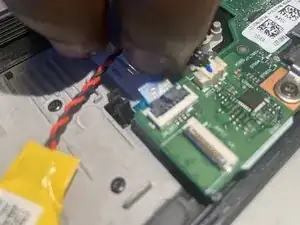
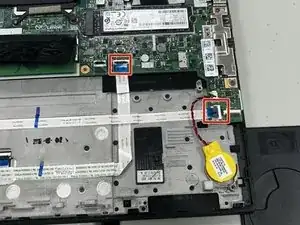
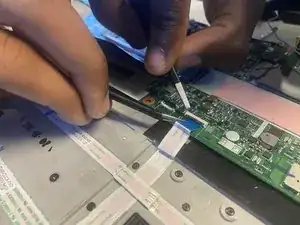
Flip up the black locking flaps that secure each of the two ribbon cables.
-
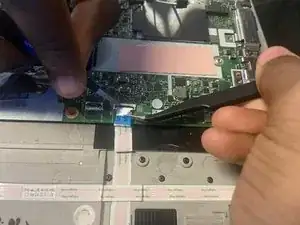
Disconnect both of the ribbon cables.
-
To reassemble your device, follow the above steps in reverse order.
Take your e-waste to an R2 or e-Stewards certified recycler.
Repair didn’t go as planned? Try some basic troubleshooting or ask our Answers community for help.