Introduction
If your laptop is unable to read or write into disks, even after you have checked that the disks themselves are not scratched or damaged, and that the drivers are up to date, then this guide should help replace the optical drive bay, or ODD for short.
Note that you should take out any disks still inside the drive bay before proceeding with this replacement guide.
Tools
Parts
-
-
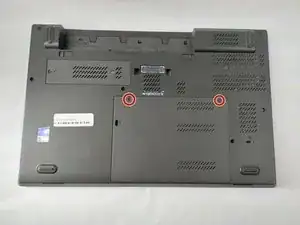
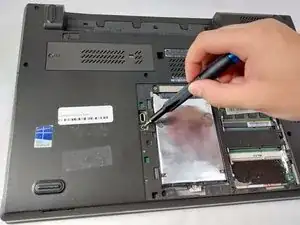
Turn your laptop over so the backplate is facing you.
-
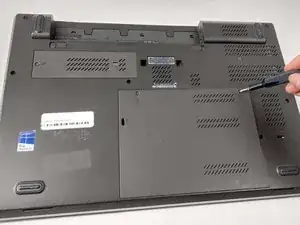
Start with your Phillips #0 screwdriver and unscrew the 2 screws in each of the top corners of the backplate.
-
-
-
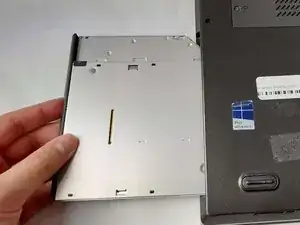
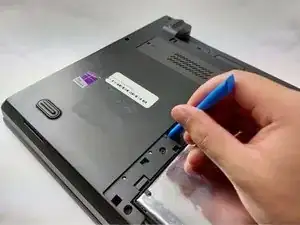
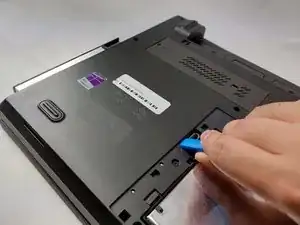
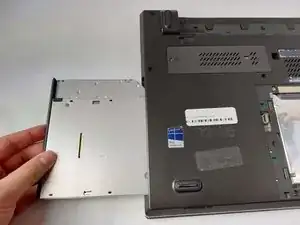
Remove the ODD by using a plastic opening tool to push the drive out of the side of the laptop.
-
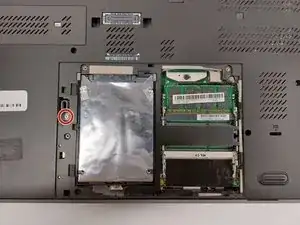
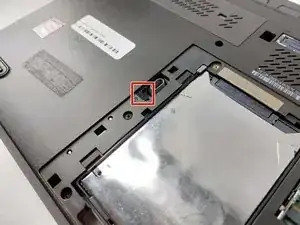
Make sure to place the tool where we removed the screw holding the drive in place in Step 2.
-
To reassemble your device, follow these instructions in reverse order.
