Introduction
Following the steps laid out in this guide will allow you to replace the battery of the Lenovo ThinkPad X1 Yoga (6th Gen) laptop. If your laptop can't run unplugged from power, or if the battery life is much poorer than it used to be, it's probably time to replace the battery. For more possible troubleshooting click here.
-
-
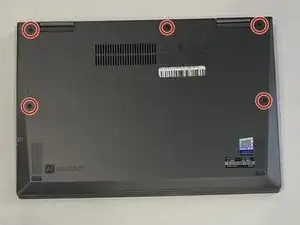
Use a Phillips #1 screwdriver to remove the five 5 mm screws that secure the base panel.
-
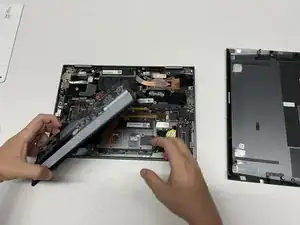
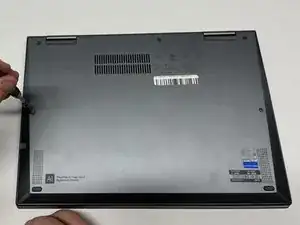
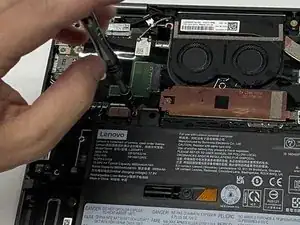
Wedge a spudger between the base panel and chassis, and pry around the entire perimeter until you hear a pop and the base panel releases.
-
Lift the base panel up and off of the chassis.
-
-
-
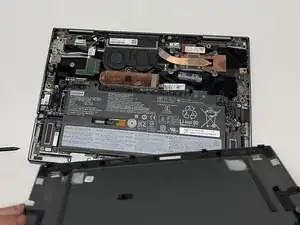
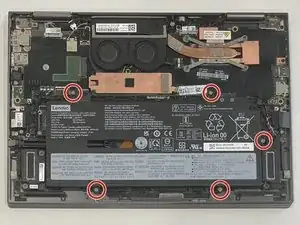
Use a Phillips #1 screwdriver to remove the five 4.5 mm screws securing the battery.
-
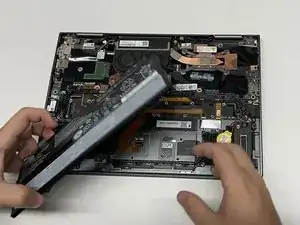
Lift the battery up and out.
-
To reassemble your device, follow these instructions in reverse order.
For my X1 carbon G9, three of the screws holding the plate on didn't actually come out. I loosened them, removed two of the screws, and then was able to leverage the spudger to pop out the plate.
Luke McDermott -