
Introduction
This guide will show you how to access and replace the Wi-Fi card for the Lenovo Thinkpad X220. If you are experiencing issues with connecting to Wi-Fi you may need to replace the Wi-Fi card. However, before beginning you should check to see if your connection issues are related to software or driver issues. If software or driver issues are not the cause of your connection issues and instead is the cause of a hardware issue, then this guide will help guide you to replace the Wi-Fi card.
-
-
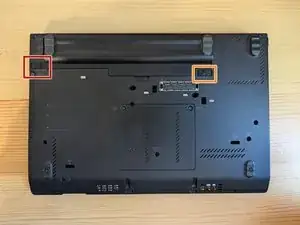
Push the switch numbered 1 to the left to unlock it.
-
Push the switch numbered 2 to the right and hold it in to unlock it.
-
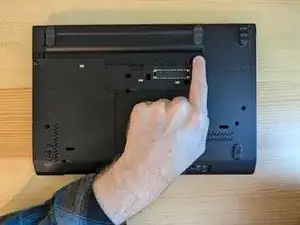
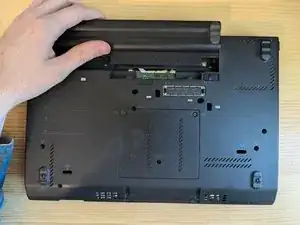
Remove the battery by sliding it upwards.
-
-
-
Flip the laptop over and open the lid.
-
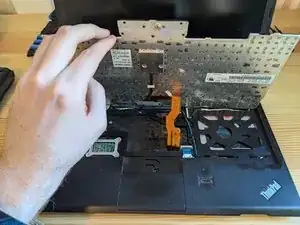
Gently push the keyboard towards the screen and use your opening pick to help lift up the keyboard.
-
Gently pull on the connector tab to disconnect the keyboard.
-
-
-
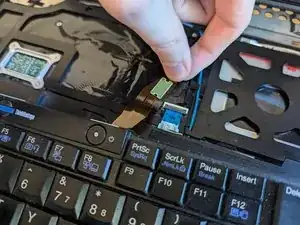
Flip up the black ZIF locking flap.
-
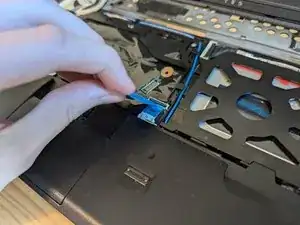
Pull on the blue tab to disconnect the ribbon cable.
-
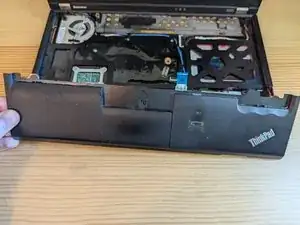
Lift up the trackpad and set it aside.
-
-
-
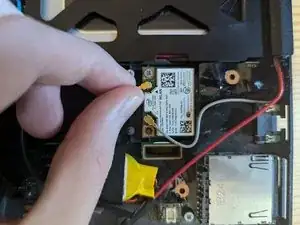
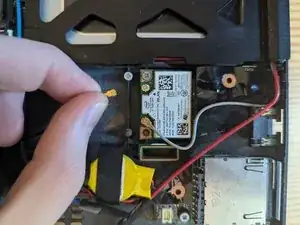
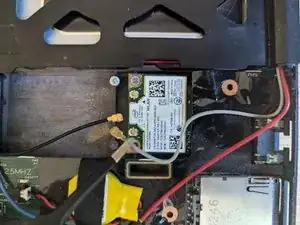
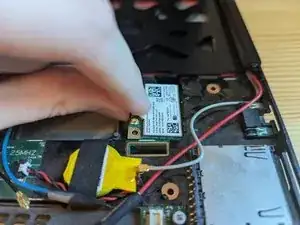
Use a Phillips #00 screwdriver to remove the 4 mm screw securing the Wi-Fi card.
-
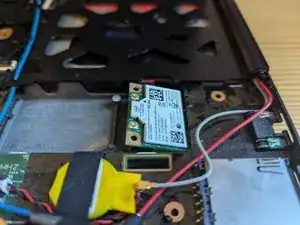
Pull the Wi-Fi card from its socket at the same angle it lifts to.
-


To reassemble your device, follow these instructions in reverse order.