
Introduction
This guide shows gives you the steps to open your laptop in order to change the thermal paste.
-
-
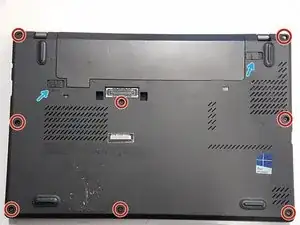
Unscrew the 8 screws holding the back panel in place.
-
Use a plastic prying tool to release all the clips holding the panel in place.
-
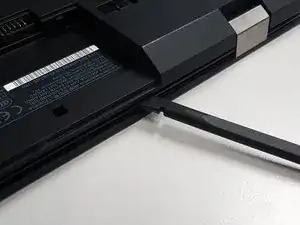
Remove the first battery by sliding the notches and pulling the battery outwards.
-
-
-
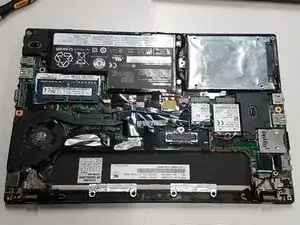
It is recommended to disconnect the second battery.
-
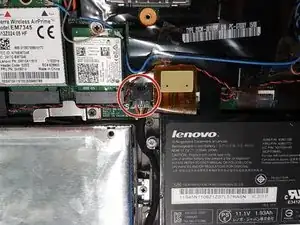
Disconnect the wire from the motherboard.
-
-
-
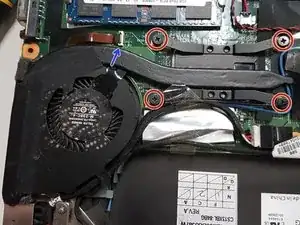
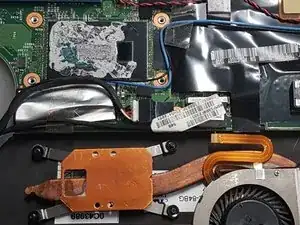
Unscrew the 4 screws holding the CPU cooler. Disconnect the fan cable by releasing the latch on the connector and pulling the cable out.
-
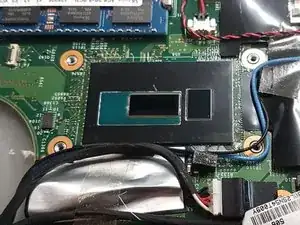
Clean the old thermal paste both from the cooler and the CPU. It is best to use isopropyl alcohol and cotton buds or paper towel, be careful not to go too hard on the CPU.
-
-
-
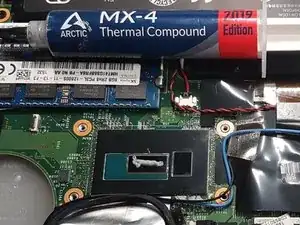
Once you have removed the old thermal paste, it's time to apply the new paste. This model has a hole in the heatsink so it does not need thermal paste applied on the smaller pad.
-
Do not use too much thermal paste, just enough to cover the bigger portion of the pad. If you have a spreader, use it. The thermal paste will apply evenly after you tighten the heatsink.
-
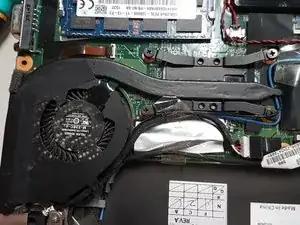
Put the heatsink back carefully and tighten the screws in order 1, 3, 2, 4 to ensure even pressure. Don't forget to plug in the fan cable again.
-
-
-
It is recommended to use compressed air to remove any dust in the laptop and the fan.
-
Don't forget to plug in the second battery before closing the back panel!
-

To reassemble your device, follow these instructions in reverse order.