Introduction
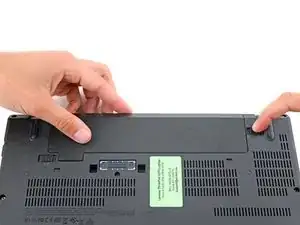
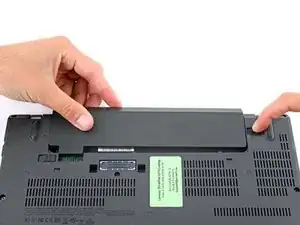
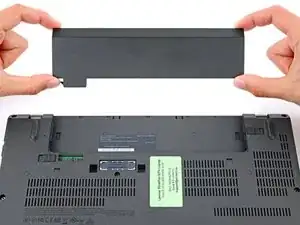
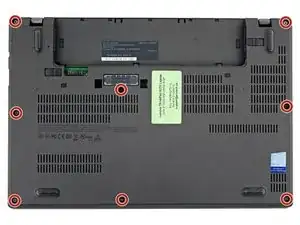
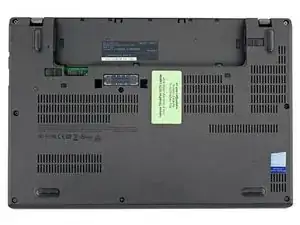
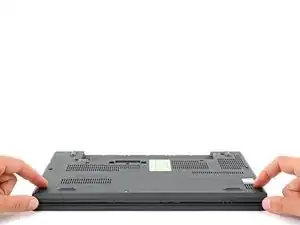
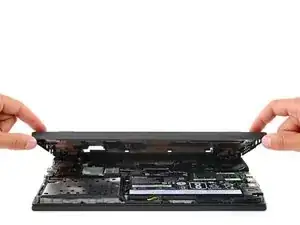
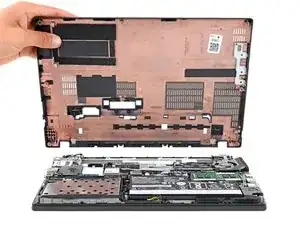
Use this guide to replace or upgrade the RAM in your Lenovo ThinkPad X270.
Note: This laptop has one slot for SO-DIMM, DDR4-2133 memory.
Tools
Parts
-
-
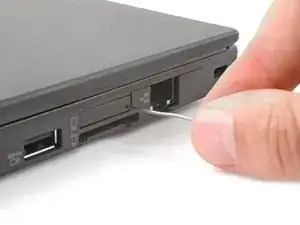
Insert a straightened paper clip into the micro SIM card tray hole on the right edge of the laptop.
-
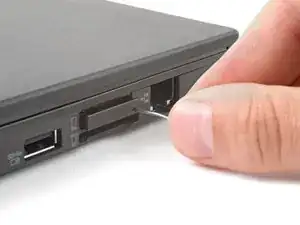
Press the paper clip firmly into the hole to eject the tray.
-
Remove the tray.
-
-
-
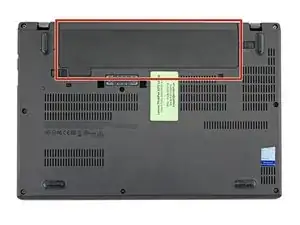
Lay your laptop upside down to access the external battery.
-
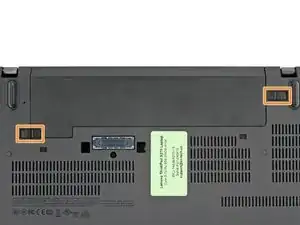
Two sliding tabs secure the battery.
-
-
-
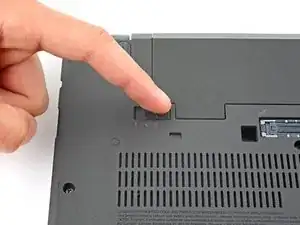
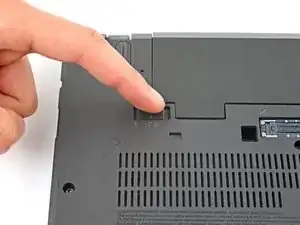
Slide the left tab, labeled 1, to the unlocked position—it'll click into place and release the left side of the battery.
-
-
-
Hold the right tab, labeled 2, in the unlocked position and slide the battery out of its recess.
-
-
-
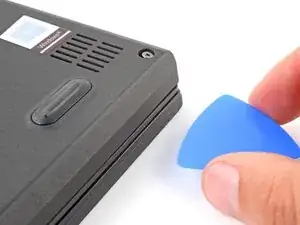
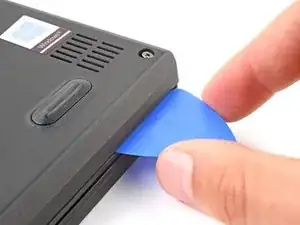
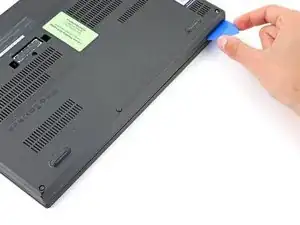
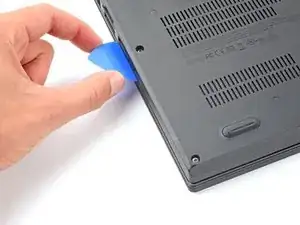
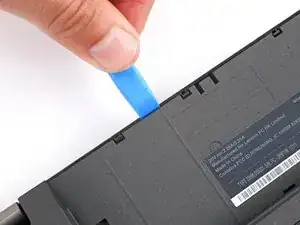
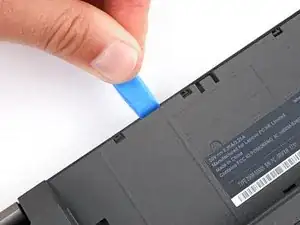
Insert the flat side of an opening pick between the bottom right edge of the back cover and frame.
-
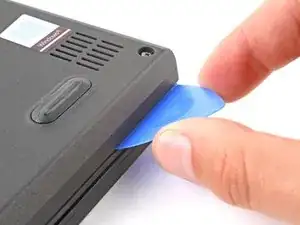
Pry up the back cover to release the bottom right clips.
-
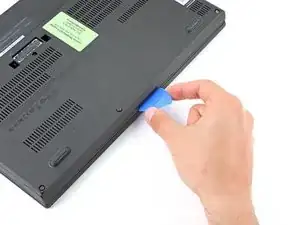
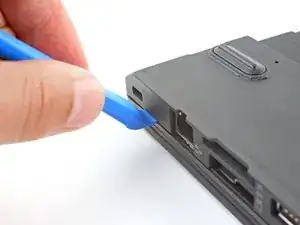
Leave the pick inserted in the bottom right corner.
-
-
-
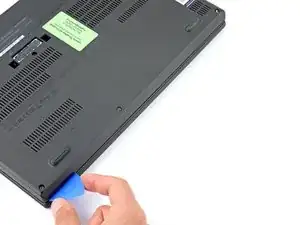
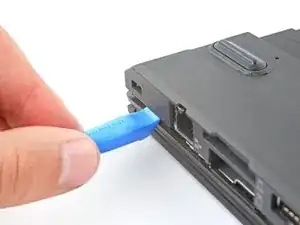
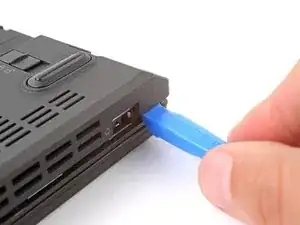
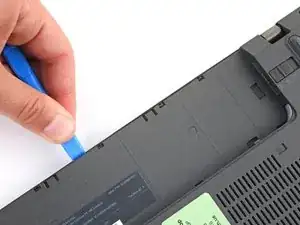
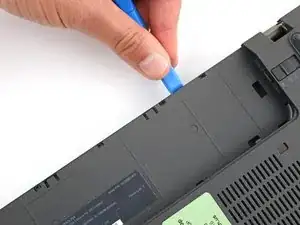
Insert your pick in the bottom left corner and slide the pick to the first USB port to release the left clips.
-
-
-
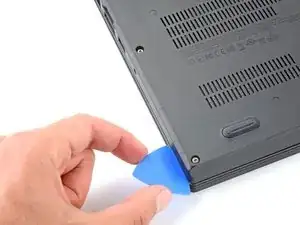
Insert an opening tool between the top left corner of the back cover and frame.
-
Pry the back cover up to release the clips securing its top left corner.
-
Repeat the process on the top right corner.
-
-
-
Five clips secure the top edge of the back cover.
-
Insert an opening tool in the gap between the back cover and frame, next to one of the clips.
-
Push the opening tool into the gap until the clip releases.
-
-
-
Push the opening tool between the back cover and frame at different points along the top edge to release the remaining clips.
-
-
-
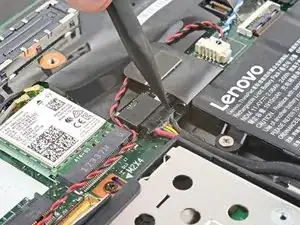
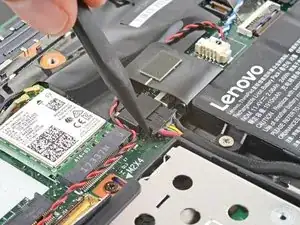
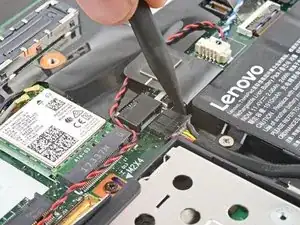
Push on alternating sides of the internal battery connector with a spudger to "walk" it out of its socket.
-
-
-
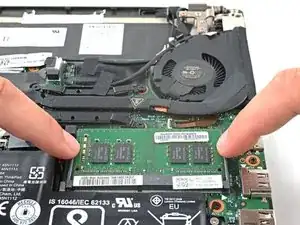
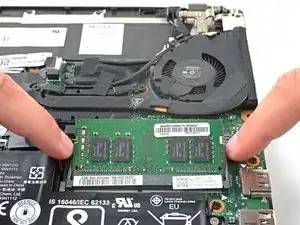
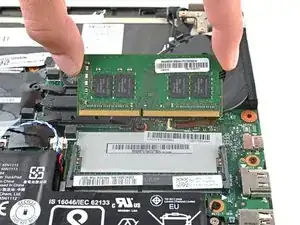
Simultaneously push out the arms until they disengage and the stick pops up at a slight angle.
-
Remove the stick of RAM.
-
To reassemble your device, follow these instructions in reverse order.
Check your repair by running hardware tests with Lenovo Diagnostics.
Take your e-waste to an R2 or e-Stewards certified recycler.
Repair didn’t go as planned? Try some basic troubleshooting, or ask our Answers community for help.

