Introduction
Are you experiencing issues with your Lenovo ThinkPad X280's touchpad like unresponsiveness or physical damage? Disassembling it for repairs or replacement is a straightforward process.
In this guide, you will learn how to access and remove the touchpad on your Lenovo ThinkPad X280. This process involves taking off the back cover and removing a few internal parts. Make sure you have all the tools you need and take your time.
-
-
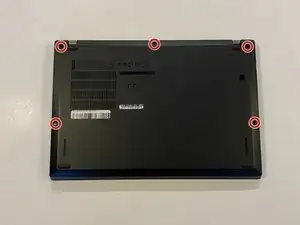
Use a Phillips #1 screwdriver to unscrew the five captive screws on the back panel until a small pop is heard.
-
-
-
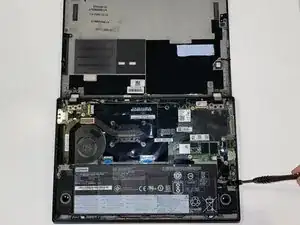
Gently wedge an opening tool or spudger under the back panel, and loosen the clips around the perimeter until the back panel comes off.
-
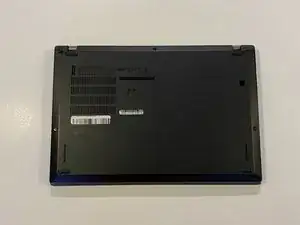
Remove the back cover.
-
-
-
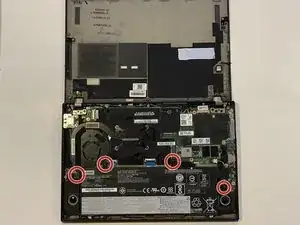
Using the Phillips #1 screwdriver, remove the four 5 mm screws that are holding the battery down.
-
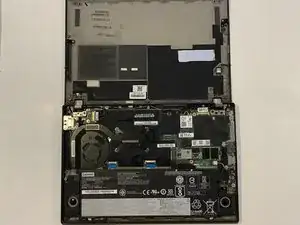
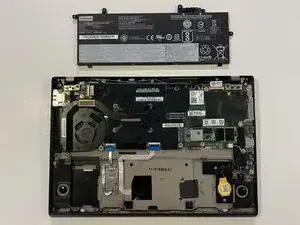
Remove the battery.
-
-
-
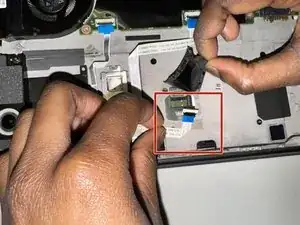
Using a spudger, lift the small latch on the cable connector, then slide the cable out carefully to disconnect it.
-
-
-
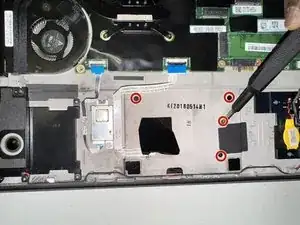
Remove the four 3.4 mm Phillips #0 screws that secure the touchpad.
-
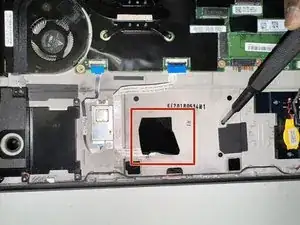
With a tweezer or your hands, carefully remove any adhesive/tape securing the touchpad in place.
-


To reassemble your device, follow the above steps in reverse order.
Take your e-waste to an R2 or e-Stewards certified recycler.
Repair didn’t go as planned? Try some basic troubleshooting or ask our Answers community for help.