
Introduction
If the Lenovo ThinkPad Yoga 11e Gen 6 is having performance issues, (i.e., CPU response time, application launch time, system responsiveness, etc) it may need a new motherboard. Follow this guide to safely replace the motherboard in the Lenovo ThinkPad Yoga 11e Gen 6.
-
-
Disconnect the laptop from power and make sure it is completely powered off.
-
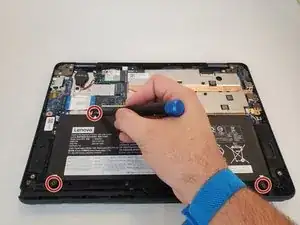
Turn the laptop facing down.
-
Loosen the eight captive screws using a JIS #0 screwdriver.
-
Use a spudger to release the tabs securing the back case and carefully remove the panel.
-
-
-
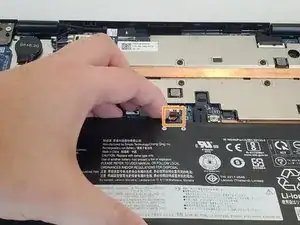
Remove the three 4.5 mm screws from the battery using a JIS #0 screwdriver.
-
Lift the battery, then use your fingernail to slide the connector out of its socket.
-
Remove the battery.
-
-
-
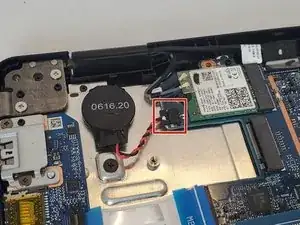
Push on alternating sides of the JST connector and pull straight away from the socket to disconnect the CMOS battery.
-
-
-
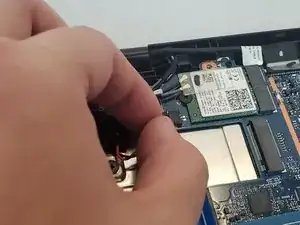
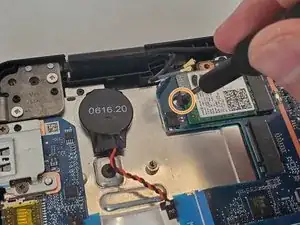
Lift the two wires and plastic piece away from the Wi-Fi board.
-
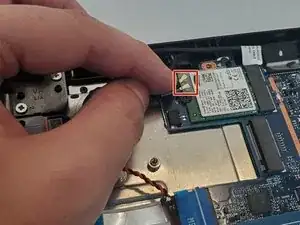
Remove the single 3 mm screw holding the Wi-Fi board in place using a Phillips #0 screwdriver.
-
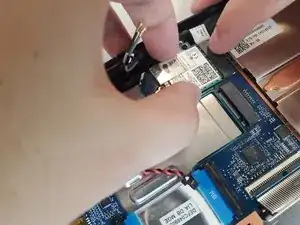
Hold the sides of the Wi-Fi board and slide it out of the socket.
-
-
-
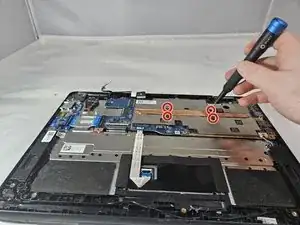
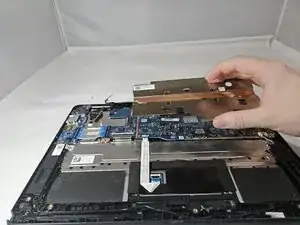
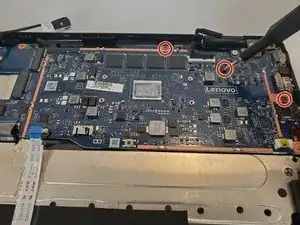
Loosen the four captive screws from the metal panel with a copper strip on it using a Phillips #0 screwdriver.
-
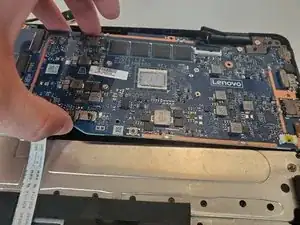
Carefully lift the metal panel. The screws are attached to the panel and will not come out.
-
-
-
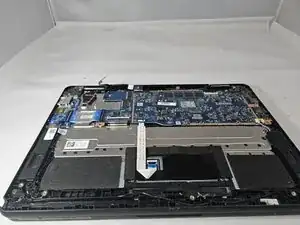
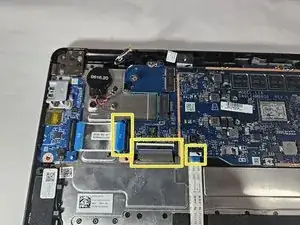
Pinch one of the display cable connectors and gently pull it out of its socket. Do the same for the 2nd display cable connector.
-
Pinch the sliding connector and slide it out.
-
Remove the 3 No-Fuss Ribbon Cable Connectors by pulling them out.
-

To reassemble your device, follow these instructions in reverse order.
