Introduction
-
-
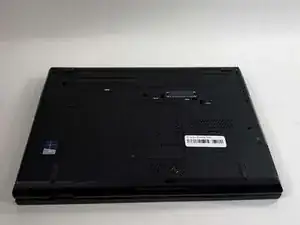
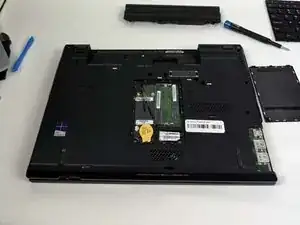
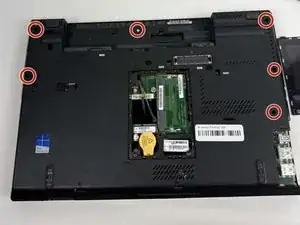
Place the laptop so that the bottom is facing up.
-
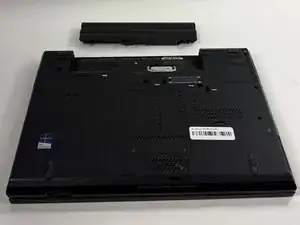
Slide the battery unlock lever to the right.
-
Gently pull the battery outwards from the body of the device.
-
-
-
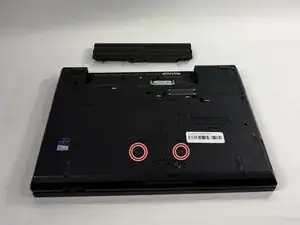
Remove the two screws that hold the RAM door in place using a Phillips #000 screwdriver.
-
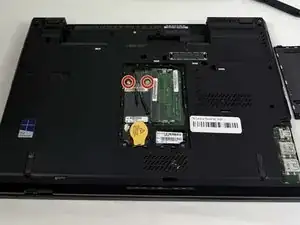
Remove the back panel.
-
-
-
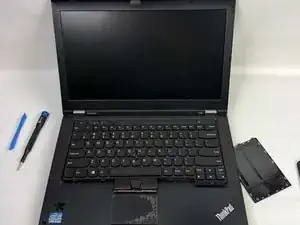
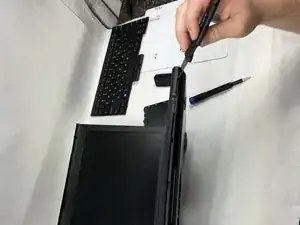
Flip the laptop over and open the lid.
-
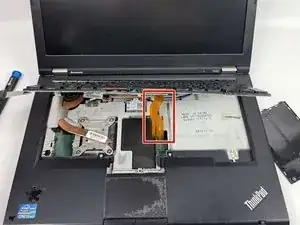
Push the keyboard forward from the space bar while applying pressure to lift up the keyboard.
-
Carefully unplug and disconnect the ribbon cable.
-
-
-
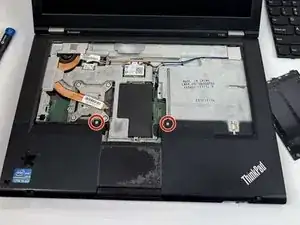
Returning to the underside of the device, remove the six screws that hold the palm rest in place.
-
-
-
With the top of the device facing you, tilt the device 45 degrees upward to access the clips that keep the palm rest in place.
-
Using a Jimmy, gently unclip the palm rest from the body of the device.
-
Starting from the hinge of the device, gently lift the palm rest from the body of the device. Before completely removing the palm rest, unclip the ribbon band underneath the mouse pad.
-
-
-
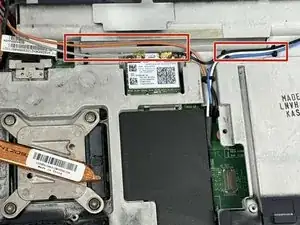
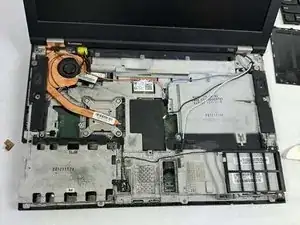
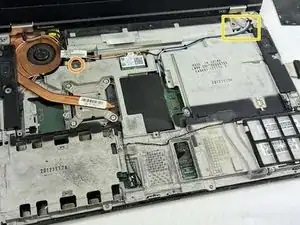
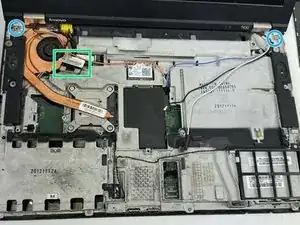
Unclip the Wi-Fi cables (orange, white, and blue) from the body of the device by gently pulling up.
-
Remove the screw holding the video cable in place and remove the metal bracket to gain access to the video cable underneath.
-
Unplug the ribbon cable located on the right side of the device.
-
Gently unplug the video cable from the body of the device.
-
Remove the two screws holding the screen in place near the left and right hinges.
-
-
-
Flip the device over.
-
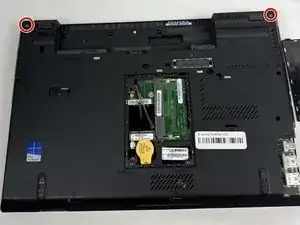
Remove the two screws from the upper corners of the laptop using a Phillips #000 screwdriver.
-
Lift the display assembly away from the rest of the device and set it aside.
-
To reassemble your device, follow these instructions in reverse order.