Introduction
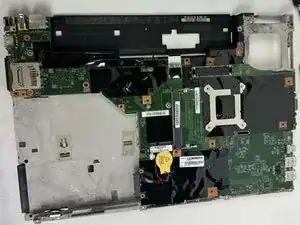
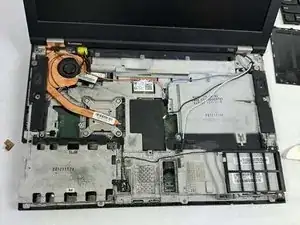
The motherboard is the circuit board that acts as the hub for many of the computer's hardware components. A variety of symptoms could be caused by a faulty motherboard including but not limited to the computer's inability to power on, power loss, a slowing of the computer's processes, or the overheating of the computer. If you believe your Lenovo ThinkPad T430 has a faulty motherboard, use this guide to remove and replace this essential part for your computer.
Tools
-
-
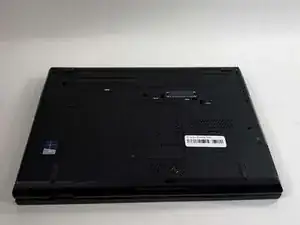
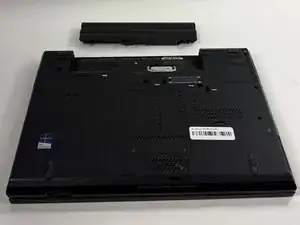
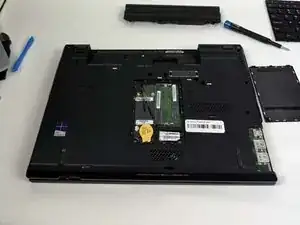
Place the laptop so that the bottom is facing up.
-
Slide the battery unlock lever to the right.
-
Gently pull the battery outwards from the body of the device.
-
-
-
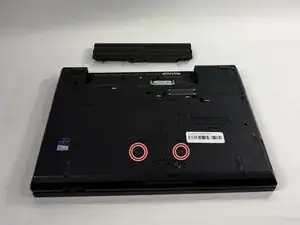
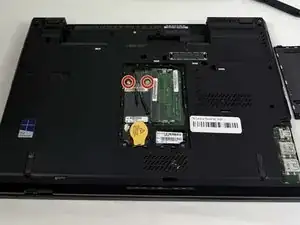
Remove the two screws that hold the RAM door in place using a Phillips #000 screwdriver.
-
Remove the back panel.
-
-
-
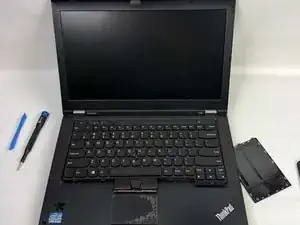
Flip the laptop over and open the lid.
-
Push the keyboard forward from the space bar while applying pressure to lift up the keyboard.
-
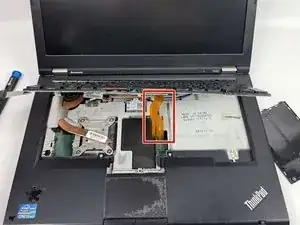
Carefully unplug and disconnect the ribbon cable.
-
-
-
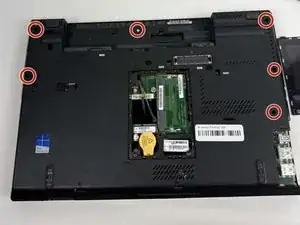
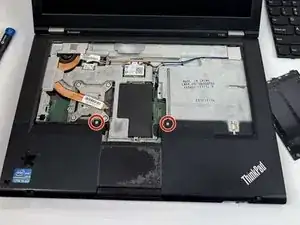
Returning to the underside of the device, remove the six screws that hold the palm rest in place.
-
-
-
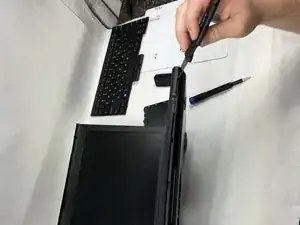
With the top of the device facing you, tilt the device 45 degrees upward to access the clips that keep the palm rest in place.
-
Using a Jimmy, gently unclip the palm rest from the body of the device.
-
Starting from the hinge of the device, gently lift the palm rest from the body of the device. Before completely removing the palm rest, unclip the ribbon band underneath the mouse pad.
-
-
-
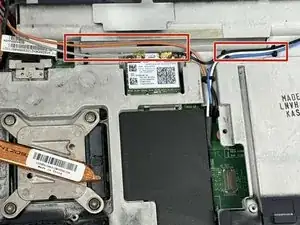
Unclip the Wi-Fi cables (orange, white, and blue) from the body of the device by gently pulling up.
-
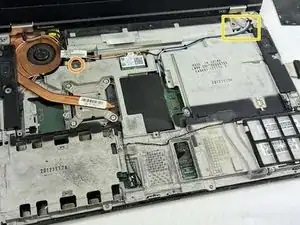
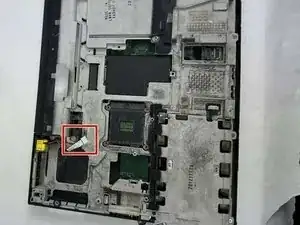
Remove the screw holding the video cable in place and remove the metal bracket to gain access to the video cable underneath.
-
Unplug the ribbon cable located on the right side of the device.
-
Gently unplug the video cable from the body of the device.
-
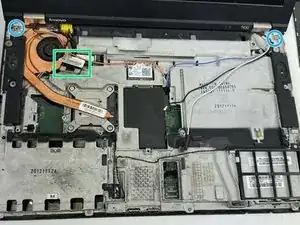
Remove the two screws holding the screen in place near the left and right hinges.
-
-
-
Flip the device over.
-
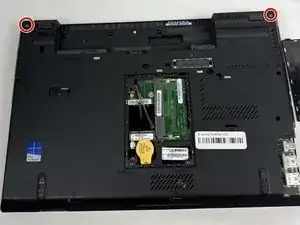
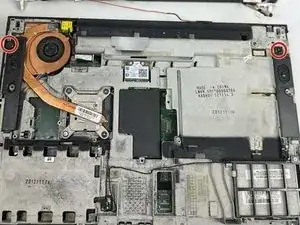
Remove the two screws from the upper corners of the laptop using a Phillips #000 screwdriver.
-
Lift the display assembly away from the rest of the device and set it aside.
-
-
-
Return to the front of the device.
-
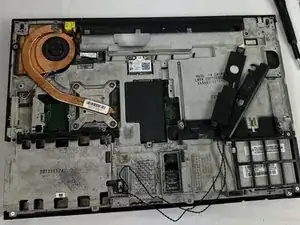
Remove the screws holding each of the speakers in place on the left and right sides of the device.
-
Lift the speakers from the body of the device.
-
-
-
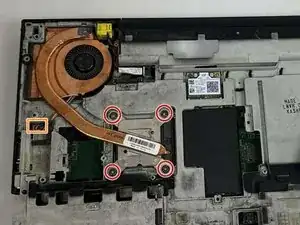
Remove the four screws holding the heat sink in place.
-
Unplug the fan cable.
-
Gently lift the heat sink from the body of the device.
-
-
-
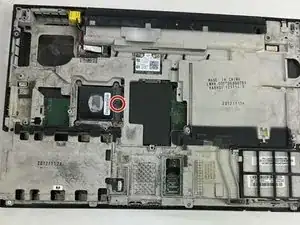
Twist the screw holding the processor in place into the unlock position represented by an unlocked lock symbol.
-
Carefully lift the processor from the device.
-
-
-
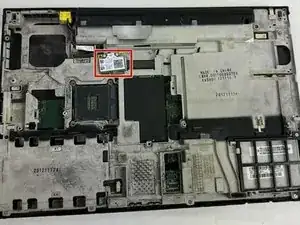
Remove the screw holding the wireless card in place and lift the card from the body of the device.
-
-
-
Remove the six screws that hold the bottom casing in place.
-
Remove the bottom casing from the rest of the device and set the casing aside.
-
-
-
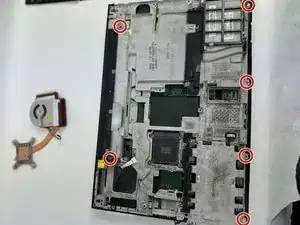
Flip the device so the underside is facing upwards.
-
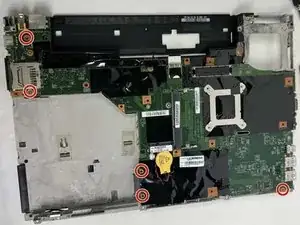
Remove the five screws holding the motherboard in place.
-
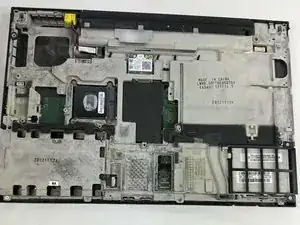
Remove the motherboard from the rest of the device and replace it.
-
To reassemble your device, follow these instructions in reverse order.
