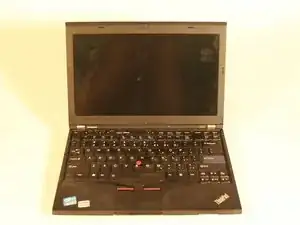
Introduction
This is an old version of this guide, use the new one here.
Tools
-
-
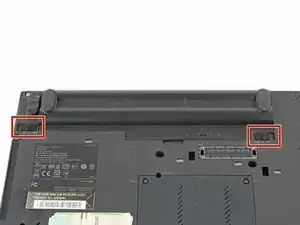
Locate the two switches that lock the battery.
-
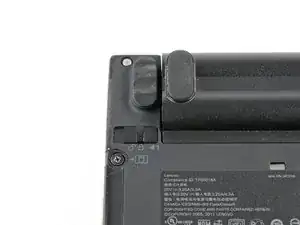
Then push the left switch outward into the "unlocked" position.
-
-
-
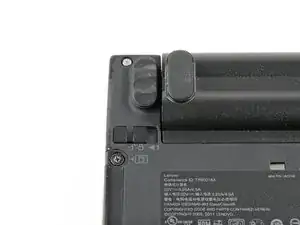
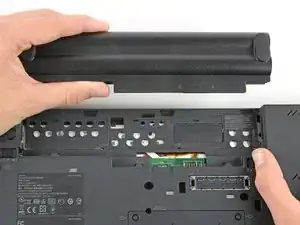
Now push and hold the right switch to the right while using the other hand to gently slide the battery upwards out of the laptop.
-
-
-
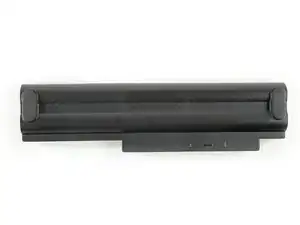
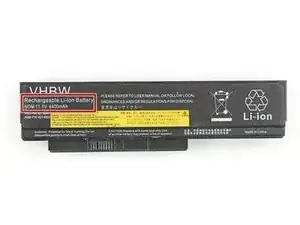
This is a rechargeable Li-Ion battery that has a capacity of 4400 mAh, if you have the 6 cell model.
-
-
-
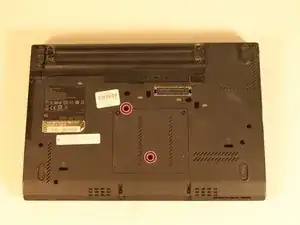
Close laptop.
-
Flip laptop over so battery side is facing down.
-
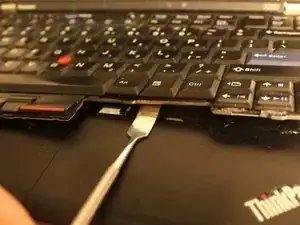
The screen needs to be open when separating the keyboard and trackpad from the base.
-
-
-
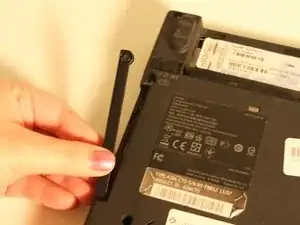
Using the Metal Spudger, place between the trackpad and the keyboard and lift up to remove the keyboard and trackpad.
-
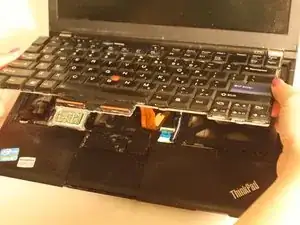
Pull keyboard towards yourself.
-
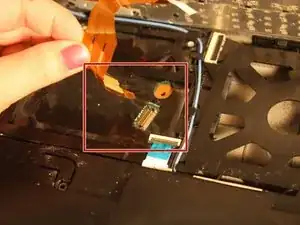
Grab the tab on the ribbon wire, pull off to release the keyboard.
-
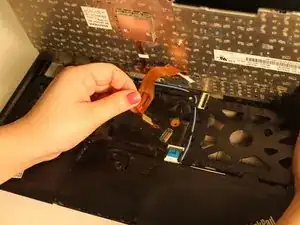
Pull keyboard towards yourself exposing the ribbon wire that attaches it.
-
Grab the tab on the ribbon wire and pull up to release.
-
-
-
Grab new keyboard and clamp the ribbon into place.
-
Gently push the sides of keyboard into place.
-
Keyboard is now replaced and ready for use.
-

To reassemble your device, follow these instructions in reverse order.

2 comments
you're removing way too many screws, you're actually unscrewing the palmrest and some of the motherboard with the keyboard.
this is an absolutely awful guide...do not unscrew all those screws and do NOT use a metal spludger unless you want chips of plastic flying everywhere.
Jesus.