Introduction
Fan damage or normal wear may cause the computer to overheat during use. This guide shows how to replace the fan within the Lenovo V14-IIL laptop. Be sure to remove small parts carefully.
Before using this guide, make sure to review the Lenovo V14-IIL troubleshooting page to review if there may be a solution that does not require component replacement.
Make sure to power off your laptop completely and disconnect from any external power source before beginning the process.
-
-
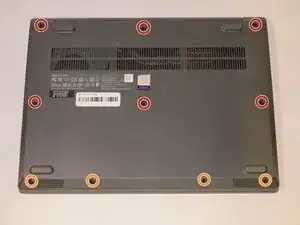
Flip your laptop over and place on a flat surface so you can access the screws on the base cover.
-
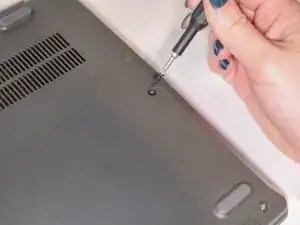
Remove the six 7 mm screws from the back panel of the laptop using a Phillips #0 screwdriver.
-
Remove the four 4 mm screws from the bottom edge of the laptop using a Phillips #0 screwdriver.
-
-
-
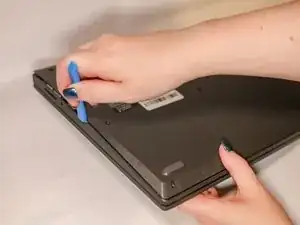
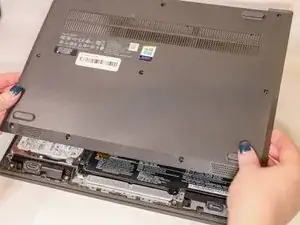
Use an iFixit opening tool to pry apart the case by sliding it along each side of the laptop.
-
-
-
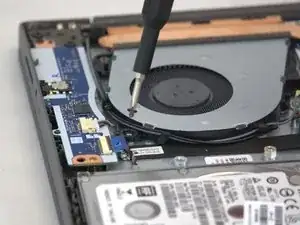
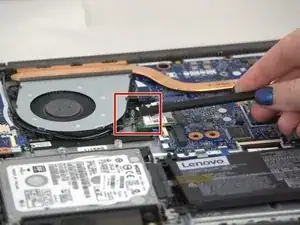
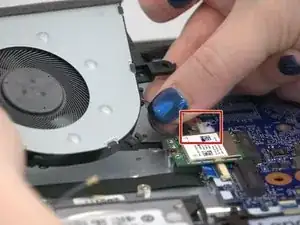
Using the spudger, disconnect the two wireless LAN cables (black and gray) from the wireless LAN card.
-
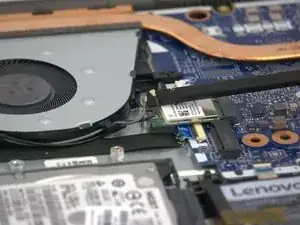
Remove the LAN cables from the three brackets on the fan.
-

To reassemble your device, follow these instructions in reverse order.