Introduction

If your Lenovo Yoga 2 11" 20428 keyboard is not working (keys are getting stuck, keys aren't producing the correct symbols, etc.), use this guide to replace the keyboard.

Before using this guide, make sure your device is powered off and not connected to a power source.

  1. BlDRfGUIjGyAHOcJ
    BlDRfGUIjGyAHOcJ
    foZnqDbv2fPHYSj4
    LKPMAu2Epcj6JaII
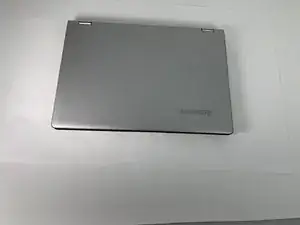
    • Flip the computer over so the bottom is facing up.

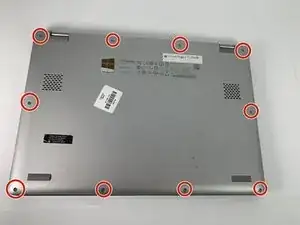
    • Remove the ten 6mm screws with a T5 Torx security screwdriver.

  2. 3PMAoQikg6muTIX2
    • Carefully remove the back panel by gently separating the panel from front to back.

    • Take care not to pull any wires or crack the outer shell.

  3. cgltnQ1sTNTXSZEc
    cgltnQ1sTNTXSZEc
    gVpBLJrsoxpATkUZ
    5Y52eeDG3oFEkCvw
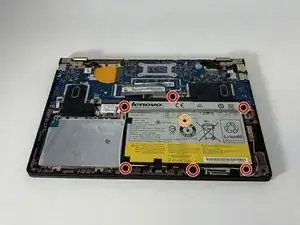
    • Use the Phillips #000 screwdriver to remove the six 3.3 mm screws around the perimeter of the battery.

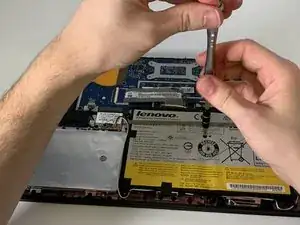
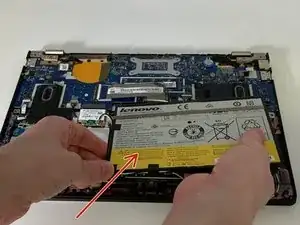
    • Use the Phillips #000 screwdriver to remove the single 6.75 mm screw from the center of the battery.

  4. XhIjHc5Ucr6ODVOX
    • Gently remove the three pieces of tape securing the Bluetooth/Wi-Fi antenna.

  5. aPUPqDXyldQOuaXB
    aPUPqDXyldQOuaXB
    wV1WuIEK16GluaOT
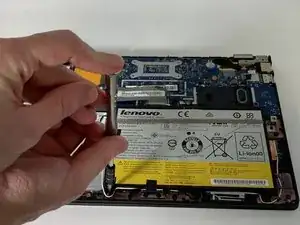
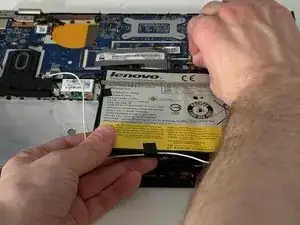
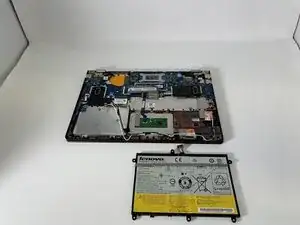
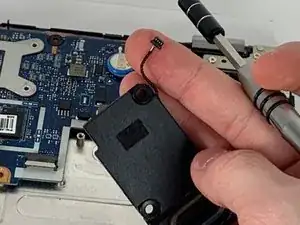
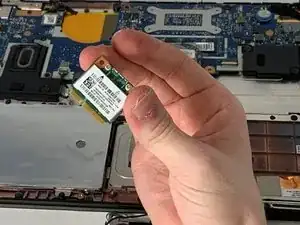
    • Grip the base of the connector with your fingers or pliers, and gently pull the connector straight back towards you to remove it.

    • If possible, do not to pull the connector out by the wires, as this can damage the connector.

  6. iFQiUGEAZSuDXFMg
    iFQiUGEAZSuDXFMg
    OpRNsmcUY3mZm3Br
    • Carefully remove the battery from the laptop.

    • Take care not to pull out the Bluetooth antenna while removing the battery.

  7. jipMdEwZraVPlsGt
    • Use the Phillips #000 screwdriver to unscrew the four 1.7 mm screws.

  8. DfGDa4PRJQMFUhTG
    DfGDa4PRJQMFUhTG
    pWWYGUvEkqJ1ZZoE
    • Carefully detach the speaker wire and remove the speaker.

  9. ggNPUkIi46sw4utm
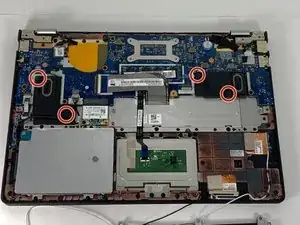
    • Use the Phillips #000 screwdriver to remove the four 3.3 mm screws securing the hard drive to the panel.

  10. JB6liiRAMNl2cHPI
    JB6liiRAMNl2cHPI
    YLjeJIxCTHtIjHcY
    • Lift the hard drive up, turn it over, and remove the connection.

  11. gEVes2RngdDMl2Rc
    • Use the Phillips #000 screwdriver to remove the two 3.3 mm screws.

  12. S3o4E4FIDQfL1WZj
    S3o4E4FIDQfL1WZj
    IV4e1casUgEUHlds
    • Gently grab and remove the Bluetooth module.

  13. kwnkXXauNiApytMG
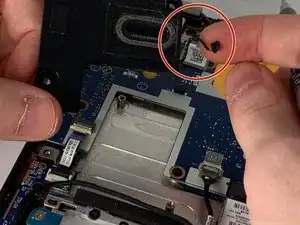
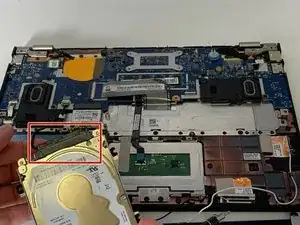
    • Using your finger nail or a thin pry tool, unlock and remove the three cables.

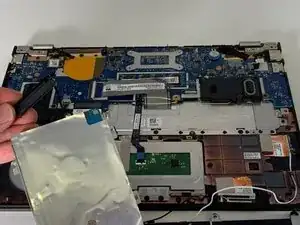
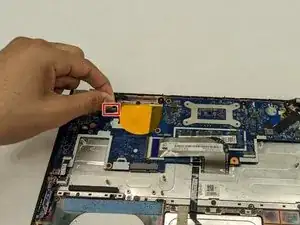
    • Lift the two pieces of tape. Carefully pull the cable connector back to remove it from the motherboard.

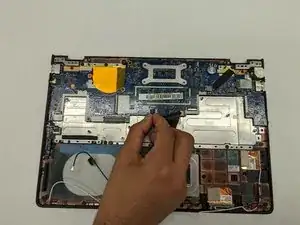
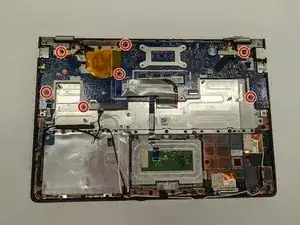
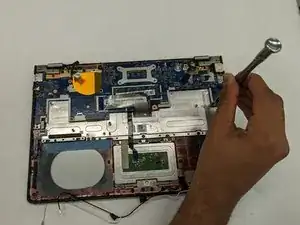
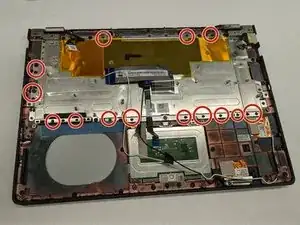
    • Use the Phillips #000 screwdriver to remove the eight 3.8mm screws.

  14. XFrYiuUBexPB6agu
    XFrYiuUBexPB6agu
    XQxOiILtRRMlnBdP
    • Gently pull the cable out of the connector.

  15. BEGEOHHgcZWqUFVR
    BEGEOHHgcZWqUFVR
    6yavEtHX4y5PHPIV
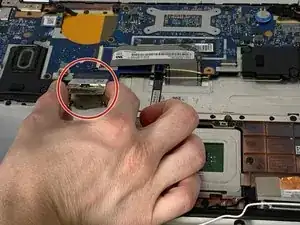
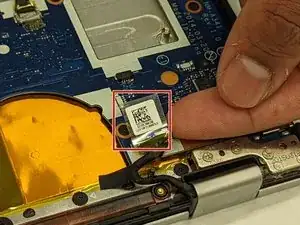
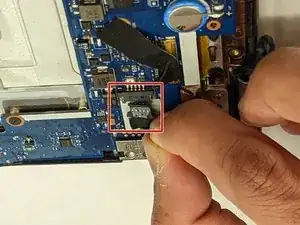
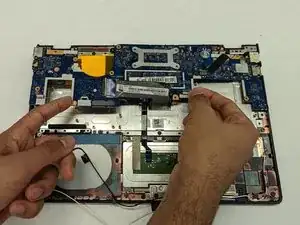
    • Lift the wide cable in the center to reveal the port for the small cable underneath.

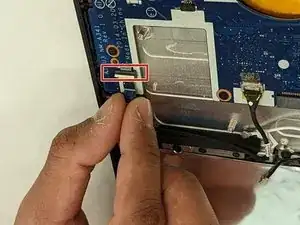
    • Using a fingernail or a thin pry tool, lift the white bar to release the cable.

    • Remove the cable from the connector.

  16. bR3oSyehc64UdAjU
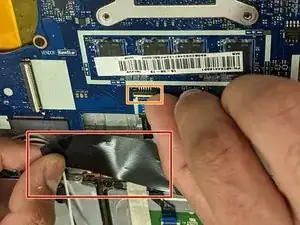
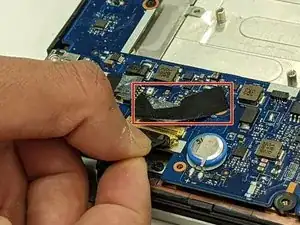
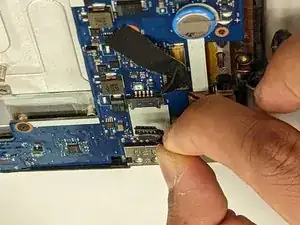
    • Lift the tape up to separate it from the motherboard.

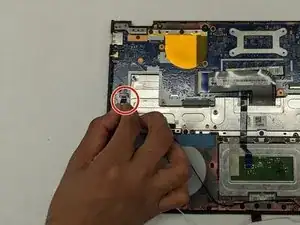
    • Using a fingernail or a thin pry tool, lift the connector upwards to separate from the motherboard.

  17. o5s5iIhmePYclM4c
    o5s5iIhmePYclM4c
    fhTSlbtbVOCKbZwl
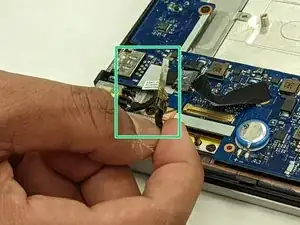
    • Remove the black tape covering the connector.

    • Pull straight backwards to remove the connector from the motherboard.

  18. hOCxFRL5UUPLsJdW
    • Pull the cable straight backwards to remove it.

  19. WVD3tWRyA1XJfF4Z
    WVD3tWRyA1XJfF4Z
    BbEPR1t6D3OClYKb
    • Pull the cable straight backwards to remove it.

  20. Scprdds6OAxwbEMg
    Scprdds6OAxwbEMg
    BsOE2fJxDUevtXKF
    • Use the Phillips #000 screwdriver to remove the seven 3.6mm screws.

  21. CnTmhbMmxJNNNUvC
    • Lift and pull backwards to remove the motherboard.

  22. MysYNavtcLKLKLIy
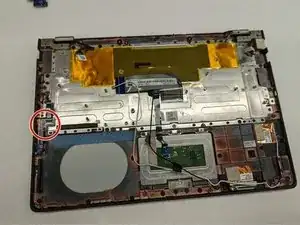
    • Use the Phillips #000 screwdriver to unscrew and remove the one 3.3 mm screw that secures the daughterboard.

  23. Mcc161EV2lKfZbDI
    • Gently remove the daughterboard.

  24. kvFBudxAmafsK3mC
    • Carefully remove all of the small black clips along the edge of the metal piece.

  25. FokAbDTU2uqXgRX1
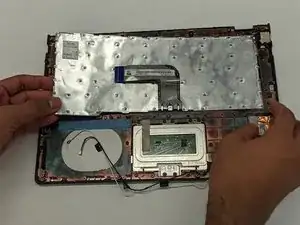
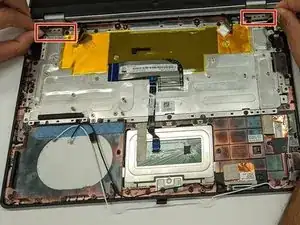
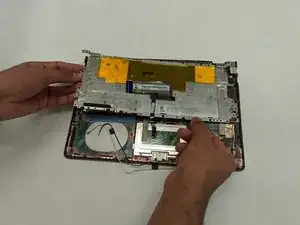
    • Gently lift up and remove the two metal pieces, at the back of the bottom case, near the hinges.

  26. HsrNOyTg5cOXsgMs
    • Gently lift up the metal cover and remove it.

  27. ZW4VGsWUDEaNagI2
    • Gently lift up the keyboard base and remove it.

Conclusion

To reassemble your Lenovo Yoga 2 11" (model 20428) keyboard, follow these instructions in reverse order.

Shalem

Member since: 30/03/22

163 Reputation

0 comments