Introduction
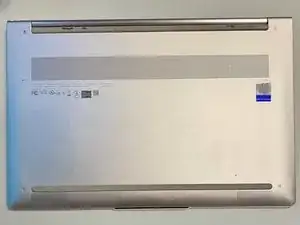
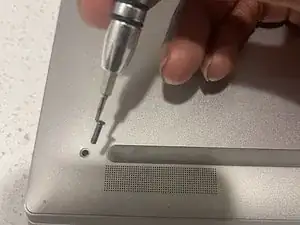
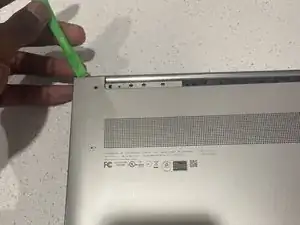
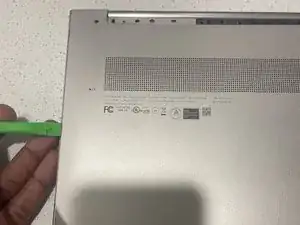
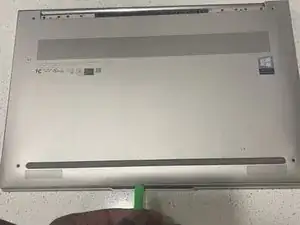
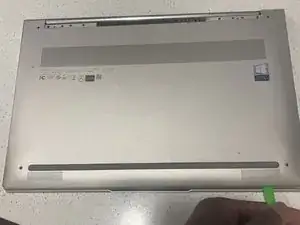
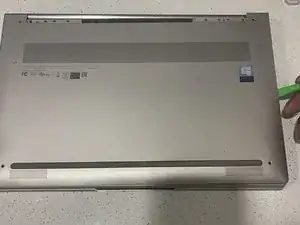
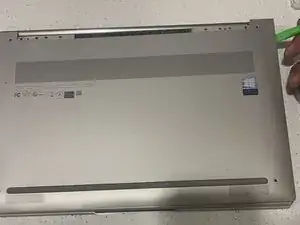
Having issues with your Lenovo not holding a charge, or even not charging at all? This may be due to the battery losing its integrity, and you may need to replace the battery. Below are the instructions on how to complete the battery change. This is a very easy fix, with limited materials required. On the right you will see the tools needed. This is a relatively easy fix, with very low risk of anything going wrong or being dangerous. If you scroll down you will see a step by step guide on how to change the battery on your Lenovo Yoga C940-IIL Laptop.
Tools
Parts
-
-
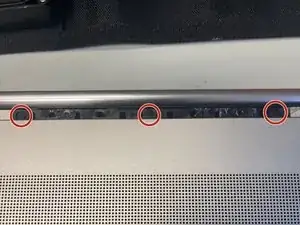
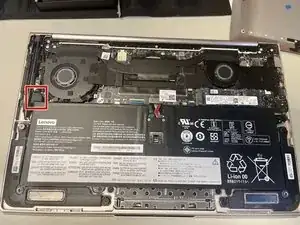
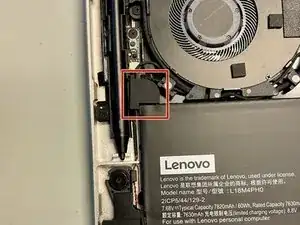
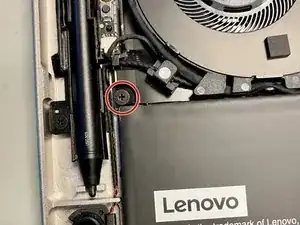
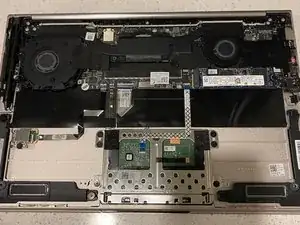
The battery is held in place by four screws, one of which is hidden.
-
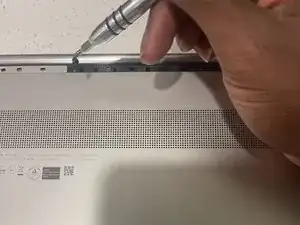
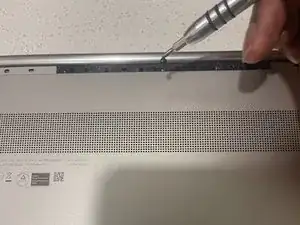
Remove this small piece of rubber is covering one of the screws with your fingers.
-
-
-
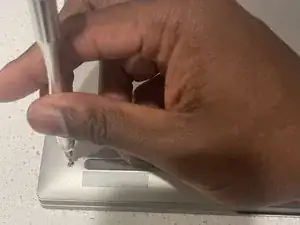
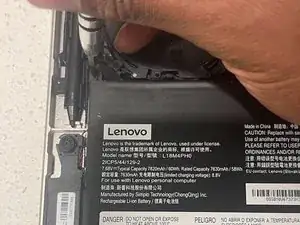
Use the Phillips #0 screwdriver to remove the four screws securing the battery to the device.
-
-
-
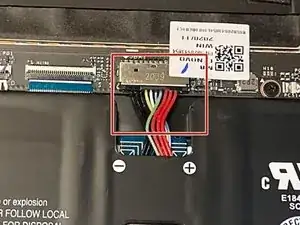
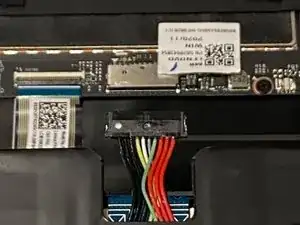
To complete the removal of the battery, disconnect the ribbon cable connecting the battery to the computer.
-
To reassemble your device, follow these instructions in reverse order.
For optimal performance, after completing this guide, calibrate your newly installed battery.
Take your e-waste to an R2 or e-Stewards certified recycler.
5 comments
Thanks a lot for the clear and thorough guidelines, worked like a charm and saved my 2-year old C940 after its original battery has bloated on its own!
Purhcased a replacement laptop battery from CanadaLaptopBattery, they shopped it from overseas (AlosteCell). Followed this guide to replace the battery. Replacing that little rubber piece was probably the biggest pain in the butt (the wire for the right speaker wraps around the rubber at the bottom as you squeeze it in). Thanks to the guide, this was one of the rare times I grabbed the right Torx bit first-try! Just a note; My laptop took several minutes after putting the new battery in (as well as being plugged in) to turn on. The laptop was on as indicated by the powerlight on the side, and the laptop was charging (orange light on the other side), but probably took 2-3 minutes to POST (Lenovo logo on screen). Just thought I'd mention that in case anyone freaks out.
Thanks for the helpful instructions! I have a question though: do you think it’s a bigger problem that I didn’t get the little screw underneath the small rubber thing back in? Because the new battery was built in a way that it wouldn’t fit.
