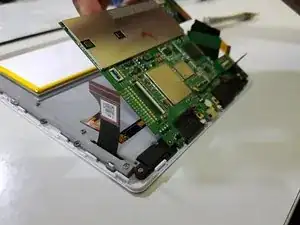
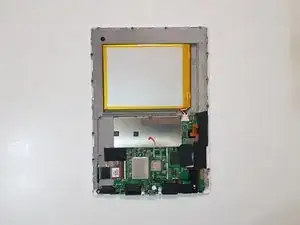
Introduction

  1. LdHcCnxGEpqVhEbs
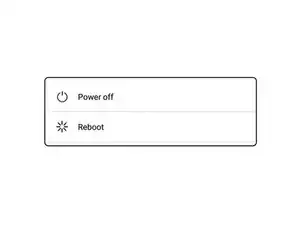
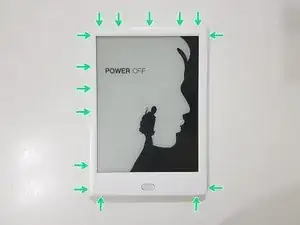
    • Power off the tablet by holding down the power button (on the bottom) and tapping "Power off" on screen, then wait 10-15 seconds for the underlying Android system to shut down.

  2. VG1LILZHiWKHyuUZ
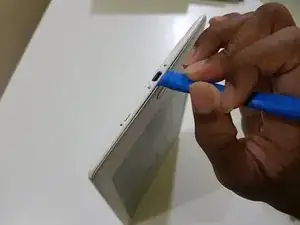
    • Unscrew the two Torx T2 screws surrounding the USB port.

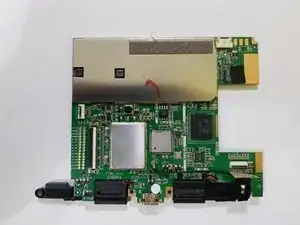
    • Image needed: showing just the bottom in order to highlight screws in blue

  3. uKDXYFgqWtanbXy5
    uKDXYFgqWtanbXy5
    RjsGXLGJyNNg2YWW
    1DRfXYdTpDWZSPKF
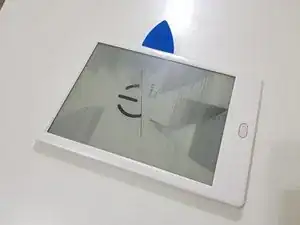
    • Use the opening tool to pry at the lip in between the bezel and rear cover,

    • then slide in your opening pick with the flat end,

    • and slide it around to undo these clips.

  4. T3MAb6gl5NOgHBXm
    T3MAb6gl5NOgHBXm
    kpDg3fywj6XJXHmj
    uvIFRnmMSriU3INQ
    • (Note to self: Try opening the side using opening tools)

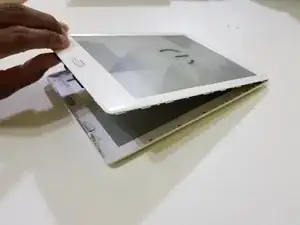
    • After releasing the clips, lift the front bezel out.

    • The extension piece for the power button can fall out. Don't lose this!

  5. 6D1oaFRCY5qxQoR4
    • The rear cover has been removed.

  6. PXZDIUYKbLoHYP1K
    PXZDIUYKbLoHYP1K
    JOBhqECqldR2QbFI
    P4IPtv6pDfFo3eHq
    • Disconnect the battery.

    • Due to the placement of the battery, the connector may not come out all the way.

  7. qKDXSuuOnpH2GJcE
    qKDXSuuOnpH2GJcE
    OufCkdROAipsYNJT
    CBZ1xJXLvwBtDtZh
    • Using the pointed end of a spudger, disconnect the touch panel.

  8. wwrT4NjwVVPMqQxG
    wwrT4NjwVVPMqQxG
    OPW1Q4naILdPWRFp
    TVfXLqHrrZ5BgLja
    • Disconnect the pen input controller.

  9. xAYgJYX3njxNycyM
    xAYgJYX3njxNycyM
    P2GcrW2MNvZXlLcc
    QjDyCWfsyet3Qp6d
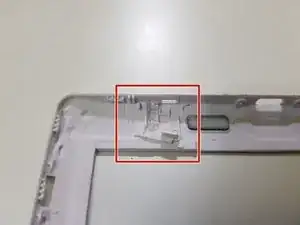
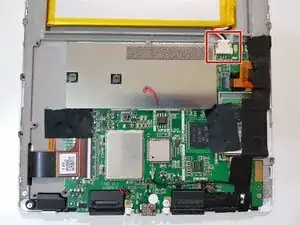
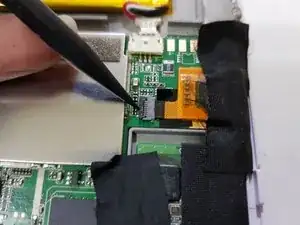
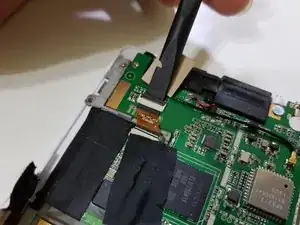
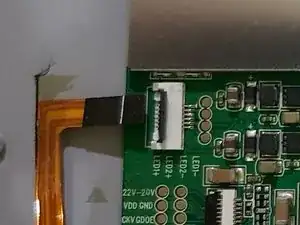
    • Lift up part of the tape covering the frontlight connector.

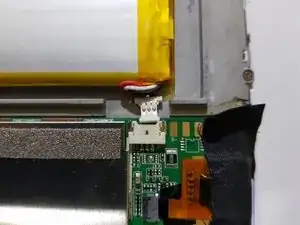
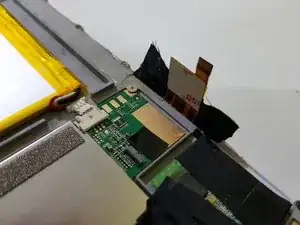
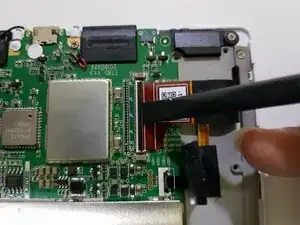
    • Using the flat end of your spudger, disconnect the display.

  10. qiG62pPHrM631dnw
    qiG62pPHrM631dnw
    fmnlTTSvgWbTjGkP
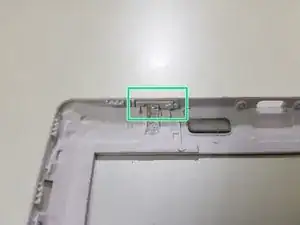
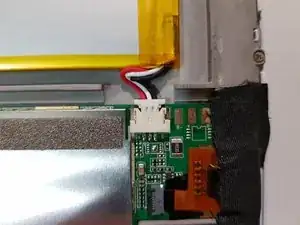
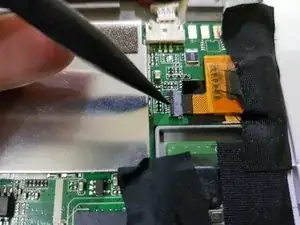
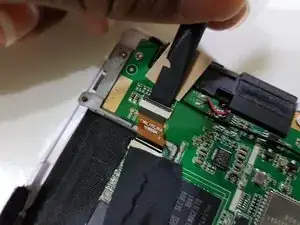
    • Peel the tape the rest of the way

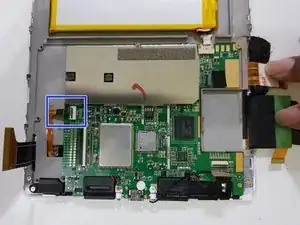
    • Using the pointed end of your spudger, disconnect the frontlight.

  11. sASEyVbRHkDT2W6U
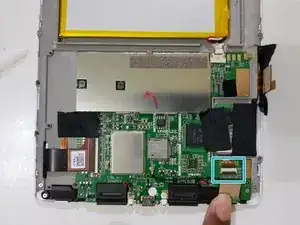
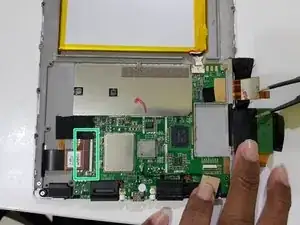
    • Remove these screws using your J00 screwdriver (or a PH00 screwdriver if you don't have one).

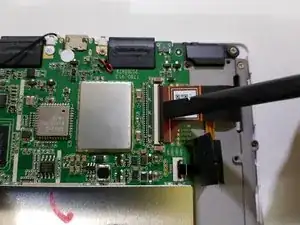
    • Remove these screws using your PH00 screwdriver.

    • One of these screws has a tamper detection sticker pasted over the screw head.

    • You should be able to poke the screwdriver through it.

  12. hUWkVfxJ3D1SljjT
    • Lift the mainboard out from the top,

    • The speaker connections are only held in with solder, and may break if you're not careful.

  13. KOsSw1mgKYVTgNaE
    KOsSw1mgKYVTgNaE
    kMgk1nESGhWMU3dV
    dqSMLmFQH1ODYwVW
    • The mainboard has been removed.

Conclusion

To reassemble your device, follow these instructions in reverse order.

Kevin Bhasi

Member since: 26/12/14

1262 Reputation

0 comments