Introduction
Use this guide to replace the bottom cover in your Mac mini (2024).
Tools
-
-
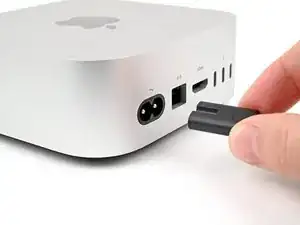
Fully shut down your Mac mini and unplug all cables from it.
-
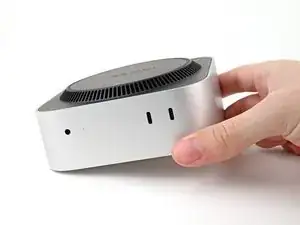
Flip over your Mac mini and place it on a clean, flat surface to avoid scratching the chassis.
-
-
-
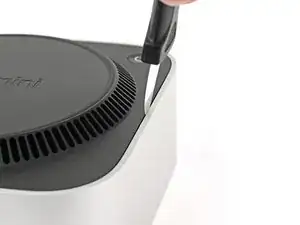
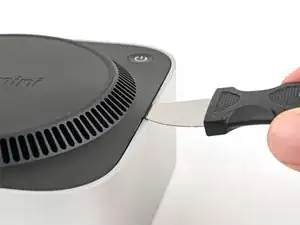
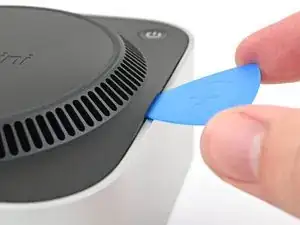
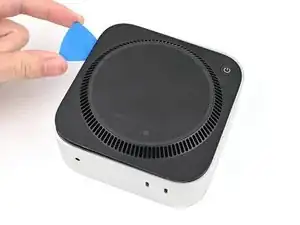
Insert a Jimmy into the gap between the bottom cover and the chassis.
-
Pry up the bottom cover to create a gap.
-
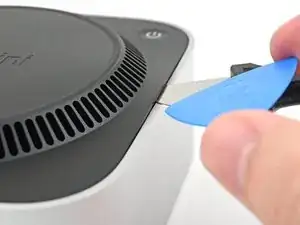
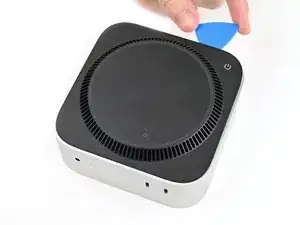
Keep the Jimmy inserted under the bottom cover.
-
-
-
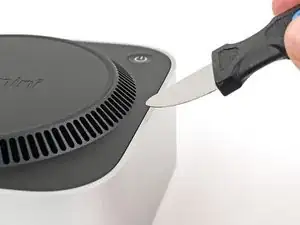
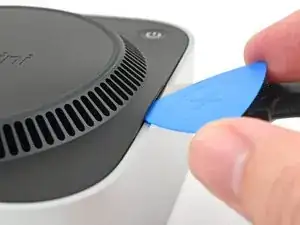
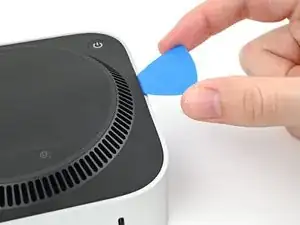
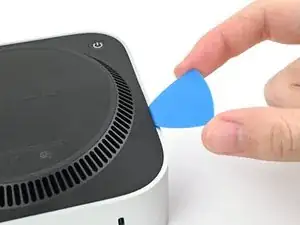
Slide the opening pick along the bottom cover until you feel it snag on a clip.
-
Twist the pick to lift the clip out of its slot.
-
-
-
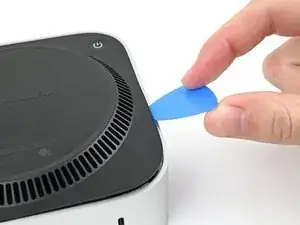
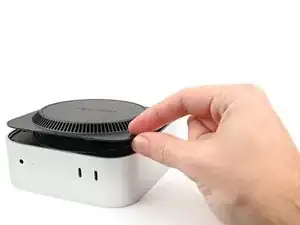
Continue sliding and prying with the pick along the perimeter of the bottom cover to release the remaining clips.
-
-
-
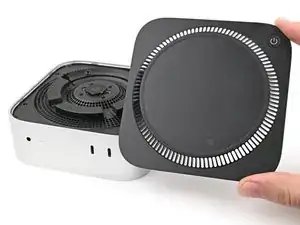
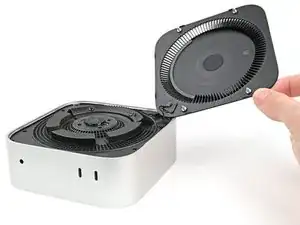
Lift the edge of the bottom cover opposite the power button and flip it over to expose the power button cable.
-
-
-
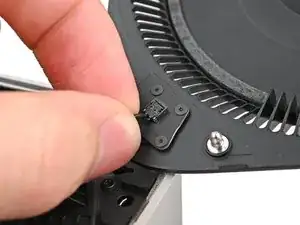
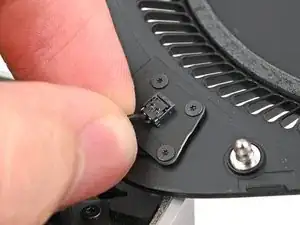
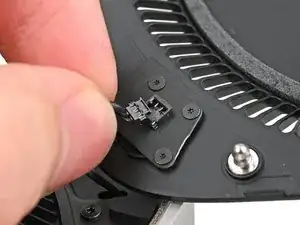
Grip the power button cable close to the head and pull it away from its socket to disconnect it.
-
To reassemble your device, follow these instructions in reverse order.
Repair didn’t go as planned? Try some basic troubleshooting, or ask our Mac mini (2024) Answers Community for help.
One comment
I ripped the crimps off of my power cable because I was pulling out instead of up. Is a new power button cable available for sale somewhere?



Den Mac vorm ausschalten noch vom Account trennen. Sonst kann es zu Schwierigkeiten bei der Neuanmeldung kommen.
MacGyverModeOn -