Introduction

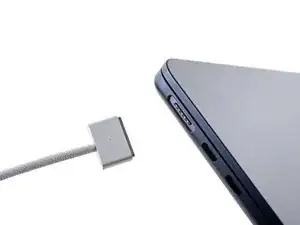
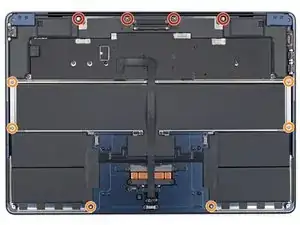
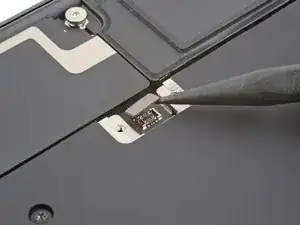
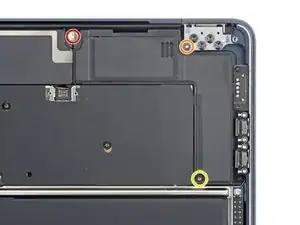
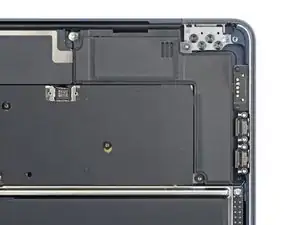
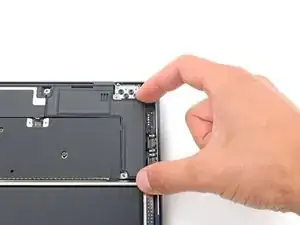
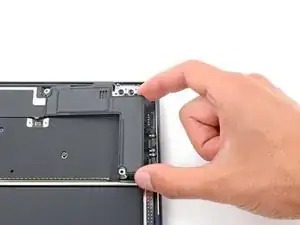
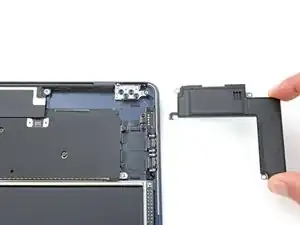
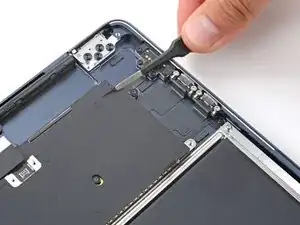
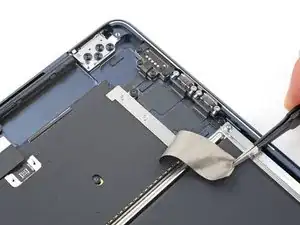
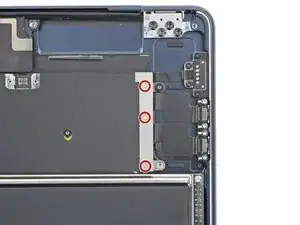
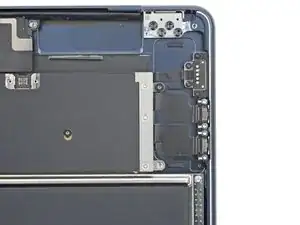
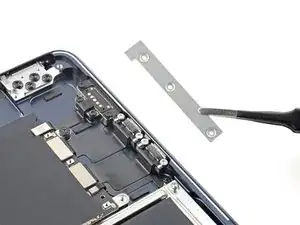
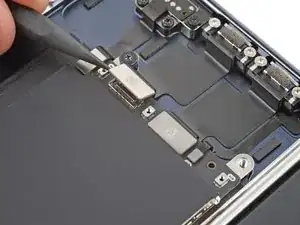
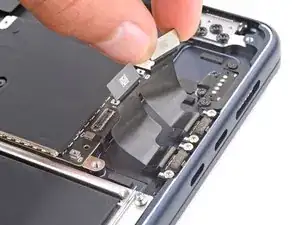
Use this guide to replace one or both of the Thunderbolt ports in your MacBook Air 15" 2024.

If your Thunderbolt cables aren't connecting, have loose connections, connect at odd angles, or disconnect at certain angles, it may be time to replace a Thunderbolt port.

Before replacing a port, try using another cable to make sure the issue isn't with the cable itself.

  1. VHSwxVAfVpRANEEM
    VHSwxVAfVpRANEEM
    RdBOkhEeNyU2yrQh
    f3YY51OXlJcifhAq
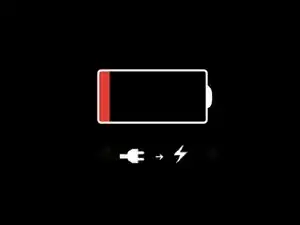
    • Allow your MacBook's battery to drain below 25% before starting this repair—a charged battery may catch fire if damaged.

    • Unplug all cables and fully power off your MacBook.

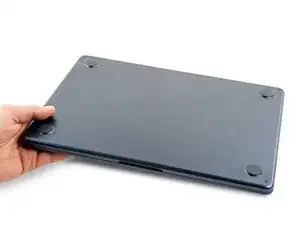
    • Close the display and lay your MacBook upside down. Keep your laptop closed until you've physically disconnected the battery.

  2. VLe1AqG1xhVfa22F
    VLe1AqG1xhVfa22F
    MSqb2Idxp2QYIk6B
    • Throughout this repair, keep track of each screw and make sure it goes back exactly where it came from.

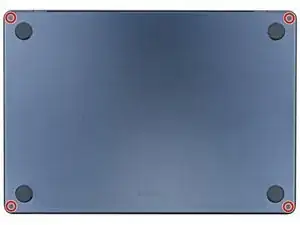
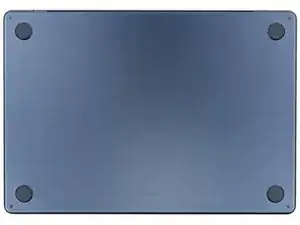
    • Use a P5 pentalobe screwdriver to remove the four 6.4 mm‑long screws securing the lower case.

  3. OLHZMoIOgBUBInCQ
    OLHZMoIOgBUBInCQ
    oW1DXmHu2xTSOAUg
    npMpHdfBbNnIjgXL
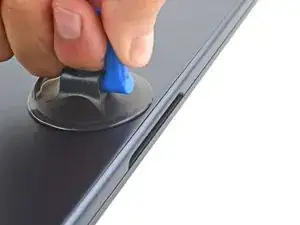
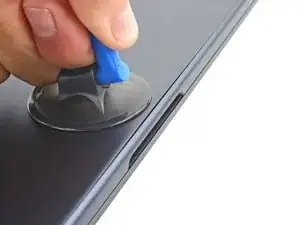
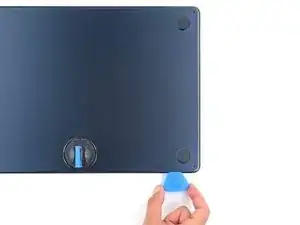
    • Apply a suction handle to the center of the lower case's front edge.

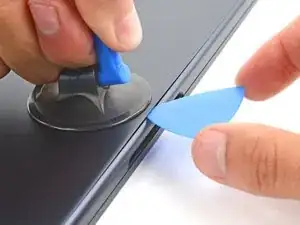
    • Pull up on the suction handle to create a gap between the lower case and the frame.

    • Insert an opening pick into the gap.

  4. icfXdnPCDqSNIpIL
    icfXdnPCDqSNIpIL
    sXYsTZUJmWdPIOBO
    FsveCnI6mB4o6vdZ
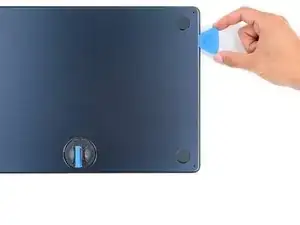
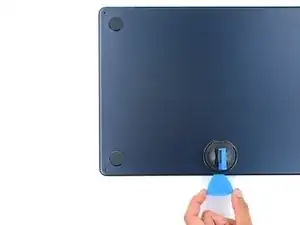
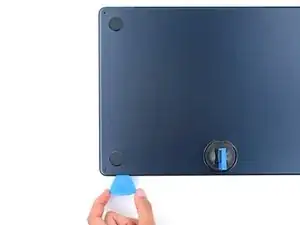
    • During the next two steps you'll feel and hear six snapping clips release. If a clip doesn't release, insert your opening pick farther and try again.

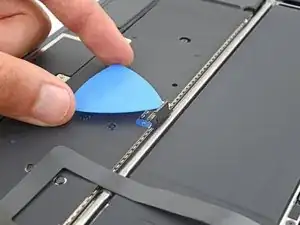
    • Slide the pick to the bottom right corner to release the first clip.

    • Slide the pick around the corner and up the right edge to release the next two clips.

    It is possible to break these off of the lid if you do not understand how they lock. They lock by pressing the lid straight down onto the body, not from the side. If I did it again I would find the clip, and just twist the tool to pull the two halves directly away from each other.

    Geoff Baker -

  5. aOleJq3qgpdhKrNc
    aOleJq3qgpdhKrNc
    ljfTrGXwPbBtFYvF
    3JqJtEyXMAB4RNYM
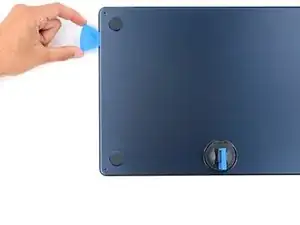
    • Insert the opening pick in the original gap created with the suction handle.

    • Slide the opening pick to the bottom left corner and up the left edge to release the three remaining snapping clips.

  6. yUmINYLGDWUvLWTY
    yUmINYLGDWUvLWTY
    HoTdfbFiP5TOXsTJ
    DN2rEokJGdNDZsQk
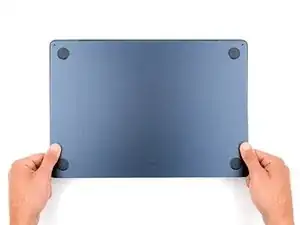
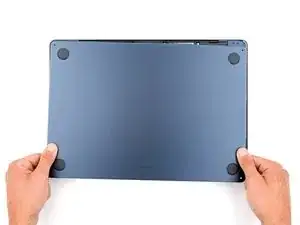
    • Four sliding tabs along the back edge of the MacBook firmly secure the lower case. Separating these tabs requires a lot of force—consider using gloves to protect your hands from the sharp edges of the lower case.

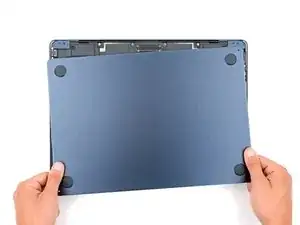
    • Keep the lower case flat to the frame and firmly slide it straight away from the back edge, one corner at a time, to disengage the sliding tabs.

    • Don't pull up until the cover is completely separated.

  7. UNtWUTpBg4ocEXT4
    UNtWUTpBg4ocEXT4
    44XcoVjlMduNTrDf
    BATrXQ5vhaJNbZqC
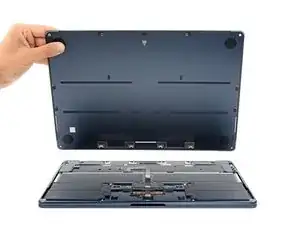
    • Remove the lower case.

    • During reassembly:

    • Set the lower case in place and align the sliding tabs with the screw heads they slide over. Press down and slide the lower case toward the back edge to engage the tabs—it'll stop sliding as the tabs engage.

    • When one side is engaged, it may push the other out of alignment. Check both sides as you push, there should be no gap along the back edge.

    • Once the lower case is flush with the frame, press down firmly along the perimeter to engage the six snapping clips.

    • You'll hear and feel a distinct click as each clip snaps into place.

  8. P2xxSwq3pQFSde6I
    P2xxSwq3pQFSde6I
    2aJ3AgWMLtqjwJrs
    dRRIdlQLRyRbLycf
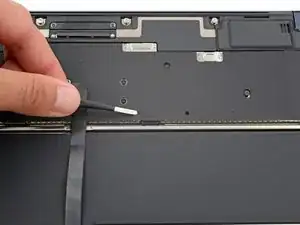
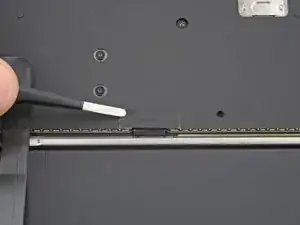
    • Use blunt nose tweezers or your fingers to remove the piece of tape covering the battery connector cover.

    • During reassembly, use the leftover adhesive to secure the tape to the cover.

  9. ytD4SCgCAxXVt24f
    ytD4SCgCAxXVt24f
    cejWTHjtXGxlUdlk
    ZBvCsV2PVr1eRnd1
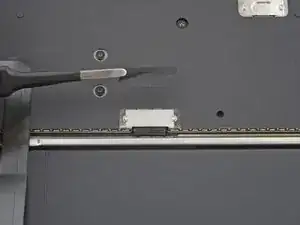
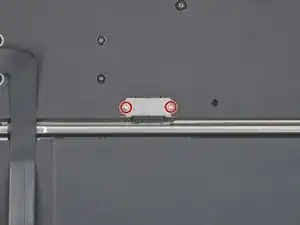
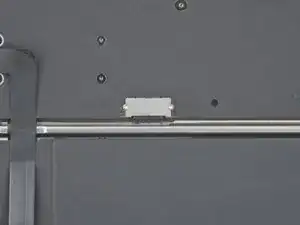
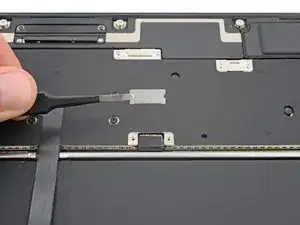
    • Use a 3IP Torx Plus screwdriver to remove the two 1.5 mm‑long screws securing the battery connector cover.

    • Remove the cover.

  10. mBoddjL4FMGvHdAK
    mBoddjL4FMGvHdAK
    SxTDekgXBIIXKMgD
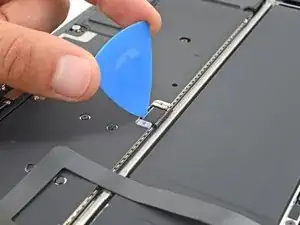
    • Use an opening pick to pry up and disconnect the battery connector.

    • To reconnect a press connector, align it over the socket and gently press down on one side until it clicks into place, then press down on the other side. It might take a few tries to align the connector.

  11. 3ppBhNF1XyxGPNlq
    3ppBhNF1XyxGPNlq
    cUVWYLAPNQBmR6L4
    • The left speaker will be on your right-hand side when working on the MacBook, as it's laying upside down.

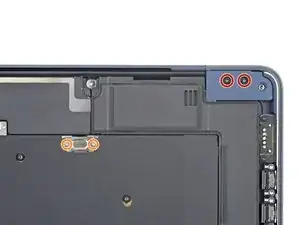
    • Use a 3IP Torx Plus screwdriver to remove the following screws:

    • Two 2.6 mm‑long screws securing the right hinge cover

    • Two 1.5 mm‑long screws securing the speaker cable cover

  12. jfsWEeClNonfraH1
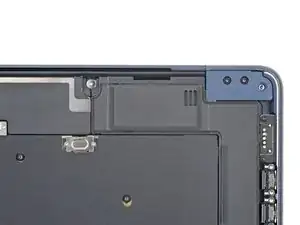
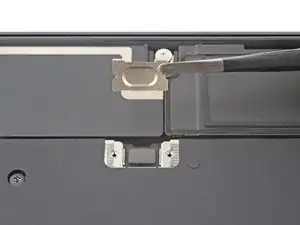
    • Remove the speaker cable cover.

  13. yYNtcOlrY36BTNHy
    yYNtcOlrY36BTNHy
    j6lsqZ4povF1C1nC
    nP1Jkjb4HKXAfXh6
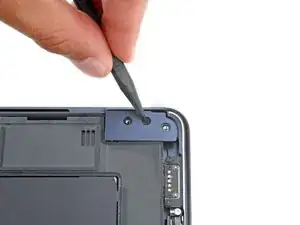
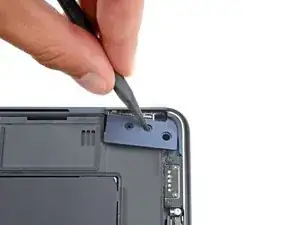
    • Insert the point of a spudger into one of the right hinge cover's screw holes.

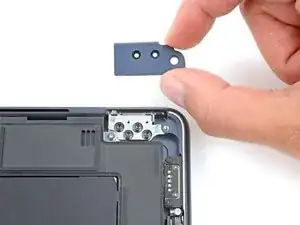
    • Push the hinge cover away from the back edge to dislodge it.

    • Remove the hinge cover.

  14. nO6v5ZjHek1Y1fcT
    nO6v5ZjHek1Y1fcT
    bFGfq3ZFh6U1SNfg
    aAm25aO5bZbkZOKL
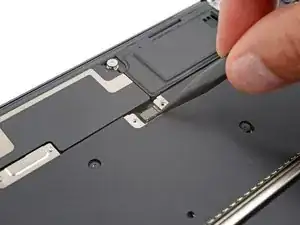
    • Use the point of a spudger to pry up and disconnect the left speaker press connector.

  15. ZguHIoTBomlPtKXW
    ZguHIoTBomlPtKXW
    etNrEyoNKRVCfNPW
    • Remove the three screws securing the right speaker:

    • One 5.5 mm‑long 4IP Torx Plus screw

    • One 2.7 mm‑long 4IP Torx Plus screw

    • One 3.5 mm‑long 6IP Torx Plus screw

  16. FDE4eKVTPD21BBKY
    FDE4eKVTPD21BBKY
    nONyDCQydoEOpskE
    rDuFoKpL5D5ySBCs
    • Make sure the cable on the top left edge of the speaker doesn't get caught on the logic board, as it may tear.

    • Lift the speaker's right edge over the frame and slide it to the right to remove it.

    • During reassembly, slide the speaker cable under the right edge of the antenna bar assembly before laying the speaker in its recess.

  17. boxeFLWyVIZ6CGV3
    boxeFLWyVIZ6CGV3
    Ey4eihKnJDIxIU5f
    • A piece of tape on the right edge of the logic board hides the MagSafe and Thunderbolt port connectors cover.

    • Use blunt nose tweezers or your fingers to peel up and remove the tape.

    • During reassembly, use the leftover adhesive to secure the tape to the cover.

  18. LOTSw34ssWOulXej
    LOTSw34ssWOulXej
    mUfALpyReCEbJyHb
    IGjCRuWpvtS4dXqK
    • Use a 3IP Torx Plus screwdriver to remove the three 1.5 mm‑long screws securing the port connectors cover.

    • Remove the cover.

  19. ehXeAPvFqTLZpvZQ
    ehXeAPvFqTLZpvZQ
    inRPNBkQ2DiJ1WYZ
    I5UwUViRspVXDUEB
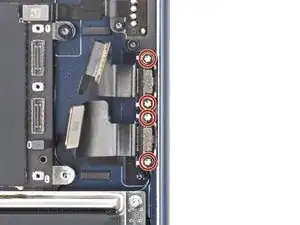
    • This guide shows how to replace both Thunderbolt ports. If you're replacing a single port, only perform each action on that port.

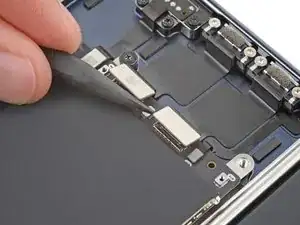
    • Use a spudger to pry up and disconnect the Thunderbolt port press connectors from the right edge of the logic board.

  20. qKviPpURfNsRNMQX
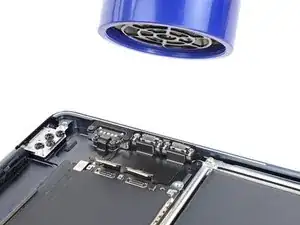
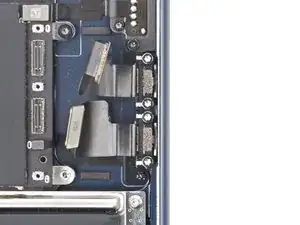
    • The Thunderbolt port cables are strongly adhered to the frame.

    • Use a hair dryer to heat the cables and soften the adhesive securing them.

  21. VKocrXHDI4EOv1aZ
    VKocrXHDI4EOv1aZ
    DxNhK4mOWUygD45b
    EjF4iXy1OYxSfSkY
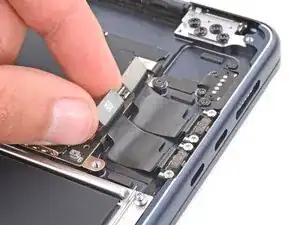
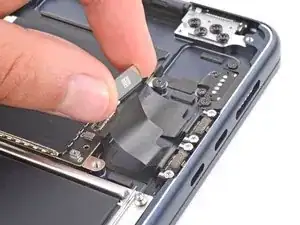
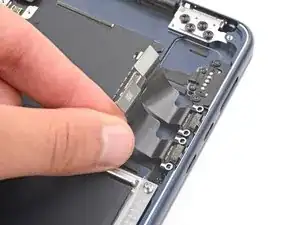
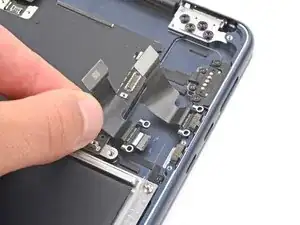
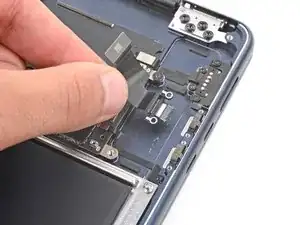
    • Slowly peel the Thunderbolt port cables from the frame to separate the adhesive securing them.

    • During reassembly:

    • If your new Thunderbolt ports come with adhesive on the cables, remove the plastic liners and press the cables into place on the frame.

    • If the cables don't have adhesive, use strips of double-sided tape to secure them to the frame.

  22. K2wWHALUnXvkFX2J
    K2wWHALUnXvkFX2J
    HtpjZc3IQSf3Hvfl
    CNv6Ms1GGIoQHCSA
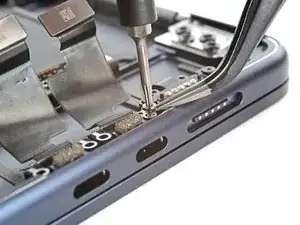
    • Use a 5IP Torx Plus screwdriver to remove the four 3.7 mm‑long screws securing the Thunderbolt ports.

    • During reassembly, the screws will be drawn toward the magnet in the MagSafe port. Use angled tweezers to hold the screws in place while tightening them.

  23. PmJffs4ZMPeHsb5s
    PmJffs4ZMPeHsb5s
    1M1GqYWerenLCYpE
    RTaH26wsf1aaCdEq
    • Remove the Thunderbolt ports.

Conclusion

To reassemble your device, follow these instructions in reverse order.

Take your e-waste to an R2 or e-Stewards certified recycler.

Repair didn’t go as planned? Try some basic troubleshooting, or ask our Answers community for help.
Spencer Day

Member since: 14/09/22

95592 Reputation

0 comments