Introduction
The charging port on the Marshall Kilburn II, over the time could get defective and need replacement.
The charging port is designed to ensure the battery gets the right amount of charge it needs to function properly. Without the battery getting the right amount of charge to power up the speaker, the speaker won't be able to have a long-lasting experience, which could cause the battery to go bad over time.
In 2.5 hours, the Marshall Kilburn could get a full charge and provide 20hr of playing time, if the charging port is damaged the time it takes to charge could get longer.
Replacing the charging port is quite simple. Simply just take the back cover of the speaker off and disconnect the charging port, then replace it with a new one. All you will need is a Phillips #1 screwdriver.
-
-
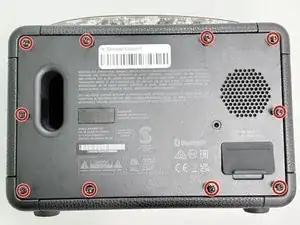
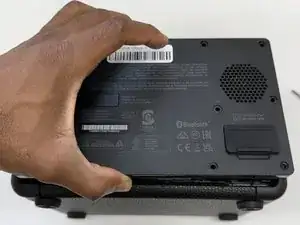
Flip the front of the Marshall Kilburn II on a flat surface so the back is facing you.
-
Use a Phillips #1 screwdriver to remove all ten 4 mm screws.
-
-
-
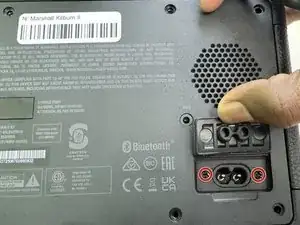
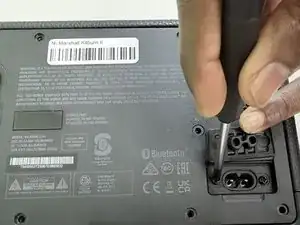
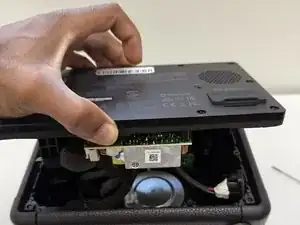
Slightly lift up the back cover of the speaker just enough to be able to see the inside compartment of the speaker.
-
-
-
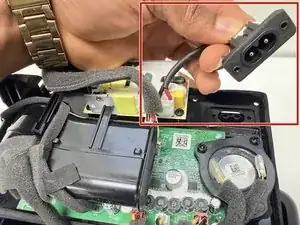
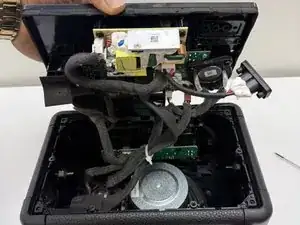
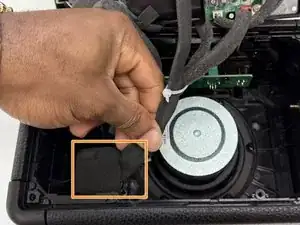
Locate the battery, which is attached on the inside bottom left corner. Refer to image 1.
-
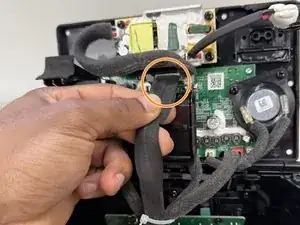
Identify the black cable that connects from the battery to the back cover of the speaker.
-
-
-
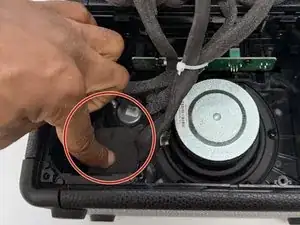
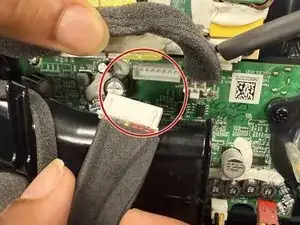
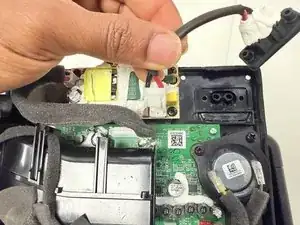
Grip the white battery connector and pull it directly out of its socket.
-
Remove the battery by pulling the battery up out of its housing.
-
-
-
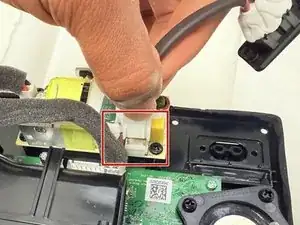
Disconnect the charging port by pressing the white tab and pulling up on the end of the cable connected to the back cover of the speaker.
-
Replace the charging port.
-


To reassemble your device, follow the above steps in reverse order.
Take your e-waste to an R2 or e-Stewards certified recycler.