
Introduction
Tweeters are the smallest speakers in an audio setup. Their small size is an important quality, because to produce high-frequency sounds, a speaker must be able to vibrate at rapid speeds. The tweeters are one of the most important components of the Marshall Kilburn II in order to have a crisp sound, they add clarity and brightness to the overall listening experience.
The tweeters are known to blown out. If you notice any distortion, crackling, or buzzing coming from the tweeter while playing audio, it may indicate a sign of damage. It is possible that one or both of the tweeters will need to be replaced.
Replacing the tweeters Is a moderate job. All that's needed is a Phillip #1 screwdriver. Use this guide to help you replace the tweeters on your Marshall Kilburn II.
-
-
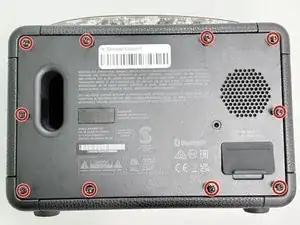
Flip the front of the Marshall Kilburn II on a flat surface so the back is facing you.
-
Use a Phillips #1 screwdriver to remove all ten 4 mm screws.
-
-
-
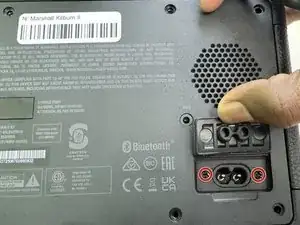
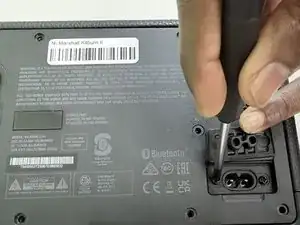
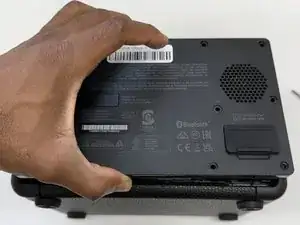
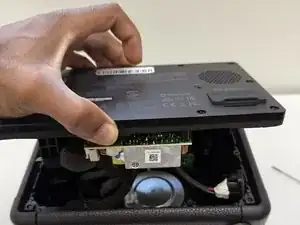
Slightly lift up the back cover of the speaker just enough to be able to see the inside compartment of the speaker.
-
-
-
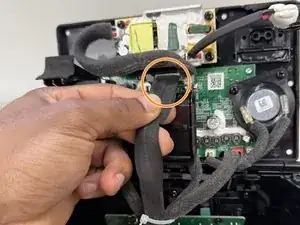
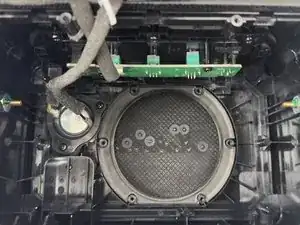
Locate the battery, which is attached on the inside bottom left corner. Refer to image 1.
-
Identify the black cable that connects from the battery to the back cover of the speaker.
-
-
-
Grip the white battery connector and pull it directly out of its socket.
-
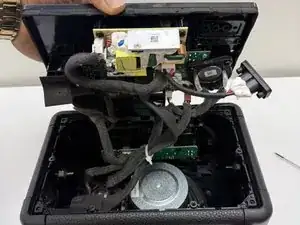
Remove the battery by pulling the battery up out of its housing.
-
-
-
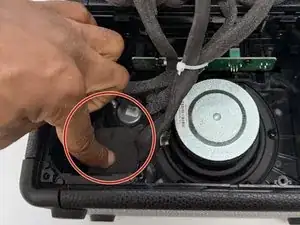
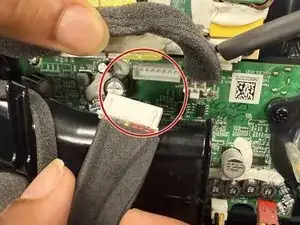
Firmly press on the tab on the speake connector and pull up to disconnect it.
-
Disconnect the two speaker connectors.
-
-
-
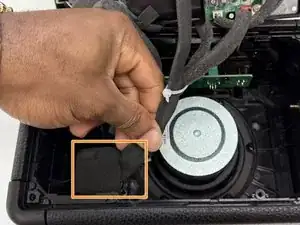
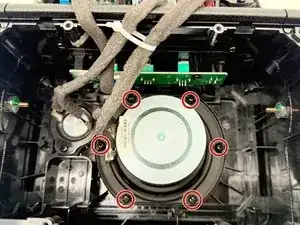
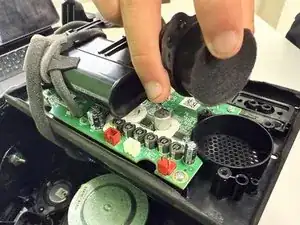
Use a Phillips #1 screwdriver to remove all six 4 mm screws securing the main speaker.
-
Remove the main speaker.
-
-
-
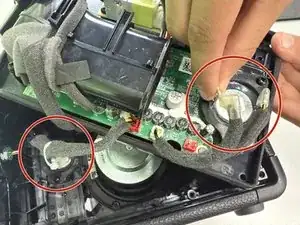
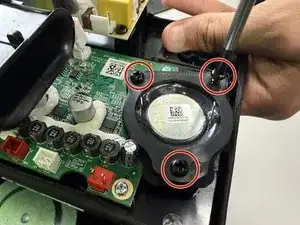
Identify the two tweeters. There’s one located on the back cover of the speaker and one located inside the speaker box , on the left side of the main speaker.
-
On the tweeter located on the back cover of the speaker, disconnect the two connectors connected to the tweeter by pressing on the tabs and pulling up.
-
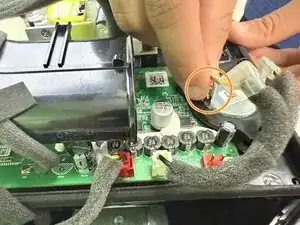
On the opposite end of the two connectors disconnect the white connector by pressing on the tab and pulling up.
-
-
-
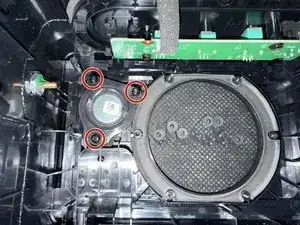
Use a Phillips #1 screwdriver remove all three 4 mm screws holding down the tweeters.
-
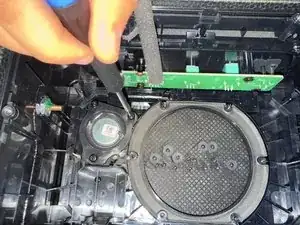
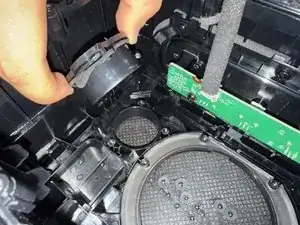
After removing all three screws, gently lift the tweeter out of it’s housing.
-
-
-
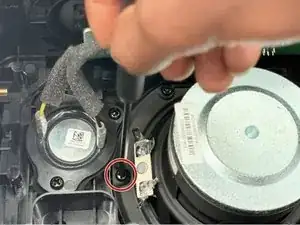
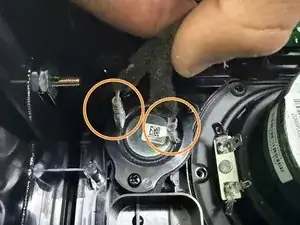
Identify the tweeter inside the speaker box, on the left side of the main speaker.
-
Disconnect the two connectors connected to the tweeter by pressing on the tabs and pulling up.
-
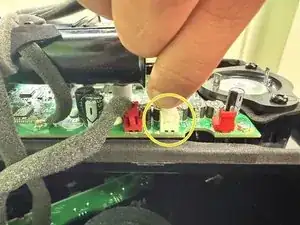
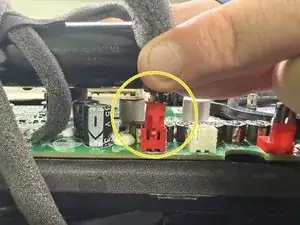
On the opposite end of the two connectors, disconnect the red connector, connected to the back cover of the speaker by pressing on the tab and pulling up.
-
-
-
Use a Phillips #1 screwdriver to remove all three 4 mm screws holding down the tweeter.
-
After removing all three screws, gently lift the tweeter out of its housing.
-


To reassemble your device, follow the above steps in reverse order.
Take your e-waste to an R2 or e-Stewards certified recycler.
