Introduction
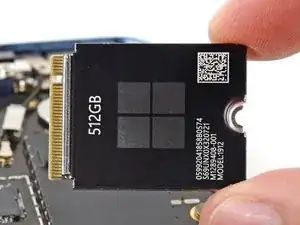
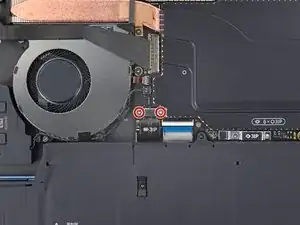
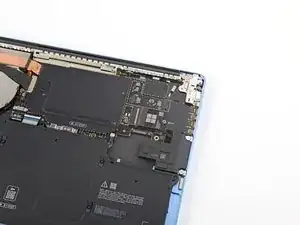
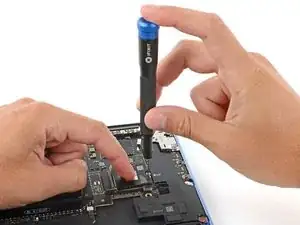
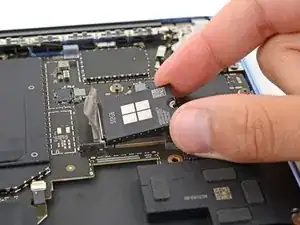
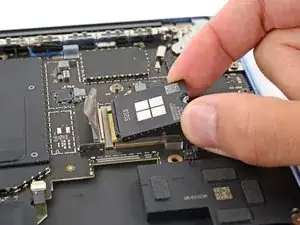
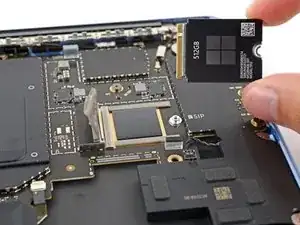
Follow this guide to replace or upgrade the SSD in your Microsoft Surface Laptop 7 (13.8‑inch).
Before starting this repair, read through Microsoft's guide on best practices for SSD removal.
Tools
Parts
-
-
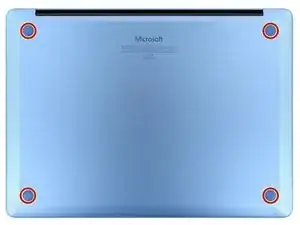
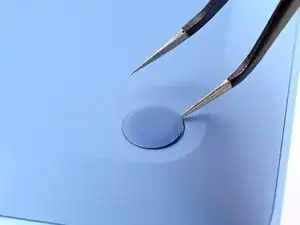
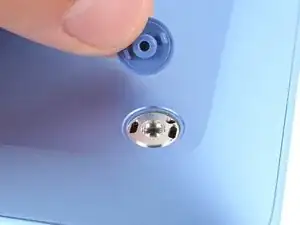
Gently slide one arm of your angled tweezers into the recess near the upper right edge of one of the feet.
-
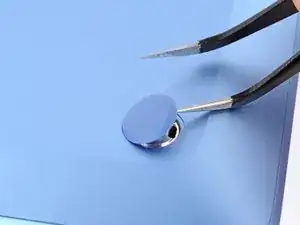
Use your tweezers to pry up and remove the foot.
-
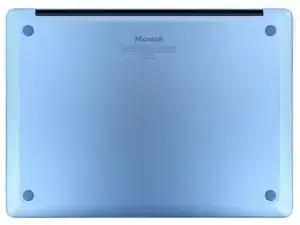
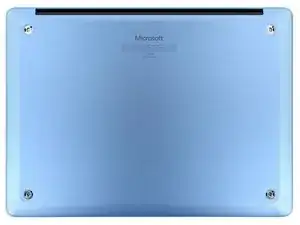
Repeat the process to remove the remaining feet.
-
-
-
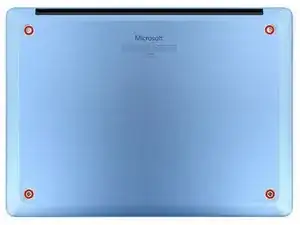
Use a Torx Plus 5IP screwdriver to remove the four 4.5 mm‑long screws (with washers) securing the lower case.
-
-
-
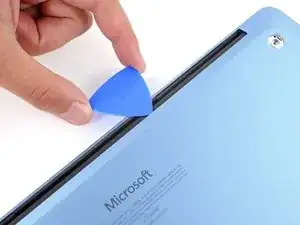
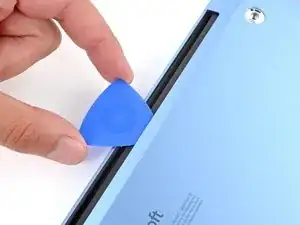
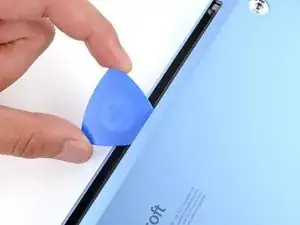
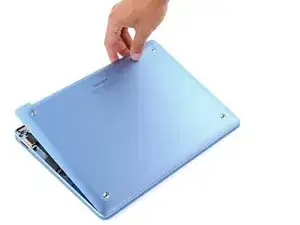
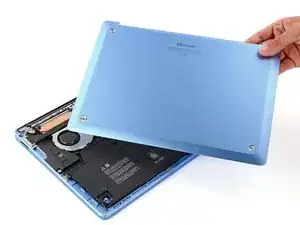
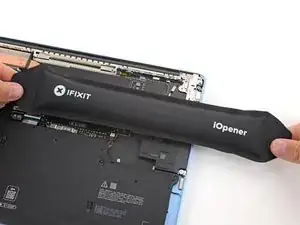
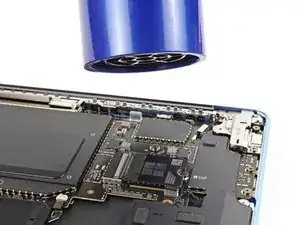
Insert the tip of an opening pick under the top edge of the lower case, about an inch (2.5 cm) to the left or right of the Microsoft logo.
-
-
-
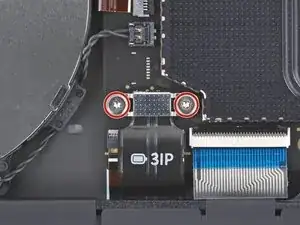
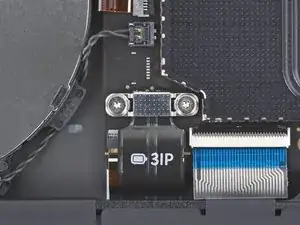
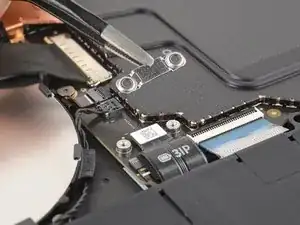
Use a Torx Plus 3IP screwdriver to remove the two 2.3 mm‑long screws securing the battery connector cover.
-
-
-
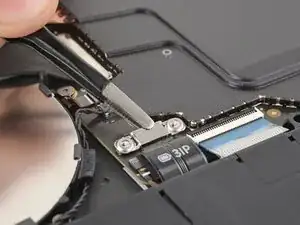
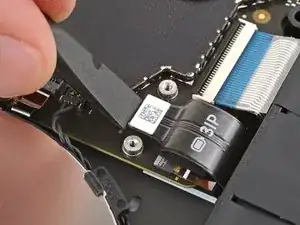
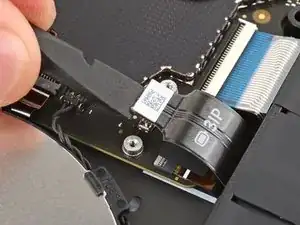
Insert the flat end of a spudger under the top edge of the battery press connector and pry up to disconnect it.
-
-
-
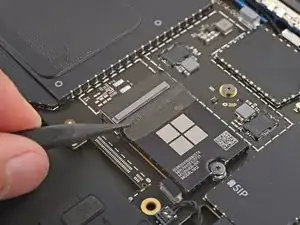
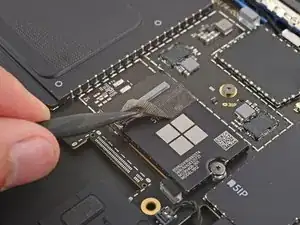
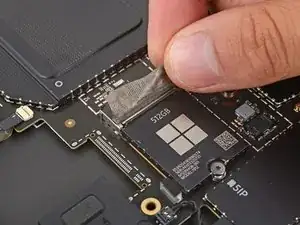
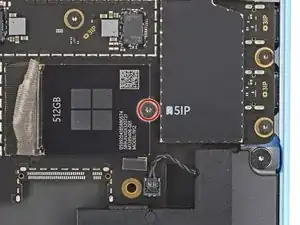
Carefully insert the point of a spudger under the SSD tape and lift until you can grip the tape with your fingers.
-
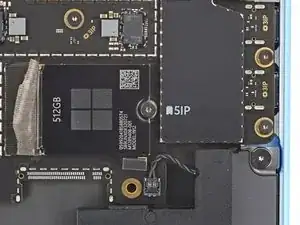
Use your fingers to gently peel the tape from the SSD.
-
To reassemble your device, follow these instructions in reverse order.
Once your laptop is reassembled, follow Microsoft's post SSD replacement guide.
Take your e-waste to an R2 or e-Stewards certified recycler.
Repair didn’t go as planned? Try some basic troubleshooting, or ask our Answers community for help.
One comment
only the original SSD can be replaced? other manufacturers won't work?
