Introduction
The official guide has been updated and can be found here. This guide is archived for historical purposes.
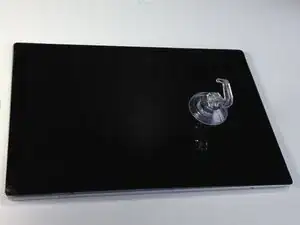
Here's how to remove the display for the Surface Pro 4. This is the first step to replacement and to many other repairs on this device.
The Surface Pro 4 has two versions with displays from different manufacturers and different connectors. Version 1.0 has a Samsung display and a 25 pin connector while version 2.0 has an LG display and a 32 pin connector. The two types are not cross compatible.
It is unclear if there is a way to determine which display you have without disassembling your device. Look closely at the connector on your old display before purchasing a replacement.
-
-
If your display is cracked, cover it with strips of packing tape to contain any glass shards and prevent injury.
-
-
-
To remove the display, first soften the adhesive by applying heat. You can use a heat pad, heat gun, or iOpener. In a pinch, a hair dryer can also work.
-
Steadily and evenly heat the perimeter of the display until it's too hot to touch, and try to maintain that temperature for several minutes—but don't overheat it, or you may damage the display.
-
-
-
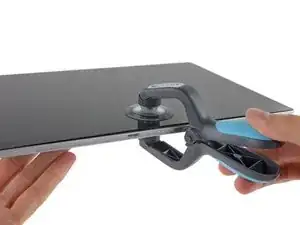
Use a suction cup or an iSclack to pull up on the glass and create a slight gap between the glass and the metal frame.
-
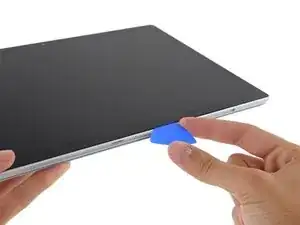
Insert an opening pick into the gap.
-
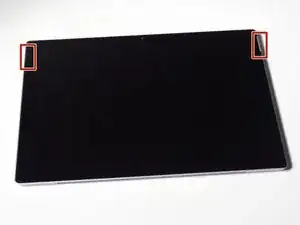
There are tabs on the upper right side and upper left side where it is easier to get a tool under the display.
-
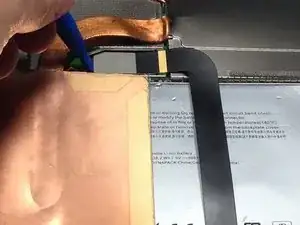
Slide an opening pick around the sides and bottom of the display to cut the adhesive. Apply more heat as needed.
-
Separate the top edge last. There are antennas on both sides, so be careful not to damage them. If needed, you can use a bit of isopropyl alcohol to help weaken the adhesive.
-
-
-
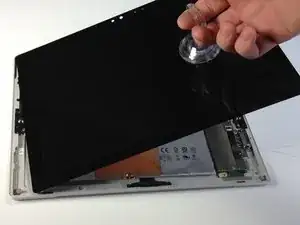
Attach a suction cup to the front of the display.
-
Using the suction cup, pull the display and base apart. You may need to hold the base in position with your hands.
-
-
-
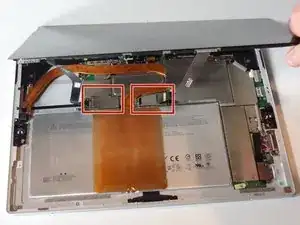
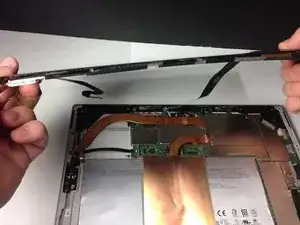
There are two display cables connecting the body to the display.
-
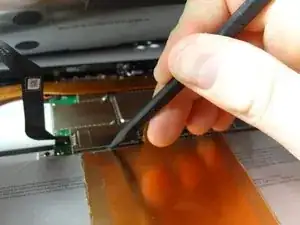
Disconnect the cable on the right by putting a plastic opening tool under the edge of the connector and prying it up.
-
-
-
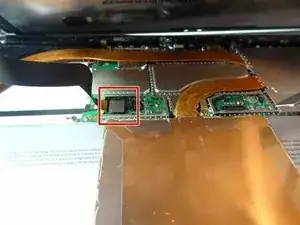
The connection for the strip on the left is covered by a lightweight metal casing. Pry around the edges of this case with a plastic spudger. Once it is loose, pull it off.
-
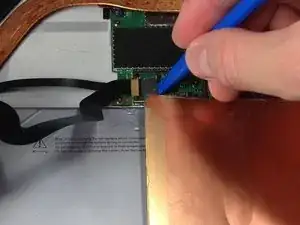
Unplug the connection with a plastic opening tool.
-
-
-
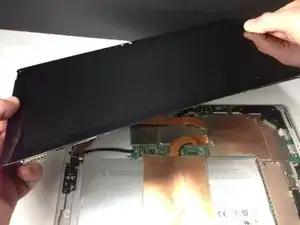
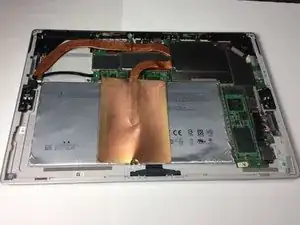
The display should now be free of the body of the Surface Pro. Lift it up and away from the rest of the device.
-

To reassemble your device, follow these instructions in reverse order.