Introduction

If your Milwaukee (6130-33) device is producing either loss of power or sound, then this replacement guide will provide you with step-by-step instructions in repairing your device. Necessary tools for the guide include a TR10 screwdriver and a set of pliers.

The carbon brush lock is responsible for maintaining the motor during usage. Worn or faulty brushes can damage both the interior casing and the brush casing. Regular maintenance and replacement of the brushes are important to maintain optimal performance and prevent damage.

  1. q6OcGwBKSfR5CycA
    q6OcGwBKSfR5CycA
    llAgnE5DsPgqOOcg
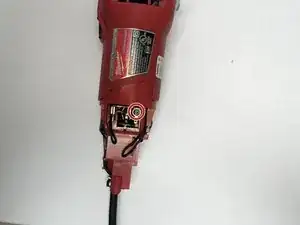
    • Hold the device with the cord facing upwards and the bottom side facing down.

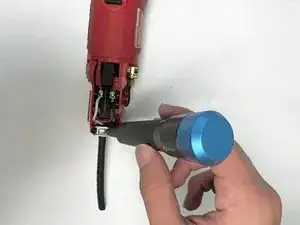
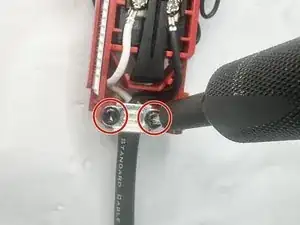
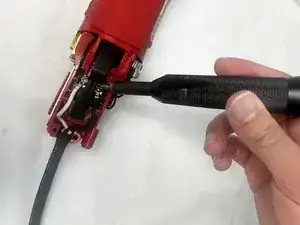
    • Remove the 4 mm TR20 Torx screws from the exterior case.

  2. XXOlcoj1cmSuqRSP
    XXOlcoj1cmSuqRSP
    qF3s3p3GRwPRQgkB
    • Remove the two 4 mm TR20 Torx screws to detach the clamp from the cord set.

  3. rvOBAGqXRSOembsH
    rvOBAGqXRSOembsH
    mBOYlMRuJktdxTsf
    ySKFEnnciqEKVJKx
    • Remove the two 3.5 mm TR10 Torx screws to access the wiring.

    • Wiring can be damage or worn, take caution when handling the wires.

  4. aPstZiu14fuxbskI
    aPstZiu14fuxbskI
    1SlwD6SmV1mNGvPc
    mVTnFvTcDfjDcrEK
    • Remove both 3.5 mm TR10 Torx screws from the carbon brush locks.

    • Turn over the device and perform the same process on the opposite side.

  5. KYAGeLycgXCitnHE
    KYAGeLycgXCitnHE
    SXHbuVNS6KnAVo2l
    • Remove both springs by pulling outwards from the rotor.

    • When removing, pull on the carbon casing to avoid harming both yourself and the device.

  6. AnKYYZHpGqaOgb56
    AnKYYZHpGqaOgb56
    gTqQAREsEweX3WPU
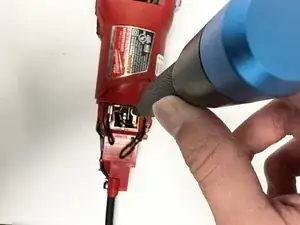
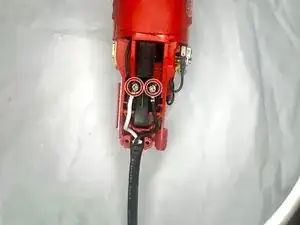
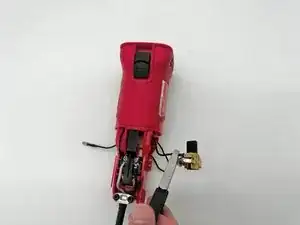
    • Using a pair of pliers, squeeze the black cord.

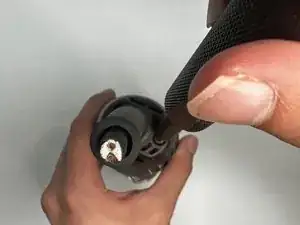
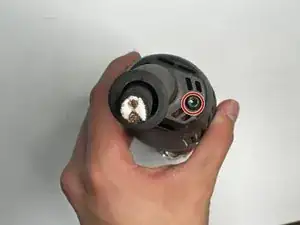
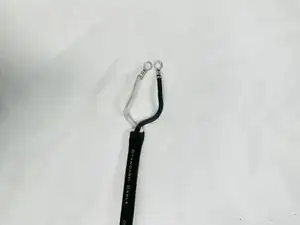
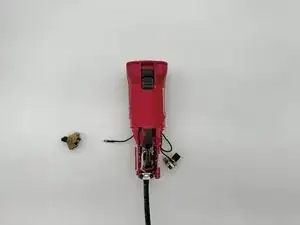
    • Remove by pulling the black wire attached to the brush casing.

Conclusion

To reassemble your device, follow these instructions in reverse order.

Brandon Olguin

Member since: 28/08/24

509 Reputation

0 comments