Introduction

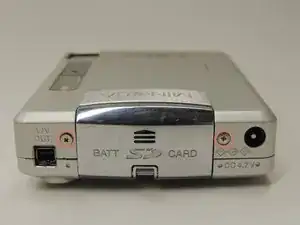
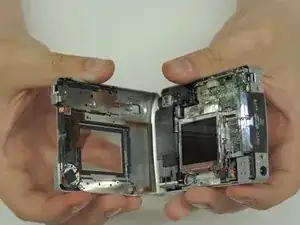
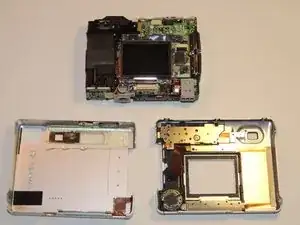
The outer casing of the camera is the first step to fixing any internal hardware. It is essential that the outer casing is in proper condition and not damaged to ensure the integrity of the internal components.

  1. 4UkpgEgGYK6KWRZe
    4UkpgEgGYK6KWRZe
    BXyi2T5yKDhWIlNn
    i5vcFhkG6yvMIiRj
    • Locate and remove the silver screws on each side of the camera.

    • Use the Phillips #00 Screwdriver to unscrew all 2.0mm (4 instances) and 4.0mm (2 instances) screws.

    #000 bit seems to work better. There are seven screws in total (2 on either end and 3 on bottom).

    Doug Ewing -

  2. VQ5WTK5UOTLBajxC
    VQ5WTK5UOTLBajxC
    K2uZZmetQ6ZTiP3Q
    LoWdMMKZlOS1iByZ
    • Then, carefully pry apart the front and back outer casing away from the internal components.

    • Be aware of the ribbon wire that will disconnect when the casing is detached.

    Lens cover can be accessed without removing rear housing. I was able to lift off the front to access the lens cover mechanism while leaving the rear in place.

    Doug Ewing -

Conclusion

To reassemble your device, follow these instructions in reverse order. The outer casing must be properly in place and screws tight to protect the internal hardware.

Megan Milam

Member since: 11/03/13

56 Reputation

One comment

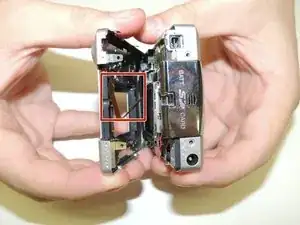
How to reattach the ribbon????
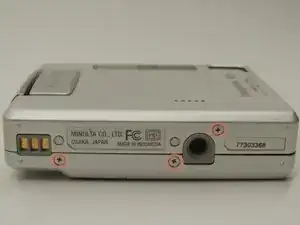
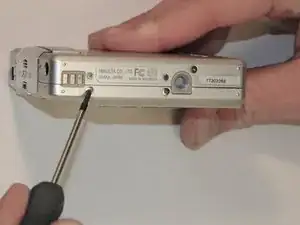
rosybrier -