Introduction
This guide's intent is to provide instructions on how to fix this model of Shark Vacuum, by replacing a broken rotating brush. Its purpose is to educate viewers on how to do this simple repair. The detailed step-by-step instructions include hands-on illustrations throughout the process for this fix. The guide provides the quick, simple steps to locate and remove the brush for replacement. This guide saves viewers money from buying a new Shark Vacuum, by demonstrating how to fix their own.
-
-
Power-off vacuum by pressing the button on the left-rear side of vacuum until the red light is off.
-
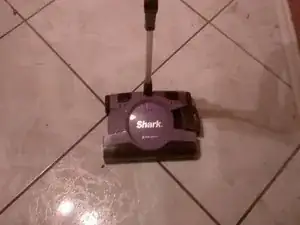
Lay vacuum down with handle lying flat on the floor.
-
-
-
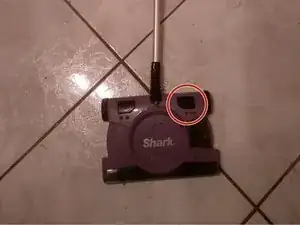
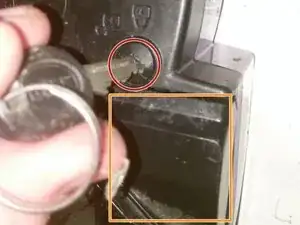
Turn the lock counter-clockwise to unlock access to the rotation brush; use a key or flathead screwdriver to fit the lock.
-
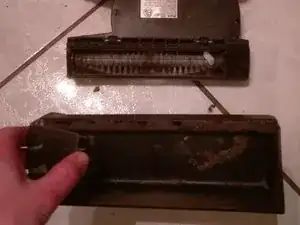
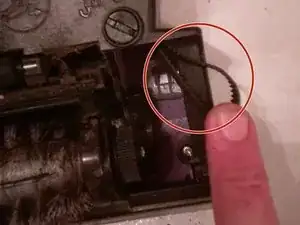
Remove the square brush cover to access the rotation brush.
-
-
-
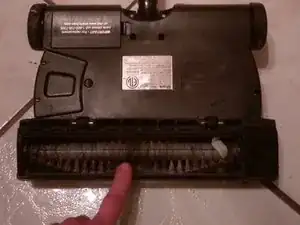
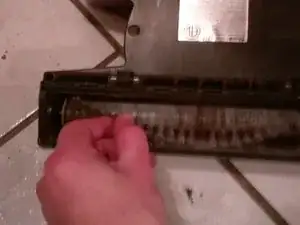
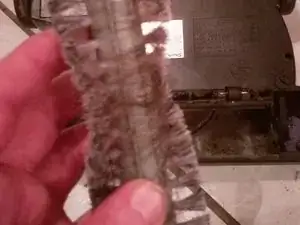
Remove the large band from the rotation brush.
-
Push the band to the side and lift up the right-side of the brush.
-
-
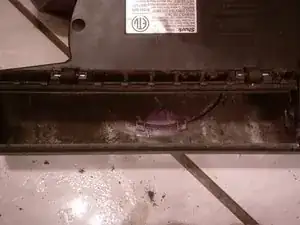
-
Clean the area surrounding the brush by scraping with a putty knife before inserting the replacement brush.
-
To reassemble the device, follow these instructions in reverse order.