Introduction
The Airbag is powered by a pack of batteries, that have lost efficiency over time.
Parts
-
-
A pocket contains the hard back protector. It's convenient to open the zip and remove the back protector to work more comfortably.
-
-
-
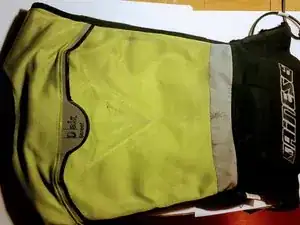
You can access the pocket through a zipper blocked by a cable. Cut the cable using nippers, and open the zipper with the help of a safety pin.
-
-
-
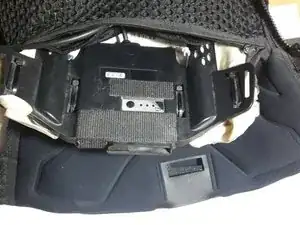
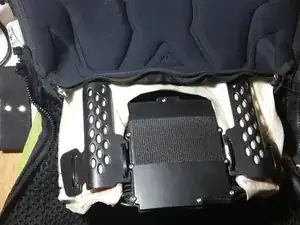
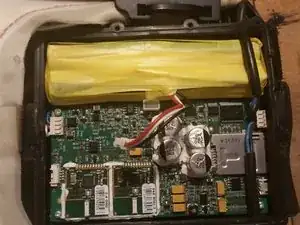
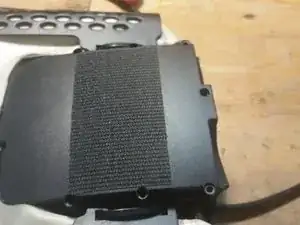
From the zip you can see the airbag (white) and the part with the battery and circuits (black), held in position with velcro.
-
Operate with caution to not damage the airbag and remove the stiff part from the velcro and extract it.
-
-
-
The lid is held by 8 Torx 9 screws. Under the lid there is a flat gasket that can stay in place.
-
-
-
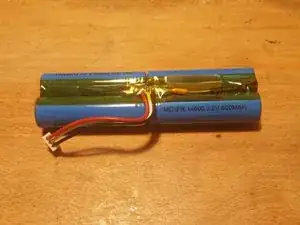
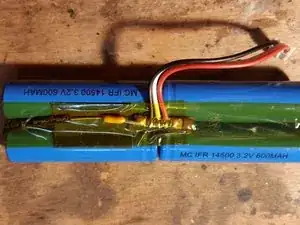
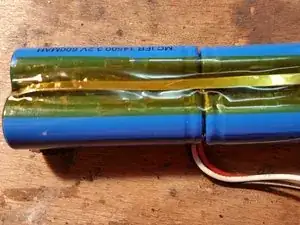
The 4 batteries are connected in parallel, along with some components. Carefully detach the circuit soldered to the tabs using for example a blade. Keep the tab that connects the wire and the components intact.
-
-
-
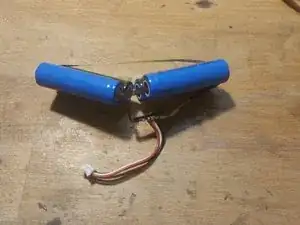
Place the new batteries, paying attention to the polarity. Secure them in position with tape, inserting the ends of the previously separated circuit between the tabs. Be careful not to create a short circuit during the process, as the new batteries may be charged. Reconnect the connector.
-
-
-
Reassemble everything by proceeding in reverse order. Always handle with care to avoid damaging the airbag or disconnecting it from the central unit.
-


To reassemble the device, follow these instructions in reverse order.