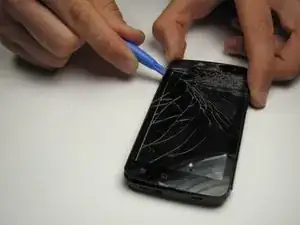
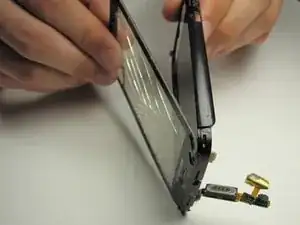
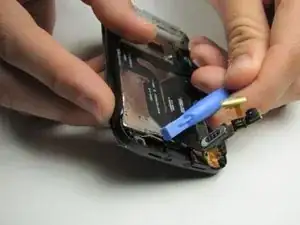
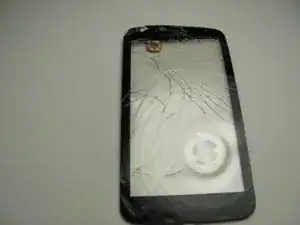
Introduction

To remove the LCD you will first need to remove the battery, open the phone and remove the motherboard. Be ready to use a plastic opening tool, T5 Torx Screwdriver, spudger and head gun or hair dryer.

  1. a1r2R5ydjKekW25K
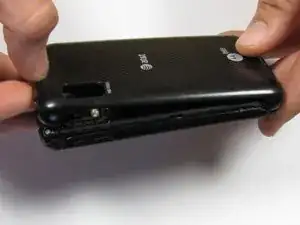
    • Pry the back cover off the back of the phone.

    Use the word "prying" rather than sliding. We were confused during this step.

    Ben Sweeney -

  2. EJWeUmNXGOh6A2iW
    EJWeUmNXGOh6A2iW
    ZQZQYOUrbAKNNUKw
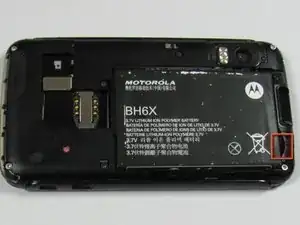
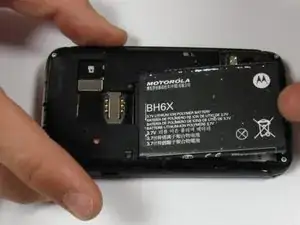
    • Insert a spudger into the small notch at the base of the battery.

    • Lift the battery out of the phone.

  3. nsKeA5cnSFthTWrd
    nsKeA5cnSFthTWrd
    ZjqbO5CpSooDsMhQ
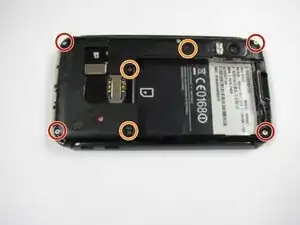
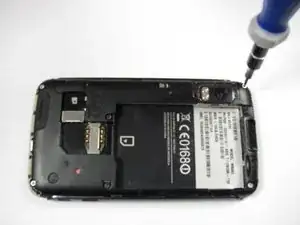
    • Remove the four 5.0 mm T5 Torx screws using a T5 Torx Screwdriver.

    • Remove the three 5.5 mm T5 Torx screws using a T5 Torx Screwdriver.

    • Use gentle force while unscrewing to avoid stripping the screws.

    Not a phillips head screwdriver. Indicate the appropriate tool.

    Ben Sweeney -

    Hex head screwdriver.

    Ben Sweeney -

  4. 3vLtDRKaXUGMB1sf
  5. qibBxHwAVSSEHb2v
    qibBxHwAVSSEHb2v
    RnEuAgIOTsE6c2sq
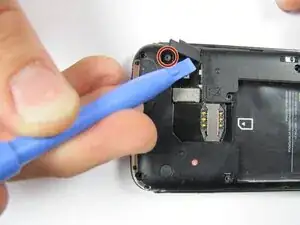
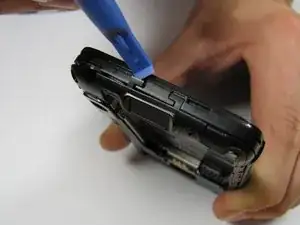
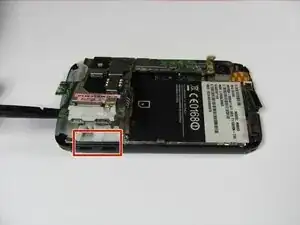
    • Gently lift the tabs located at the top of the phone using an opening tool.

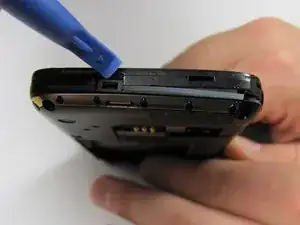
    • Gently lift the tab located at the bottom of the phone with the same tool.

    • Use an opening tool, not your fingers, because the plastic tabs are easily broken.

    Red boxes around the tabs so all can be seen clearly. Change the bullet point to red to accommodate said boxes.

    rubixtriangle -

  6. 6FPyx2mFZ3eawssV
    6FPyx2mFZ3eawssV
    TYnciSATVIHO4CcU
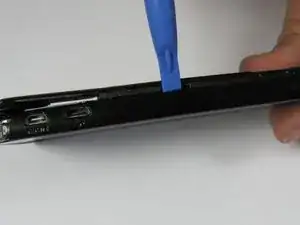
    • Insert an opening tool between the front and back of the case.

    • Slide the tool down the side of the phone.

    • Repeat the same process for the other side.

    • There should be a noticeable gap between the front and back cases. If not, repeat this step.

  7. SaoPrZJ1AmaYfD2u
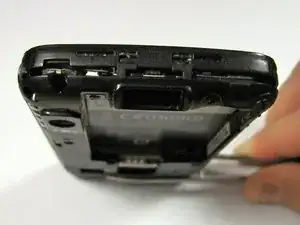
    • Carefully lift the back case off the phone.

    • Do not completely separate the back case from the phone. The antenna is connected to both cases.

  8. bl2IRTwEZZXXIRM4
    • Slide an opening tool beneath the antenna and lift straight up from the motherboard.

    • Lift straight upwards, not at an angle, to avoid damaging the socket underneath.

    Specify--lift beneath it near the gold metal piece located on the phone (not the back case)

    Ben Sweeney -

  9. ZEQt1FgYuEPLthes
    • Ease the antenna from out of its guide along the side of the phone

    • Remove the back case and the antenna from the phone.

    • The antenna is soldered to the back case. When reassembling, do not pull it with too much force.

    Add picture for "easing out of the guide." Also, specify that you must unclip the guide from the phone.

    Ben Sweeney -

  10. NCQQCY3MWZcc3BoH
    NCQQCY3MWZcc3BoH
    jIQIyQat6YCKPP5F
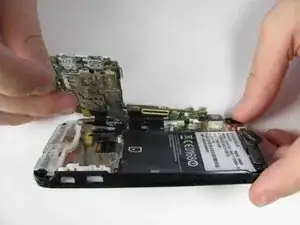
    • Insert a spudger between the black plastic and the motherboard.

    • Lift upwards with the spudger to dislodge the board.

    • The motherboard should lift up easily. If the white rubber piece shifts, move it back to its original place.

    Specify "right side."

    Ben Sweeney -

    Not clear instructions. Clear/white rubber piece came off during removal--make a note of that possibility.

    Ben Sweeney -

  11. xJFk3g3dWoa1hOQ3
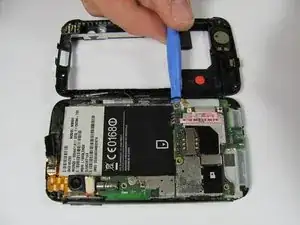
    • Disconnect the press connectors using a spudger.

    • If you are unfamiliar with using connectors, consult this guide.

    Add color bullets.

    Ben Sweeney -

  12. 26PBfVglSOdyWOON
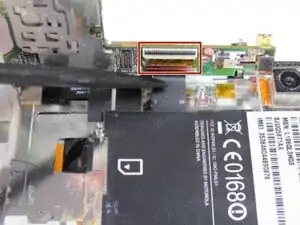
    • Lift the white latch on the ZIF connector using a spudger.

    • Gently pull the black ribbon down and away from the latch.

  13. mHcHpQr2lhEEZmdm
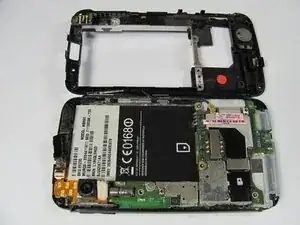
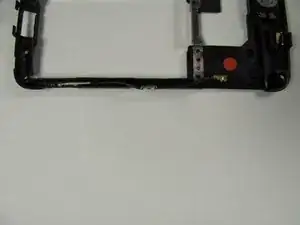
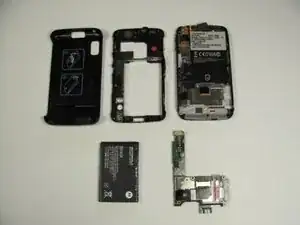
    • There should be five distinct parts of the phone: the back cover, the back case, the front case, the battery, and the motherboard.

  14. KBRCmO4nDe1A3nip
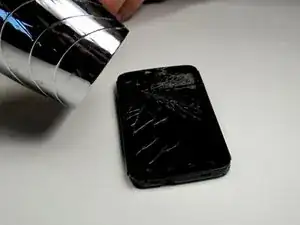
    • Using a heat gun or a hair dryer on high heat, soften the adhesive securing the glass screen.

    • Direct the hot air along the front edges of the glass until the phone is warm to the touch.

  15. EFJDQOt3mVAXTQgL
    EFJDQOt3mVAXTQgL
    1VlBFAknXMhGi2DC
    1IBu1MVXNCPaXhBl
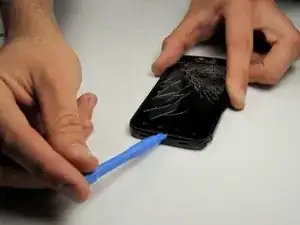
    • Using a plastic opening tool, carefully pry up the bottom of the display glass.

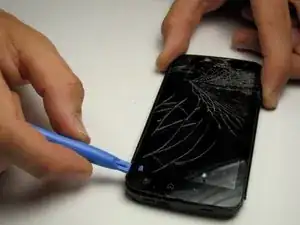
    • Slowly work your way around the phone, using the plastic opening tool to separate the glass from the phone.

    • As you work, the adhesive may cool and harden. You may need to heat up the glass again as you work your way around the screen.

  16. mtEVgYE1mio6MqXK
    mtEVgYE1mio6MqXK
    KVAOaNtK2GTJOFlr
    • Using a spudger, lift up the digitizer cable that is attached to the glass.

    • Be careful not to damage the cable. It is glued in place and hard to remove.

  17. h4kTOxPbvy6dZwQO
    h4kTOxPbvy6dZwQO
    ImMC6FVFyk3FdqiD
    TBEtEJaM1pZLsIUe
    • Now that the cable has been removed you can slide it through the opening and detach the glass.

    • Be careful as you pull the cable through the opening. The cable is easily damaged.

    • Once the cable is pushed through the slot, the glass can be fully removed.

  18. EP6RHq2PQrGZ2cVs
    EP6RHq2PQrGZ2cVs
    2oWhbodMNo2WV2RP
    aQ1W5lrcuGdZuMXy
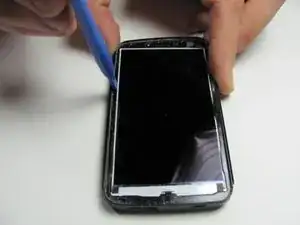
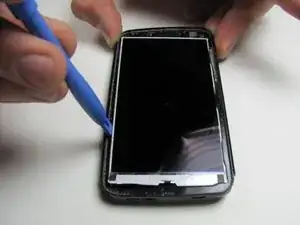
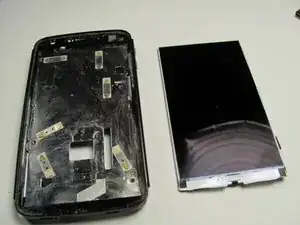
    • With the glass removed you can now access the LCD screen.

    • Using a plastic opening tool, slide it in between LCD screen and the case of the phone and then pry it out carefully.

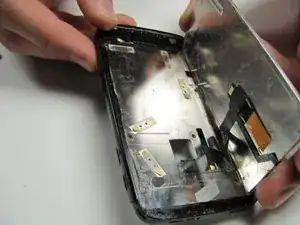
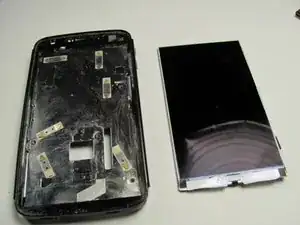
    • Slide the case opener tool along the side until the LCD pops out of the case.

    • Carefully guide the cables attached to the back of the LCD through the hole.

  19. xIhdRCW2G5reIjJZ
    • The LCD is now ready to be replaced.

Conclusion

To reassemble your device, follow these instructions in reverse order.
Paul Sullivan

Member since: 19/04/12

238 Reputation

0 comments