Introduction
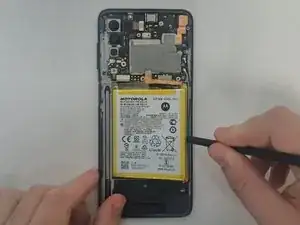
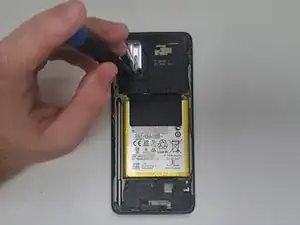
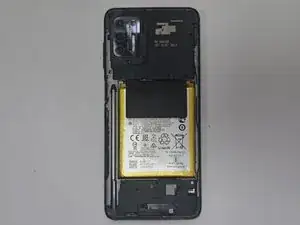
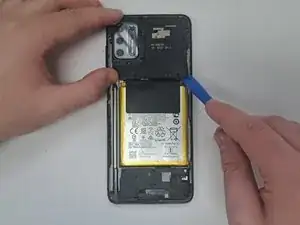
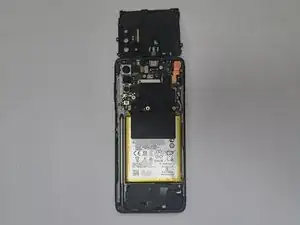
If your Moto G Stylus 4G isn't quite holding a charge, or isn't charging at all, use this guide to replace your faulty battery.
The battery supplies power to all components in the phone. A malfunctioning battery won't distribute power at all, or will have greatly reduced use time.
Before continuing with this guide, be sure to inspect the charging port for any debris that could interfering with the charging cord. you can use tools such as isopropyl alcohol or an ESD-safe brush to remove anything inside the port.
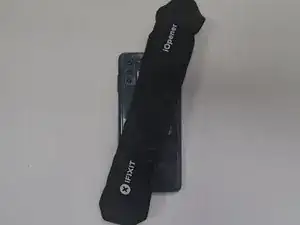
Steps 1 and 6 require you to remove the backplate (Step 1) and Battery (Step 6) from the phone with the use of a heating tool, such as an iOpener, a heat gun, or a hairdryer.
Be sure to completely power off the phone and disconnect the phone from any direct power sources before starting the repair.
Tools
Parts
-
-
Power off your phone and disconnect the charger and any peripheries before beginning disassembly.
-
Lay the phone face down.
-
Heat an iOpener and apply it to the rear case.
-
Alternatively, use a hair dryer to heat the rear case until it's almost too hot to touch.
-
-
-
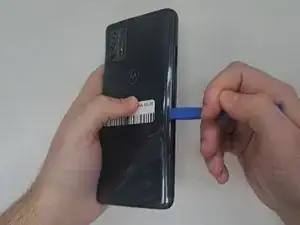
Insert an opening tool into the seam between the rear case and chassis.
-
Once you create a gap, insert an opening pick a couple of millimeters into the gap.
-
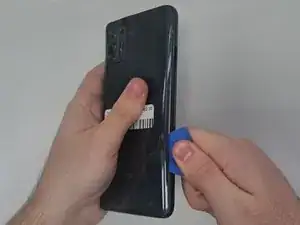
Slide the opening pick around the entire perimeter to sever the adhesive that secures the rear case.
-
If you feel excessive resistance, reheat the problem area(s).
-
Remove the rear case.
-
-
-
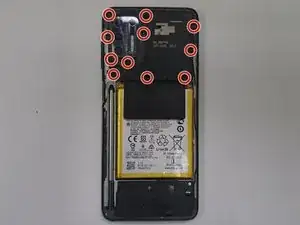
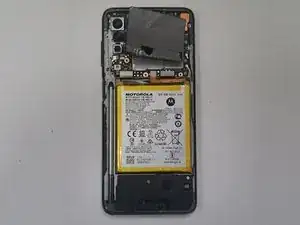
Remove the black graphite tape from the battery and surrounding components.
-
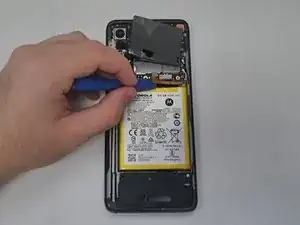
Use an opening tool to lift and disconnect the press connector above the battery.
-
-
-
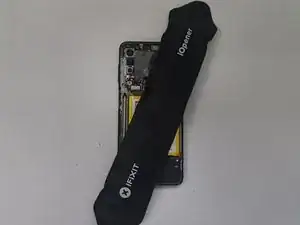
Use an iOpener or hair dryer to gently warm the battery to loosen to adhesive that secures it.
-
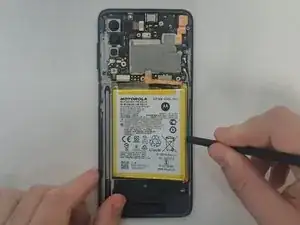
Use a spudger to gently pry around the entire perimeter of the battery until it fully releases.
-
To reassemble your device, follow the above steps in reverse order.
For optimal performance, after completing this guide, calibrate your newly installed battery.
Take your e-waste to an R2 or e-Stewards certified recycler.
Repair didn’t go as planned? Try some basic troubleshooting or ask our Answers community for help.
