Introduction

Use this guide to replace the main board (motherboard) in a Motorola Moto G Stylus (2021).

  1. DPXPSXGpa1nJsrhx
    DPXPSXGpa1nJsrhx
    CDPoGcR2SPDJJxWx
    GOMiHZFwdZpWTYFM
    • Push a SIM tray ejector into the hole.

    • Remove the SIM card and tray.

  2. SsbpeKZEUwv1L1gQ
    SsbpeKZEUwv1L1gQ
    EnDgsQBVpCDp1SVn
    • Before you begin, discharge the battery below 25%. A charged lithium-ion battery can catch fire and/or explode if accidentally punctured.

    • Power off your phone and disconnect the charger and any peripheries before beginning disassembly.

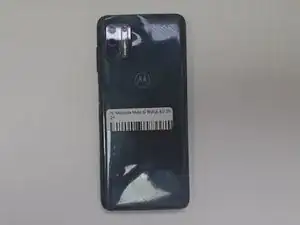
    • Lay the phone face down.

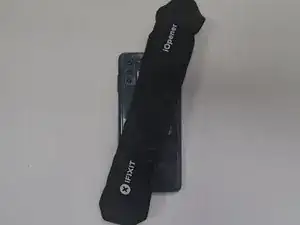
    • Heat an iOpener and apply it to the rear case.

    • Alternatively, use a hair dryer to heat the rear case until it's almost too hot to touch.

  3. tcDnhugH3PXPaVN1
    tcDnhugH3PXPaVN1
    HLCxRQ4NXf1Fewhb
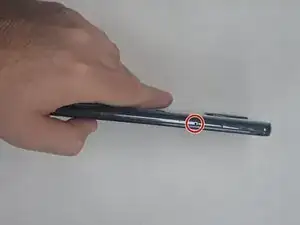
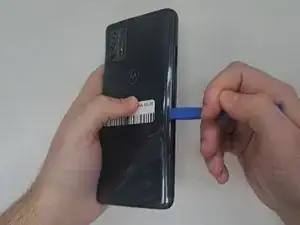
    • Insert an opening tool into the seam between the rear case and chassis.

    • Once you create a gap, insert an opening pick a couple of millimeters into the gap.

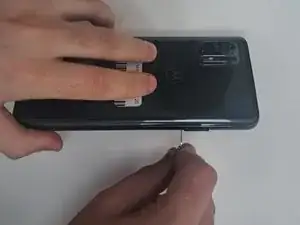
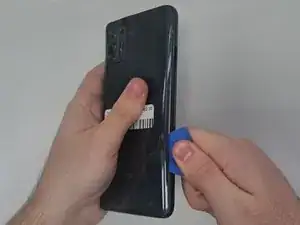
    • Slide the opening pick around the entire perimeter to sever the adhesive that secures the rear case.

    • If you feel excessive resistance, reheat the problem area(s).

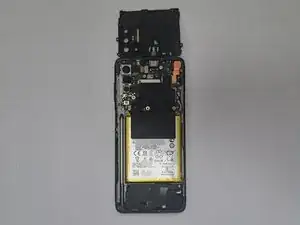
    • Remove the rear case.

  4. 5STGHlL4rM5h4BhD
    5STGHlL4rM5h4BhD
    Ridonxo2WGM3HUck
    • Use an opening tool to lift and remove the midframe.

  5. JHVdlmJRiMUEBAQk
    • You may need to use your heating device again to remove glue from covering the screws.

    • Use a T4 Torx screwdriver to remove all eleven 3.2 mm screws securing the midframe.

  6. uNIbNVt5QEqcGwKy
    uNIbNVt5QEqcGwKy
    umAmCBVGG2tfXbOK
    • Use an opening tool to lift and remove the midframe.

  7. rDPIEA5eQaBrYcyw
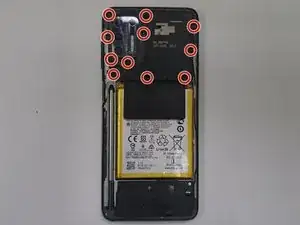
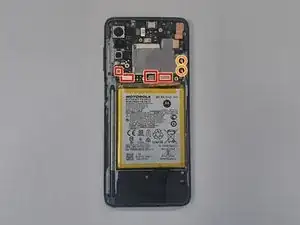
    • Remove the black tape covering the connectors.

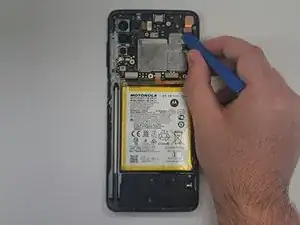
    • Use an opening tool to lift and disconnect the four press connectors.

    • Use an opening tool to lift and disconnect the two antenna cables connectors.

  8. Gc3GU3M3vcYhbYWA
    Gc3GU3M3vcYhbYWA
    2lgs4e4GuMawYNar
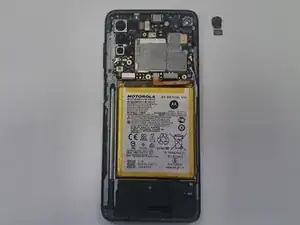
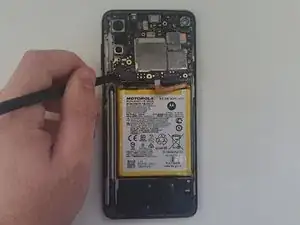
    • Use an opening tool to lift and disconnector the front camera press connector.

    • Remove the front camera.

  9. ZbZOCjXsXZWPgRZv
    ZbZOCjXsXZWPgRZv
    SPefwSNA56GLLOPq
    • Use a T4 Torx screwdriver to remove the two 3 mm screws securing the main board.

  10. vjHbi6VV1YITmuvP
    vjHbi6VV1YITmuvP
    ejwODqNSjvfEBACd
    • Use a spudger to an edge of the main board.

    • Lift and remove the motherboard.

Conclusion

To reassemble your device, follow the above steps in reverse order.
Take your e-waste to an R2 or e-Stewards certified recycler.
Repair didn’t go as planned? Try some basic troubleshooting or ask our Answers community for help.

Connor

Member since: 29/03/22

12295 Reputation

0 comments