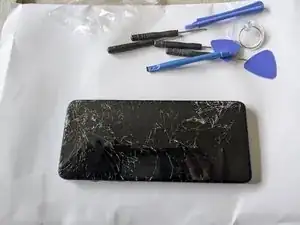
Introduction
-
-
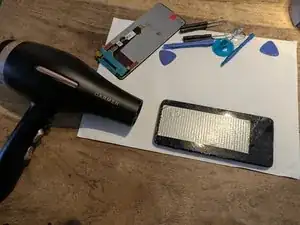
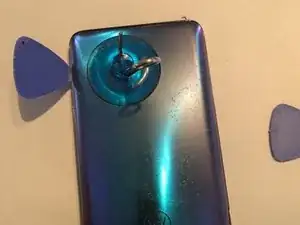
Since the screen is broken, the suction cup won't create a good vacuum. First heat up the screen (carefully) with a hair dryer
-
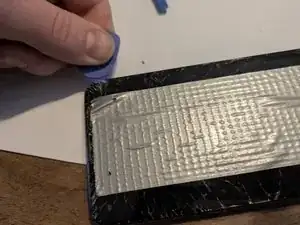
Then apply ducttape so the suction cup can create a vacuum
-
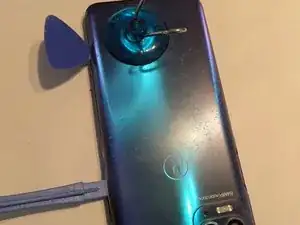
Pull the screen and put a pick in the gap.
-
-
-
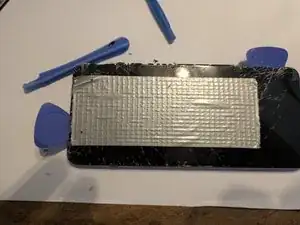
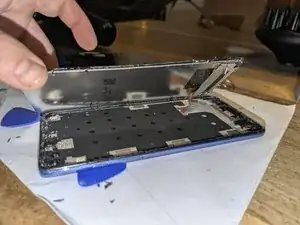
Put a second pick in, slide it around and remove the screen
-
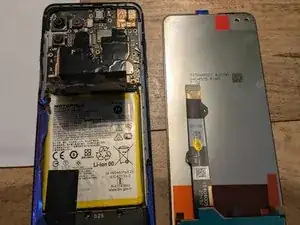
Open the screen, mind the flex cable
-
-
-
Same procedure as the front. If necessary, use the hairdryer to loosen the glue. Damaging the finish seems inevitable, but you'll cover the back with a case anyways.
-
-
-
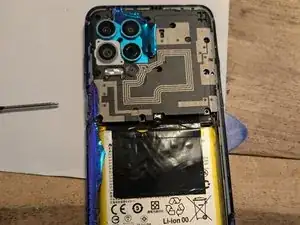
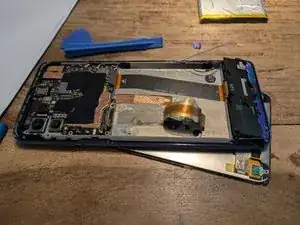
Remove all the screws. Triple check if you've had them all, some were covered by residual foil from the back panel. They all seem to be the same length, so don't bother sorting them. Keep them in a cup so you don't lose them
-
Do the same for the bottom cover.
-
-
-
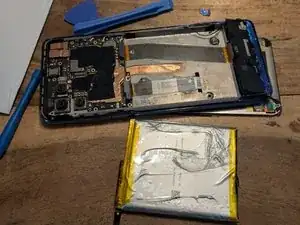
Be extremely careful here!!! The battery is fragile and can catch fire if punctured or damaged. It is glued down extremely well. Heat it up from the screen side with the hairblower so we prevent heating the battery too much.
-
Try to get a credit card underneath to cut through the glue. Prevent the battery from bending.
-
-
-
Pry the flex cable connector of the screen off. Pull the flex cable loose and replace the screen
-


To reassemble your device, follow these instructions in reverse order.
