Introduction

Click here for an updated version of this guide. The version you are viewing is retained for historical purposes.

In this replacement guide, we will walk through removing the rear camera of the Motorola Moto G3 so that it can be replaced.

  1. NVF2KG4CWaWDkAQA
    NVF2KG4CWaWDkAQA
    giumjZDhP1jyJeTh
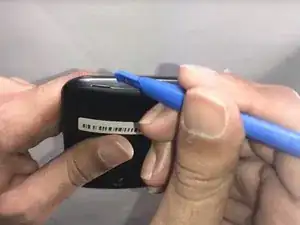
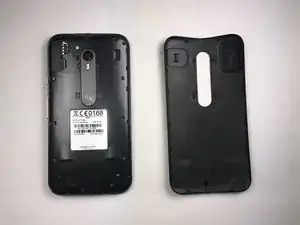
    • Use the plastic opening tool to open the back cover as shown in the photo.

  2. voBV3buX2wrcKNML
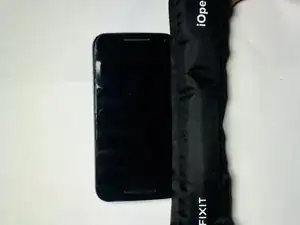
    • Heat an iOpener in the microwave for 30 seconds.

    • Place the heated iOpener on all four edges of the screen for approximately 2 minutes.

  3. RFAnyg3gWCyIASgW
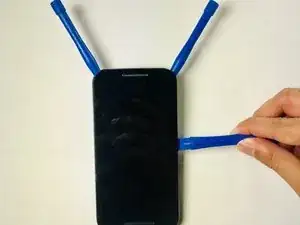
    • Apply the plastic opening tool on the edge of the screen near the front camera.

    • After creating enough space, allow the opening tool to be inserted on the side of the phone.

    • Create another space on the other side of the screen.

    • Leave the opening tool inserted.

    • Carefully apply the larger plastic opening tool by sliding it through the longer edge of the screen.

  4. WPrLPBISPcnWSDZl
    WPrLPBISPcnWSDZl
    bT3ughb3WOPet3HB
    cH6wL5RELvfCU2Wd
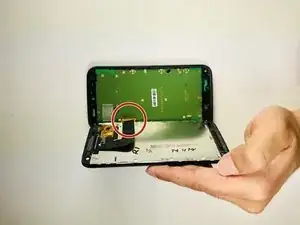
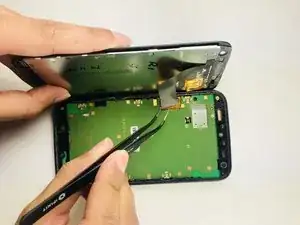
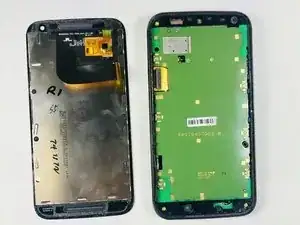
    • A strip will be attached to the motherboard as shown.

    • Using tweezers, carefully detach the strip from the motherboard.

    That strip is the LCD display assembly flex cable, and it is attached to the motherboard via a ZIF connector. Using tweezers or a spudger, the plastic latch (which is on the side nearest the edge of the phone) must be gently lifted up away from the phone’s edge. Only then can the flex cable be safely (and carefully) removed.

    If the repairer attempts to pull the flex cable out of its connector without first opening the latch, either the latch or the flex cable itself is likely to break, greatly complicating the repair.

    Bonnie Baxter -

  5. VXsurGOhYLsBh4R5
    VXsurGOhYLsBh4R5
    i1uQwq6PopLGV1Ha
    1XArMIgPMkODErbq
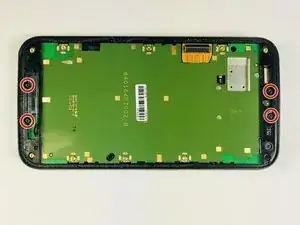
    • With a T4 screwdriver, remove the10 "yellow" 2mm screws and 4 "black" 2mm screws.

  6. xOVZ3moQHZUfe3yr
    xOVZ3moQHZUfe3yr
    yXGKqDCSUFRHtS5b
    aBeNswN2IgCV6vse
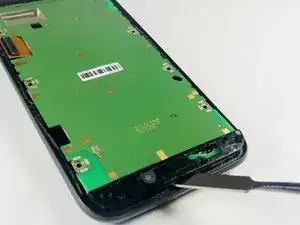
    • Use the metal spudger and lift the back cover on the bottom side of the phone (this is attached to the motherboard).

  7. IwWZ1EKR2hTlSr66
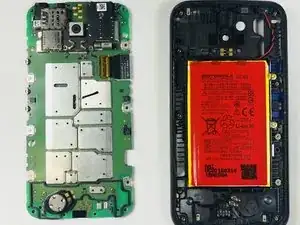
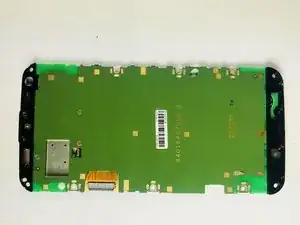
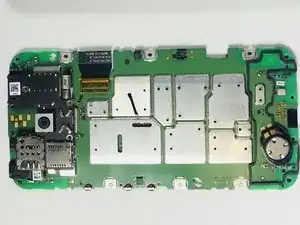
    • Flip the motherboard over.

  8. m6P3LpSjXKFKTTHo
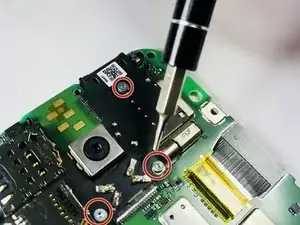
    • Using a T4 Torx screwdriver, remove the three 2mm screws.

  9. uTEso5SZCI4tK4ue
    uTEso5SZCI4tK4ue
    ldlMJnoVfcItXAfL
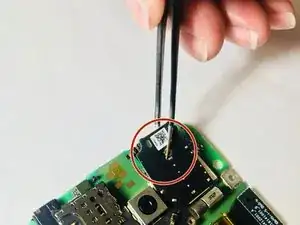
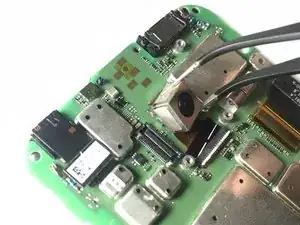
    • Using the tweezers remove the black rear camera cover.

  10. Q6lgdLJUORosKDER
    Q6lgdLJUORosKDER
    lGFZ1mmcNruBB4CW
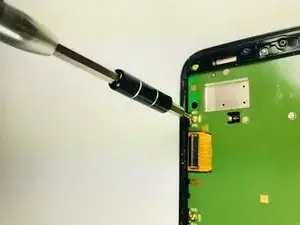
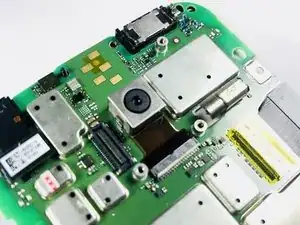
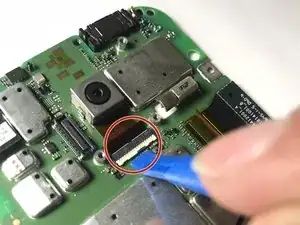
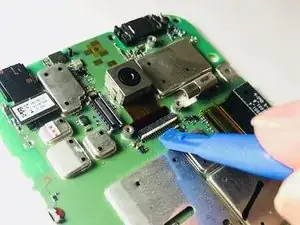
    • Using the small opening tool, carefully flip the camera flex connector in a upright position. You should hear a click allowing you to know the camera flex connector has been released.

  11. NiBYfr2vsDL2ZaFk
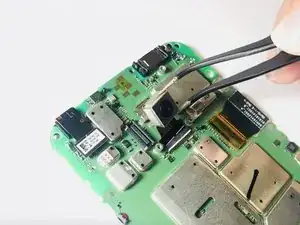
    • Take the tweezers and remove the camera from the motherboard.

Conclusion

To reassemble your device, follow these instructions in reverse order.
Irkan Notta

Member since: 19/03/18

1034 Reputation

0 comments