Introduction
Note: This is an archived guide retained for historical purposes. For the updated guide, go here.
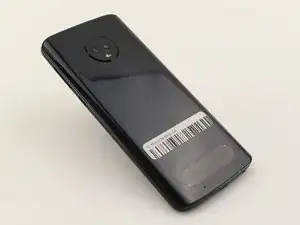
The Motorola Moto G6 features a glass back shell. This often leads to a easily damaged back shell, including scratches or cracks. The back shell holds the device together and protects the device’s interior. Damages to the back shell may eventually cause damage to the device’s interior. If the back shell is severely damaged, a back shell replacement is suggested.
This guide teaches how to perform a back shell replacement. No repair experience is required. However, this replacement will require tools to pry the back shell open. The specific device model in this guide is XT1925-12. Other model numbers include: XT1925-4, XT1925-5, XT1925-6, and XT1925DL.
Before beginning the repair, make sure the device is turned off and disconnected from an external power source. Gather the suggested tools listed below and a new Motorola Moto G6 glass back shell.
-
-
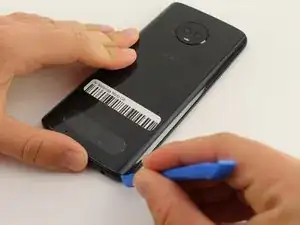
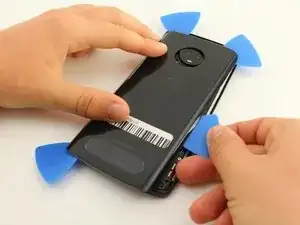
Use the iFixit opening tools to gently wedge between the back shell and the rest of the device.
-
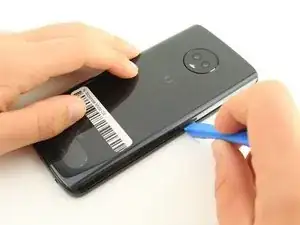
Focus on lifting up the corners of the back shell so that there is space to insert iFixit opening picks.
-
-
-
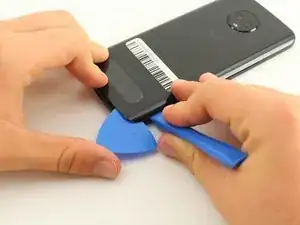
Slide the picks along the edges of the device until the adhesive loosens and allows the cover to come off.
-
There is adhesive all the way around the camera lens.
-
Gently remove the back cover.
-

To reassemble your device, place the back shell over the device, and apply pressure on all sides to seal it.