Introduction
Note: This is an archived guide retained for historical purposes. For the updated guide, go here.
-
-
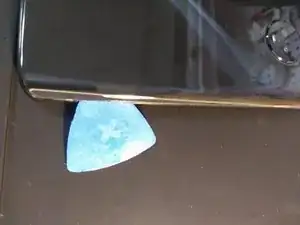
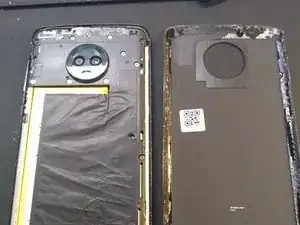
The glass backplate needs to be removed first.
-
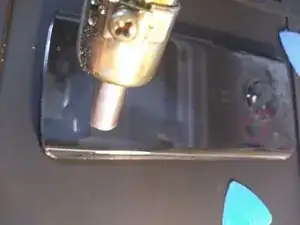
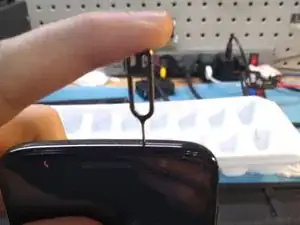
Heat along left edge of the backplate until the glass is almost too hot to touch.
-
-
-
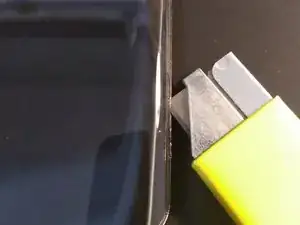
Carefully insert razor blade in between glass back plate and frame of phone.
-
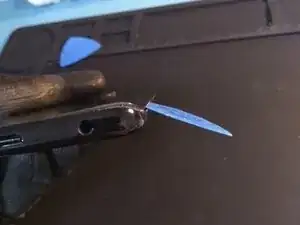
With glass lifted slightly, you can now insert a regular opening pick and remove the razor blade.
-
-
-
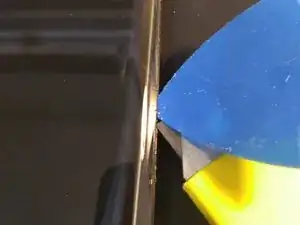
Work pick in further to slowly lift the glass away from the frame.
-
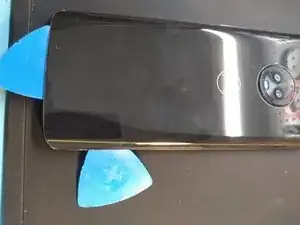
Slide pick to bottom of phone and insert a new pick on the left side
-
Slide pick along left edge towards the top of the phone.
-
-
-
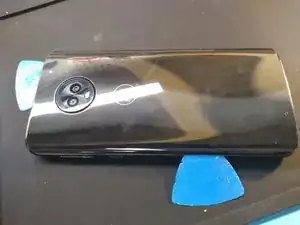
Continue around right side of the backplate using the same procedure as Step 3 until the adhesive has been cut around the entire glass backplate.
-
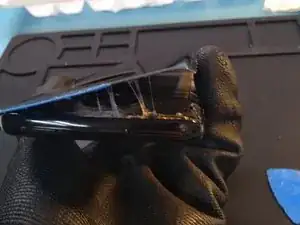
Carefully remove backplate. It should come off fairly easily. If there is any resistance, heat that area and cut the adhesive again with opening pick.
-
-
-
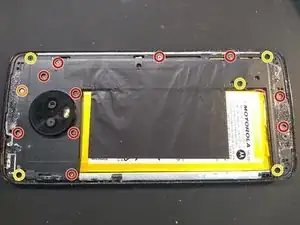
Remove ten 3.2mm silver Phillips #000 screws
-
Remove one 3.8mm silver Phillips #000 screw
-
Remove five 2.7mm black phillips #000 screws
-
-
-
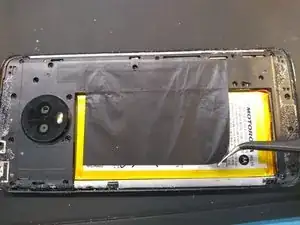
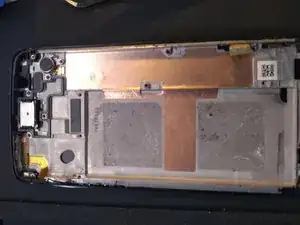
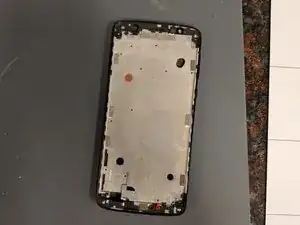
Remove plastic plate covering the motherboard. You may need to start it using fingernails or a spudger.
-
-
-
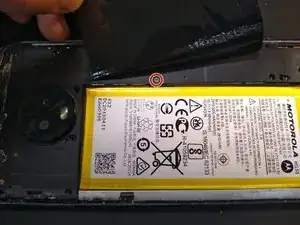
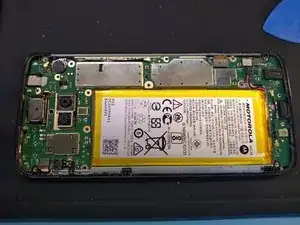
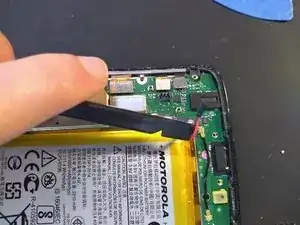
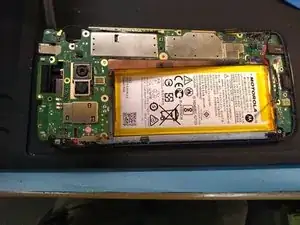
Using a plastic nylon spudger, carefully pry up on the battery connector to disconnect the battery.
-
-
-
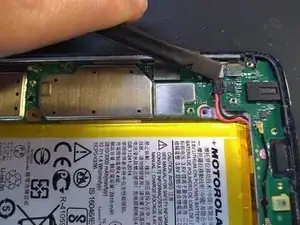
Using a plastic spudger or prying tool, carefully lift the snap connectors attached to the Motherboard.
-
Lift the black antenna cable out from next to the vibrator motor so that it is loose from the frame.
-
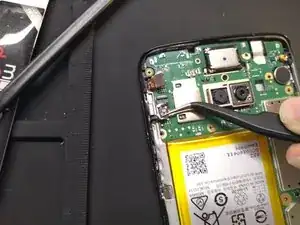
Using a spudger, carefully lift the black lever of the zif connector (indicated by the arrow), then using tweezers, carefully pull the flex cable out of the connector.
-
-
-
Don't forget to eject the sim card tray like I almost did.
-
Carefully lift the motherboard out of the frame.
-
Once the upper part is free, pull the motherboard upwards and out, so that the charging port does not get stuck on the frame.
-
-
-
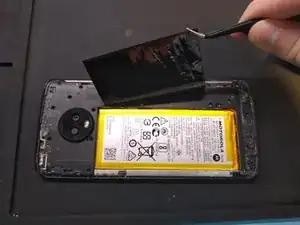
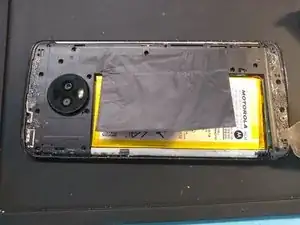
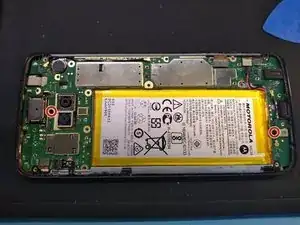
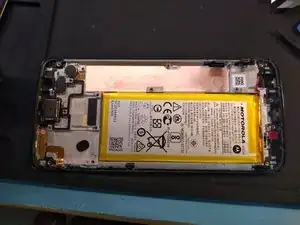
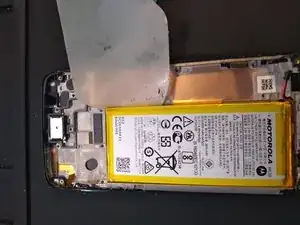
From this point, you can remove the battery and move what is needed to a new screen and frame assembly.
-
-
-
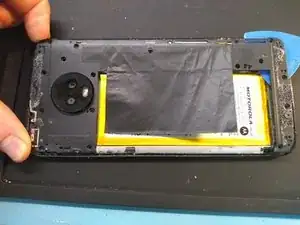
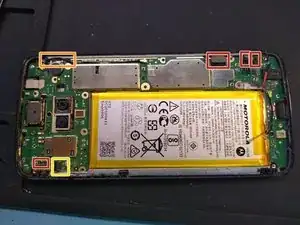
Or you can keep the battery in and only remove the LCD and digitizer from the frame.
-
This may be easier and cheaper than trying to swap the battery, but you will have to clean off the old adhesive and apply your own adhesive to hold down the new screen.
-


To reassemble your device, follow these instructions in reverse order. Don’t forget to clean old adhesive, and replace with new adhesive. Be sure to place screws in correct holes.
