Introduction
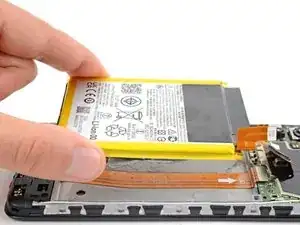
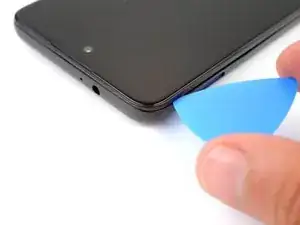
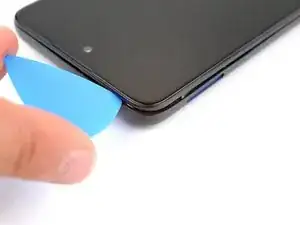
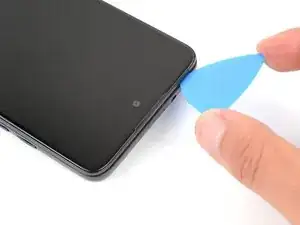
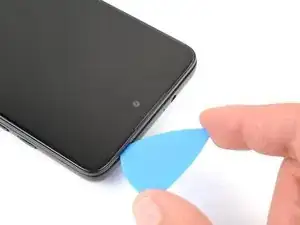
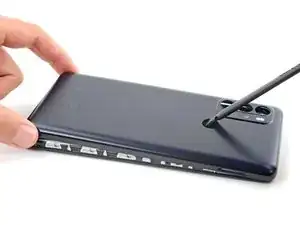
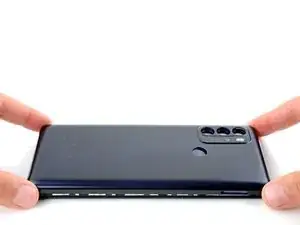
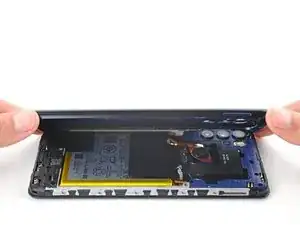
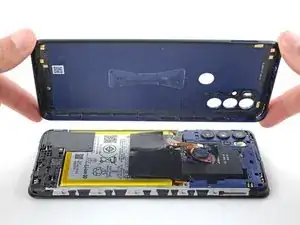
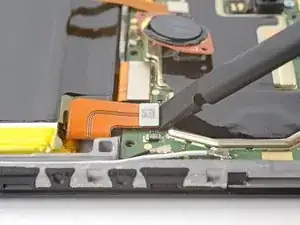
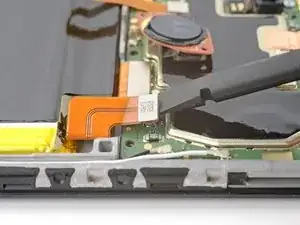
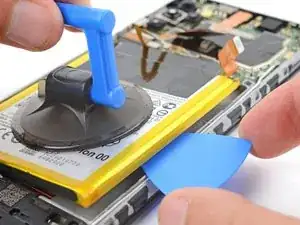
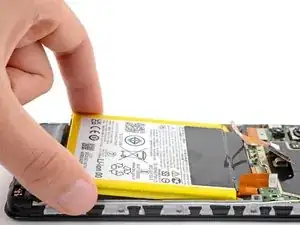
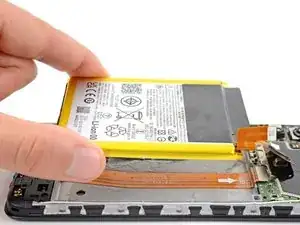
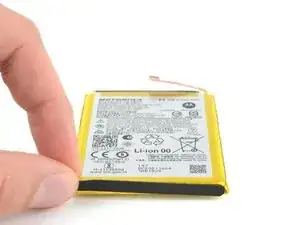
Use this guide to replace the battery in your Motorola Moto G60S.
Before you begin, download the Rescue and Smart Assistant app to backup your device and diagnose whether your problem is software or hardware related.
You'll need replacement adhesive to complete this repair.
Tools
Parts
-
-
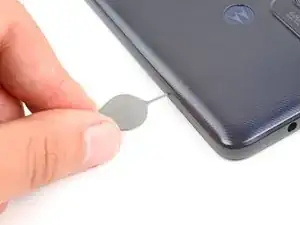
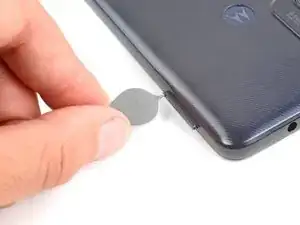
Insert a SIM eject tool, bit, or straightened paperclip into the SIM card tray hole on the left edge of the phone.
-
Push the SIM eject tool into the hole to eject the SIM card tray.
-
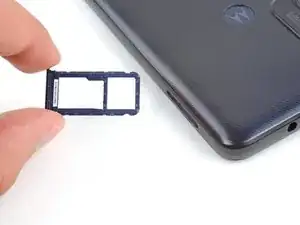
Remove the SIM card tray.
-
-
-
Flip your phone over so the display is facing up.
-
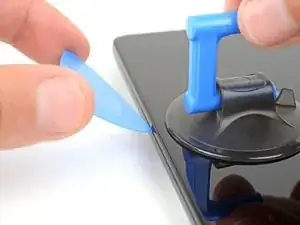
Apply a suction handle to the middle of the display's left edge, as close to the edge as possible.
-
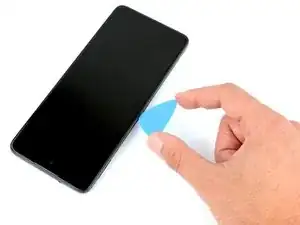
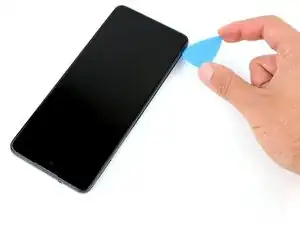
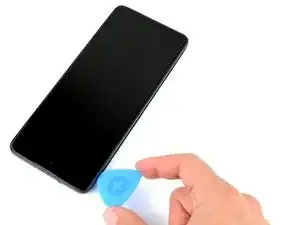
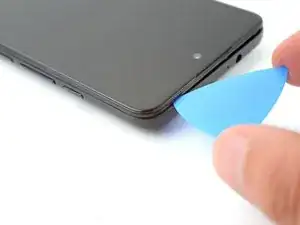
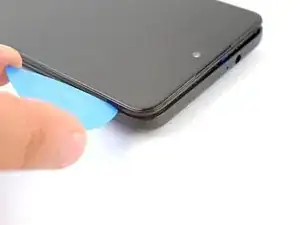
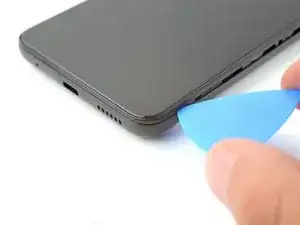
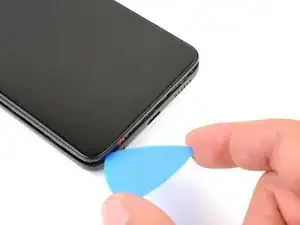
Place the tip of an opening pick in the small gap between the back cover and the display.
-
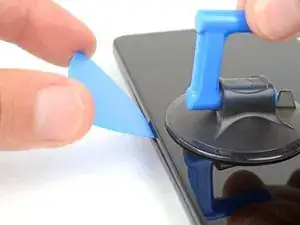
Pull up on the suction cup with a strong, steady force and push the opening pick down at a 45 degree angle until it slides into the gap between the back cover and the display.
-
-
-
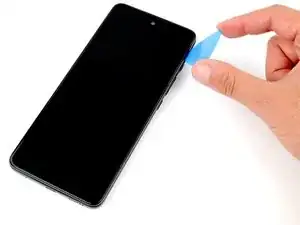
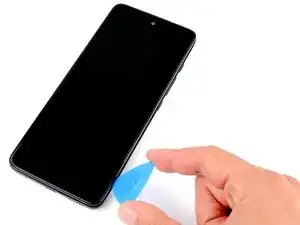
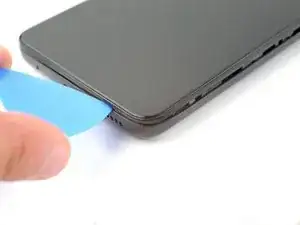
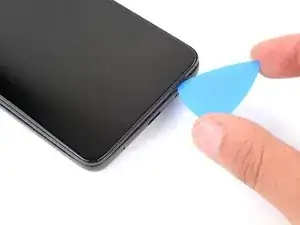
Slide the pick along the left edge down to the bottom left corner, and then up to the top left corner, to release the clips and slice the adhesive.
-
Leave the pick inserted in the top left corner to prevent the adhesive from resealing.
-
-
-
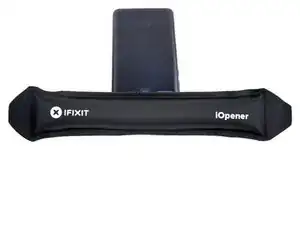
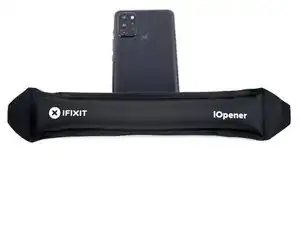
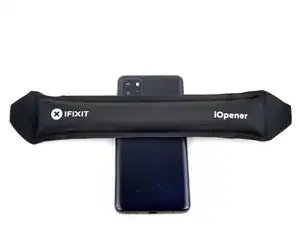
Flip your phone over and apply a heated iOpener to the back cover's top edge for two minutes.
-
-
-
Slide the pick along the top edge to release the clips and slice the adhesive.
-
Leave the pick inserted in the top right corner.
-
-
-
Flip your phone over and apply a heated iOpener to the back cover's left edge for two minutes.
-
-
-
Slide the pick along the right edge to release the clips and slice the adhesive.
-
Leave the pick inserted in the bottom right corner to prevent the adhesive from resealing.
-
-
-
Flip your phone over and apply a heated iOpener to the back cover's bottom edge for two minutes.
-
-
-
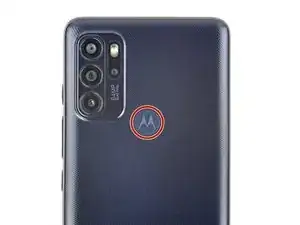
Flip your phone over and apply a heated iOpener to the fingerprint sensor on the back cover for two minutes.
-
-
-
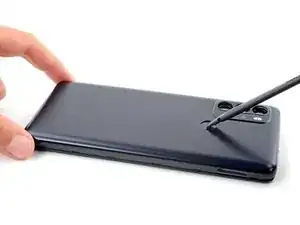
Press down on the fingerprint sensor with the flat end of a spudger or your finger.
-
While pressing down on the fingerprint sensor, gently pull up the bottom edge of the back cover until the sensor detaches.
-
-
-
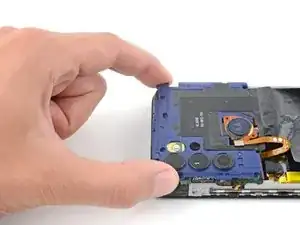
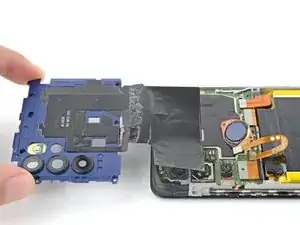
Lift the back cover up and remove it.
-
This is a good point to test your phone's functionality before sealing it up. Use this guide to run a hardware test. Be sure to power your phone back down completely before you continue working.
-
Apply new adhesive to the perimeter of the underside of the back cover after cleaning the relevant areas with isopropyl alcohol (>90%) and a micro-fiber cloth.
-
-
-
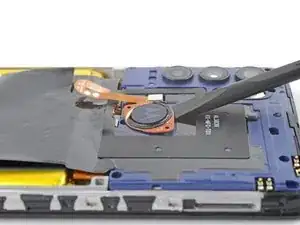
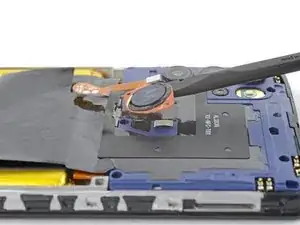
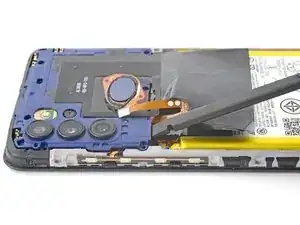
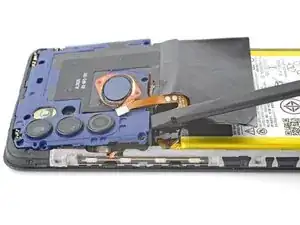
Insert the flat end of a spudger under the fingerprint sensor.
-
Gently pry up and detach the fingerprint sensor from the motherboard cover.
-
-
-
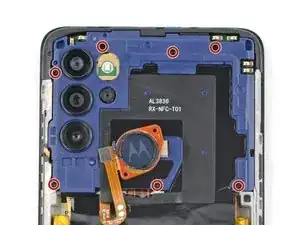
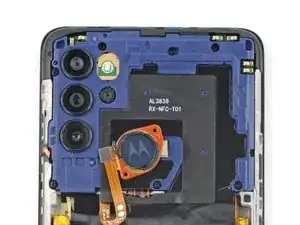
Use a Phillips screwdriver to remove the seven 3.9 mm screws securing the motherboard cover.
-
-
-
Insert the flat end of a spudger in the gap between the frame and the bottom left corner of the motherboard cover.
-
Lift straight up with the spudger to release the clips securing the motherboard.
-
-
-
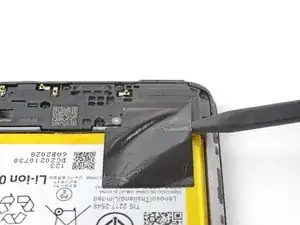
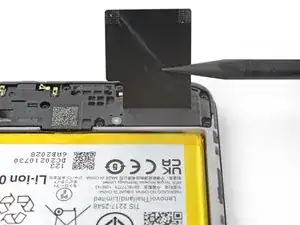
Insert the pointed end of a spudger under the graphite film on the left side of the daughterboard cover.
-
Lift up to peel the graphite film off of the battery.
-
-
-
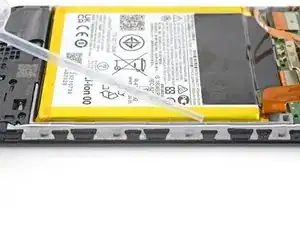
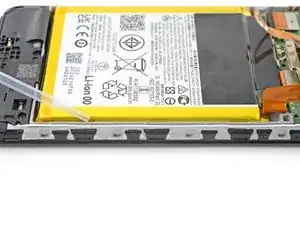
Apply a few drops of high-concentration (90% or higher) isopropyl alcohol to the gaps along the battery's edges.
-
Tilt the device to help it flow under the battery.
-
Wait one minute to allow the isopropyl alcohol to penetrate the adhesive.
-
-
-
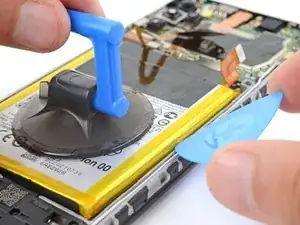
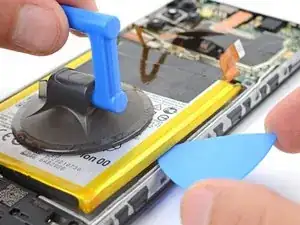
Apply a suction cup to middle of the battery.
-
Pull up on the suction cup with strong, steady force to separate the battery from the frame.
-
Continue to pull up on the suction cup while sliding the opening pick back and forth to slice the adhesive.
-
Continue this process until the battery separates from the frame, applying isopropyl alcohol as necessary.
-
-
-
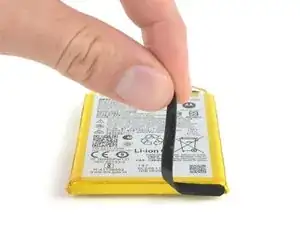
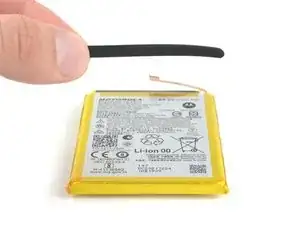
Use your fingers to remove the foam strip from the old battery's bottom edge.
-
Apply the foam strip to the bottom edge of the replacement battery.
-
To reassemble your device, follow the instructions in reverse order.
For optimal performance, calibrate your newly installed battery after completing this guide.
Take your e-waste to an R2 or e-Stewards certified recycler.
Repair didn’t go as planned? Try some basic troubleshooting, or ask our Answers community for help.
