Introduction
-
-
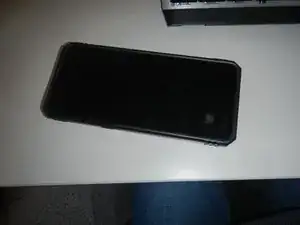
Place phone on a suitable surface. You'll be working on the back, so protect the screen (unless you're replacing it).
-
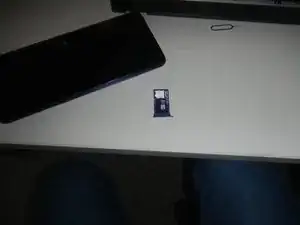
Start by removing the sim card and memory chip holder.
-
-
-
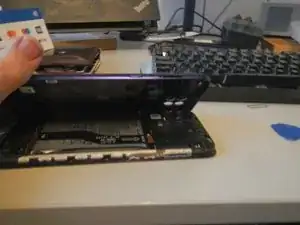
Now you want to remove the back cover. You can do this by sliding a thin plastic pry round the edges between the cover and the screen. The cover will click off as you work your way round it.
-
Don't pull the cover once it's coming free. The "M" symbol (fingerprint scanner) is glued to the cover so if you yank it, it'll snap and you'll break it.
-
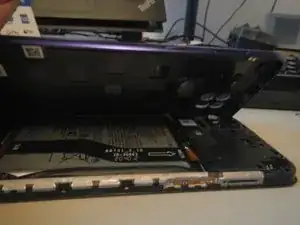
Once the cover is free, gently heat round the "M" sensor and it will loosen the glue. Lightly press on the M and it will pop off. Once that's happened, you can remove the back cover.
-
-
-
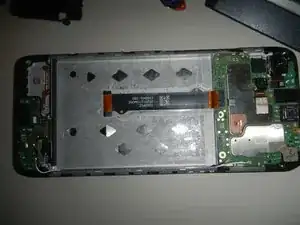
There are two PCB covers, one at the bottom and one at the top.
-
These are held in place with Torx screws and are ridiculously fiddly. Remove all the screws (note that there is a screw below the finger print sensor)
-
Once the screws are removed, you should be able to pry the covers off the two PCBs.
-
-
-
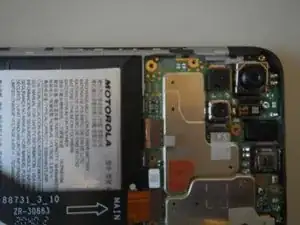
Pry off the fingerprint sensor connector from where it mates to the main board.
-
Put the sensor to one side
-
-
-
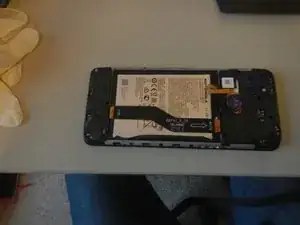
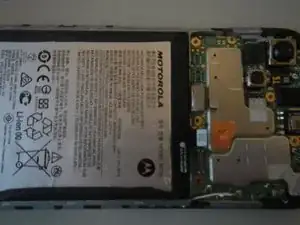
There are 3 connectors on the main board. Remove all these
-
Battery connector
-
Screen connector
-
Interboard connector
-
-
-
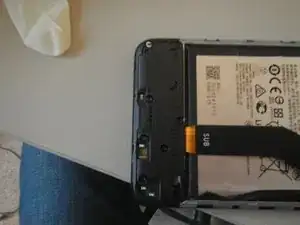
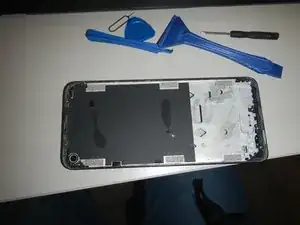
Removing the battery is tough. It's glued into the casing and you'll have to lever it out.
-
Use something that is reasonably broad to start levering the battery out. It'll probably bend as you do this (it can be flattened again after removal).
-
Continue to lever it out. Eventually you'll get through all the glue and the battery will pop out.
-
To reassemble your device, follow these instructions in reverse order.
One comment
Hola . Gracias . Soy nuevo en esto .y mí primer arreglo . Se agradece ..fue muy util
Abrazos desde la argentina .
Slds